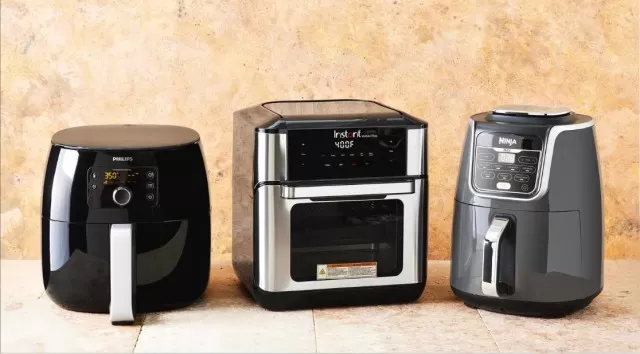
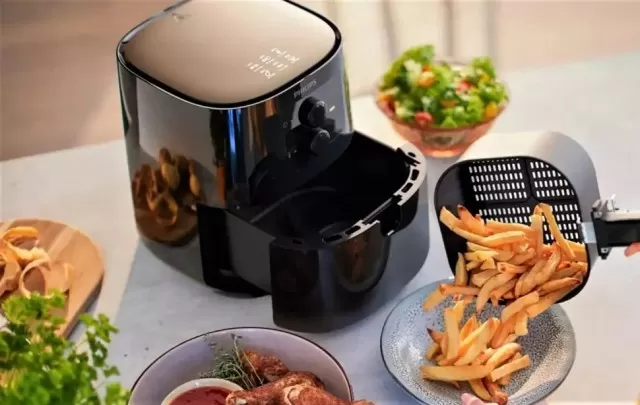
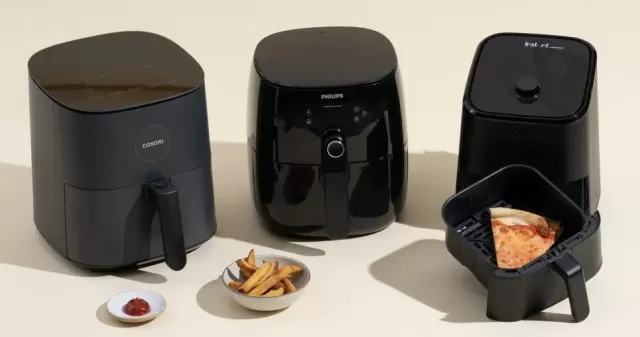
The air fryer has revolutionized the way we enjoy fried foods like French fries, pickle chips, and egg rolls.

It offers a healthier alternative to traditional deep-frying methods by using a minimal amount of oil and relying on high heat and circulating air to achieve crispy results.
But the benefits of an air fryer extend beyond frying alone. This versatile kitchen appliance can also be used for cooking, baking, roasting, and broiling a wide range of dishes, snacks, and even desserts.
After indulging in your air-fried creations, it’s essential to clean the appliance thoroughly to remove any residual oil, crumbs, and food particles.
Proper maintenance and cleaning will keep your air fryer in excellent condition and ensure it’s ready for your next culinary adventure. Let’s explore how to clean an air fryer effectively and keep it in top shape.
By following these cleaning steps and practicing regular maintenance, you can enjoy your air fryer’s cooking capabilities for a long time.
Remember to refer to the manufacturer’s instructions for specific cleaning recommendations and precautions.
Cleaning Guide to Air Fryers

Keeping your air fryer clean is crucial for its optimal performance.
Follow these Step-by-Step Instructions to clean your air fryer after each use.
What You’ll Need:.
- Warm, Soapy Water
- Dishwasher (optional)
- Dishtowel or microfiber cloth
- Non-abrasive sponge
- Soft-bristled brush or toothbrush
- Lemon (optional)
Step 1: Unplug and Disassemble the Air Fryer.
Before cleaning, make sure to unplug the air fryer and let it cool down completely.
Take out the basket, tray, and pan from the appliance. Remember to avoid submerging the main unit in water as it can damage the electrical components.
Step 2: Clean the Air Fryer Parts.
Wash the removable parts of the air fryer in warm, soapy water.
Most air fryer components are dishwasher-safe, but check the manufacturer’s instructions to ensure you’re following the recommended cleaning method. Use a damp dishtowel or microfiber cloth with a small amount of Dish Soap to clean the inside of the air fryer.
Wipe away any remaining soap residue with a clean damp cloth.

Step 3: Remove Baked-On Food and Grease.
If there are stubborn residues, soak the removable parts in warm, soapy water for about 10 minutes.
This will help soften the food or grease, making it easier to remove. Gently scrub the parts with a non-abrasive sponge or soft-bristled brush to remove any buildup.
Avoid using metal utensils or abrasive tools that can scratch the non-stick coating. To eliminate lingering odors, you can use lemon juice.
Simply wipe down the basket or pan with a cloth soaked in lemon juice or cut half of a lemon, then let it sit for 30 minutes before washing again.
Step 4: Clean the Air Fryer Exterior.
The exterior of the air fryer may not require cleaning after every use.
Use a damp cloth or sponge to wipe down the outside of the main unit. If there are any leftover food residues, gently scrub them with a soft-bristled brush.
Check the heating element of the appliance for any oil or residue and clean it with a damp cloth or brush if necessary. Ensure that the air fryer is completely cool before cleaning the heating element.
Step 5: Reassemble the Air Fryer.
Thoroughly dry all the removable parts and the main unit before reassembling the air fryer.
Store the appliance in an upright position and keep it unplugged when not in use.
By following these cleaning instructions, you can maintain a clean and well-functioning air fryer for your next cooking adventure.
*The information is for reference only.