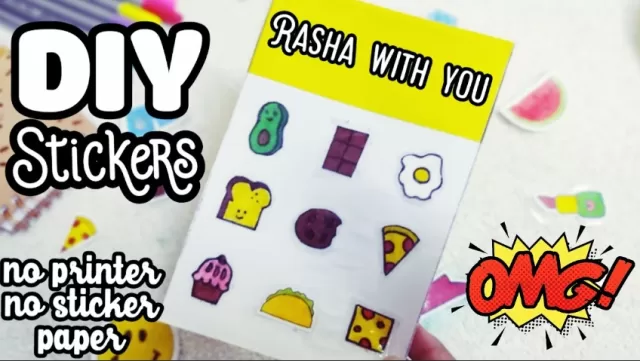
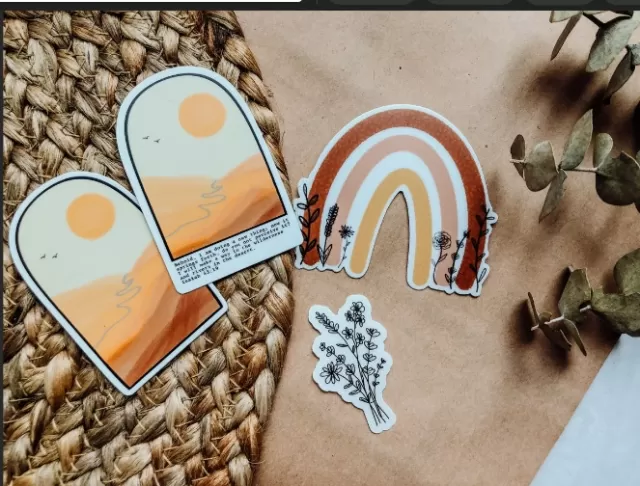
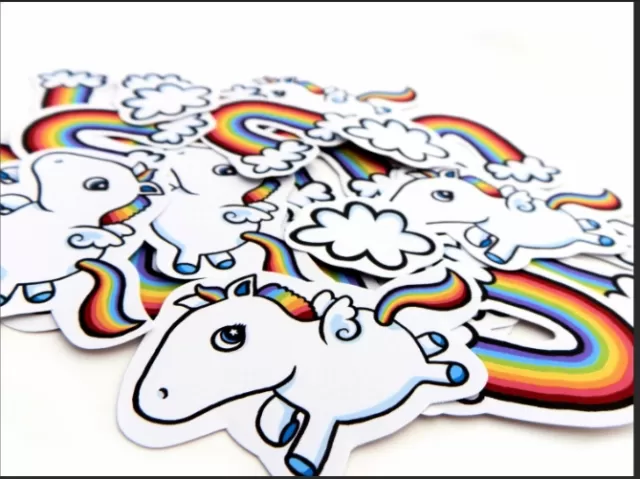
Crafting Your Own Stickers: A Step-by-Step Guide. Immerse yourself in the joy of crafting by creating a sticker collection designed by you! Follow these simple steps to make personalized stickers using images from wrapping paper, magazines, or decorative papers.
Creating Dazzling Designs: Materials Needed for Vinegar-Painted Paper Craft

Embark on a creative journey with the following materials to craft vibrant designs Using Vinegar-painted paper:.
White Vinegar: Acquire white vinegar to be used in the vinegar-painting process.
This common household item plays a crucial role in creating unique and eye-catching patterns.
Small Paint or Pastry Brush: Use a small paint or pastry brush to apply the vinegar to the paper, allowing for precision and control in the painting process.
Scissors or Craft Punch: Prepare either scissors or a craft punch for cutting or shaping the vinegar-painted paper into desired designs.
This step adds versatility to your creative project.
White Elmer’s Washable School Glue: Opt for white Elmer’s Washable School Glue to adhere the vinegar-painted paper designs to various surfaces, unleashing your imagination in crafting visually appealing creations.
With these materials at your disposal, you’re ready to explore the fascinating world of vinegar-painted paper crafts and bring your artistic visions to life.
Step 1: Prepare the Vinegar and Glue Mixture

Begin the creative process by mixing equal parts of white Elmer’s Washable School Glue and white vinegar in a bowl.
Combine these two elements until they form a thin, milky liquid. This unique mixture serves as the foundation for the vinegar-painting technique, offering a medium that adds depth and texture to your paper crafts.
Once the vinegar and glue are thoroughly blended, it’s time to apply the mixture to the paper.
Use a small paintbrush or a pastry brush to sparingly smear the back of the paper with the glue mixture. Ensure an even application, covering the paper with a thin layer of the vinegar and glue solution.
This initial step lays the groundwork for creating intricate designs using the vinegar-painted paper, setting the stage for an artistic and visually captivating crafting adventure.
The application of the vinegar and glue mixture primes the paper for the subsequent painting process, allowing for the creation of stunning and unique patterns.
Step 2: Dry and Apply a Second Coat

After applying the initial coat of the vinegar and glue mixture, allow the paper to dry thoroughly.
Once the first coat has dried, apply a second coat using the same sparing and even technique. This additional layer enhances the texture and resilience of the paper, creating a surface that is ideal for cutting and shaping.
Allow the paper to dry again after applying the second coat.
This step-by-step drying process ensures that the paper is adequately prepared for the subsequent cutting and crafting steps.
Step 3: Cut Out Desired Shapes.
With the dried and reinforced paper, it’s time to unleash your creativity by cutting out desired shapes.
Use scissors or a craft punch to create intricate and personalized designs. Whether you opt for simple geometric shapes or more elaborate patterns, the vinegar-painted paper becomes a versatile canvas for your artistic expressions.
As a tip, experiment with various shapes and sizes to add diversity to your creations.
The dried vinegar and glue mixture imparts a unique texture to the paper, enhancing the visual appeal of the cut-out shapes.
Bonus Tip: For mass sticking, especially with younger crafters, use a dampened sponge to moisten the back of the vinegar-painted stickers.
While the glue is nontoxic, it’s a friendly reminder that crafting materials are for creative endeavors, not for tasting. This practical approach ensures efficiency in the sticking process while maintaining a safe crafting environment.
*The information is for reference only.