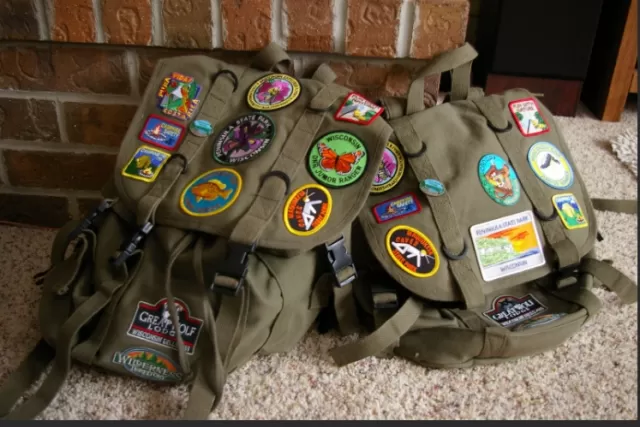
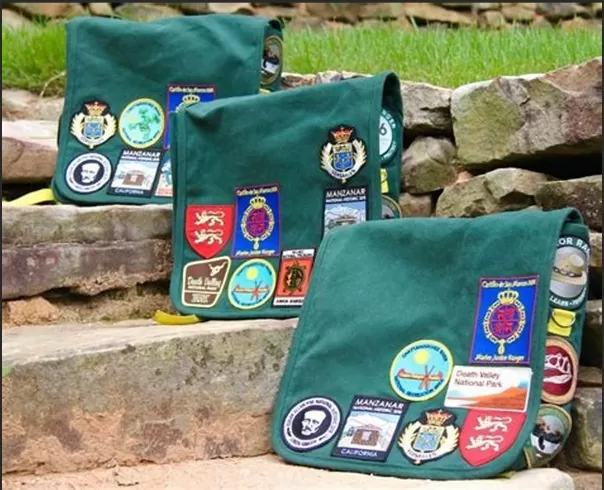
Customize Your Backpack with Stylish Iron-on Patches. Make the return to school an extra thrilling adventure for kids by engaging them in a fun and creative craft. Encourage personalization and self-expression with this delightful backpack craft that lets young learners adorn their backpacks with patches of their choosing.
Materials Needed:
Plain Backpacks: Provide plain backpacks as the canvas for their creative expressions. These can be in various colors to suit individual preferences.
Fabric Patches: Gather an assortment of fabric patches in different shapes, colors, and designs. These patches serve as the personalized elements that kids can use to make their backpacks uniquely their own.
Fabric Glue or Sewing Kit: Depending on the preference and age of the children, provide fabric glue for an easy, no-sew option or a sewing kit for those who want to try their hand at stitching.
Markers or Fabric Paint (Optional): For an added layer of personalization, include markers or fabric paint that kids can use to further customize their backpacks.
Crafting Steps:
Choose Patches: Let the kids explore the collection of fabric patches and choose the ones that resonate with their personal style and interests.
Plan Placement: Before attaching the patches, encourage the young crafters to plan where they want each patch to go on their backpack. This step allows them to visualize the design and ensure a balanced and aesthetically pleasing arrangement.
Attach Patches: Using fabric glue or a sewing kit, attach the chosen patches to the backpack. If using fabric glue, ensure that it’s suitable for a secure and lasting bond.
Add Personal Touch: For an extra personal touch, allow the kids to use markers or fabric paint to write their names, draw additional designs, or add special messages to their backpacks.
Let it Dry: If fabric glue or paint is used, make sure to let the backpacks dry completely before using them. This ensures that the patches and additional decorations are securely in place.
By engaging in this personalized backpack craft, kids not only have a unique and stylish accessory for the school year but also get excited about showcasing their creativity and individuality. The process fosters a sense of ownership and enthusiasm for the upcoming school adventures.
Creating a Personalized Backpack: Materials Needed

Get ready to infuse your backpack with personality by gathering the following materials:.
Backpack: Choose a suitable backpack as the canvas for your creative expression. The State Mini Kane Backpack in Green/Navy ($50, available at statebags.com) is an excellent option.
Iron-On Patches: Select a variety of iron-on patches to add playful and personalized elements to your backpack. Consider the State Broccoli, Tomato, and Rocket Ship Patches, available from $5 each at statebags.com.
Handheld Iron: Ensure you have a handheld iron to facilitate the iron-on patch application process. This tool is essential for securing the patches firmly to the backpack.
Pressing Cloth: Use a pressing cloth to protect the backpack and patches from direct contact with the iron. This cloth adds an extra layer of safety during the ironing process.
With these materials on hand, you’re all set to transform a plain backpack into a customized and vibrant accessory that reflects your unique style and interests.
Let the creative journey begin!.
Step 1: Prepare the Handheld Iron and Workspace

Begin the customization process by preparing the handheld iron and setting up a suitable workspace.
Follow these steps:.
Turn On the Handheld Iron: Switch the handheld iron to the hottest setting, ensuring that the steam function is turned off.
Steam can interfere with the adhesion of the patches, so a dry heat setting is preferable for this application.
Select a Hard, Heat-Resistant Surface: Choose a sturdy table or another hard, heat-resistant surface for your workspace.
This surface provides stability and helps to ensure an even application of heat during the ironing process.
Avoid Using an Ironing Board: Steer clear of using an ironing board for this project.
Ironing boards typically have too much padding, which can impede the effectiveness of the iron-on patch application.
By setting up a proper workspace and adjusting the handheld iron to the ideal temperature, you lay the groundwork for a successful and efficient application of the iron-on patches to your backpack.
Step 2: Position Patches on the Backpack
With your handheld iron prepped and your chosen patches at the ready, it’s time to get creative.
Follow these steps to position the patches on your backpack:.
Plan Placement: Before applying any heat, plan the placement of each patch on the backpack.
Consider the overall design, spacing, and arrangement of the patches. This step allows you to visualize the final look and make any adjustments before proceeding.
Peel Backing: If your patches come with a backing, carefully peel it away to expose the adhesive side of the patch.
This side will be applied to the backpack.
Position Patches: Place the patches on the backpack in your desired locations.
Ensure they are evenly spaced and aligned according to your design plan. Press them down gently to adhere them temporarily.
By taking the time to plan and position the patches thoughtfully, you set the stage for a visually appealing and well-balanced design on your backpack.
This step allows you to make any necessary adjustments before moving on to the ironing process.
Step 3: Apply Each Patch with Heat

Now that you’ve positioned the patches on the backpack, it’s time to secure them in place using heat.
Follow these steps for effective patch application:.
Layer Pressing Cloth: Place a pressing cloth over the first patch, creating a protective barrier between the patch and the handheld iron.
This cloth prevents direct contact between the iron and the patch, minimizing the risk of damage.
Apply Heat: Press down on the patch with the handheld iron for approximately 30 seconds.
Ensure that you cover the entire surface of the patch evenly to activate the adhesive.
Repeat for Each Patch: Continue the process, applying each patch individually.
Before moving on to the next patch, lift the pressing cloth and check if the patch has adhered securely. If necessary, reapply heat for a few more seconds.
Cover with Heat Evenly: Maintain consistent pressure and coverage with the handheld iron, moving systematically across the patches.
This ensures that each patch is securely attached to the backpack.
By applying heat with precision and using the pressing cloth as a protective layer, you facilitate a secure bond between the patches and the backpack.
This step-by-step approach guarantees a well-executed and visually pleasing customization of your backpack.
*The information is for reference only.