Elevate Your Bathroom: Upgrading a Builder Grade Mirror. Don’t settle for the dullness of a standard builder-grade mirror. Instead, take the opportunity to enhance its appearance and elevate the overall decor scheme of your space with a do-it-yourself (DIY) upgrade.
By giving your mirror a creative makeover, you can add a personal touch and breathe new life into your surroundings. Say goodbye to the mundane and hello to a mirror that truly reflects your style and personality. Let’s explore some exciting ideas to inspire your DIY mirror transformation.
Simplistic Elegance: Refining a Basic Wooden

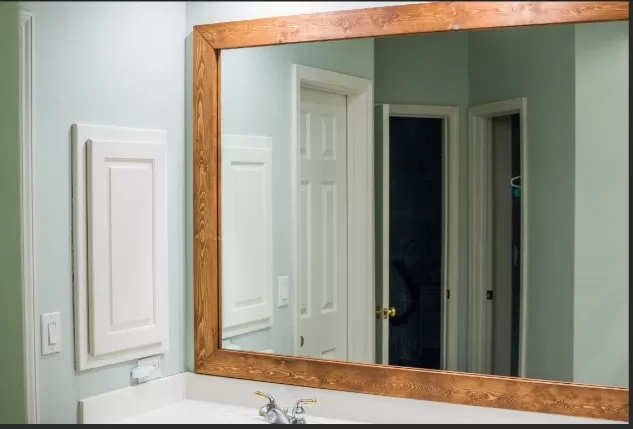
Frame Constructing a DIY frame for your mirror is a straightforward task that requires minimal woodworking tools and a small investment of time.
One appealing style to consider is a mitered frame, characterized by precise 45-degree angle cuts on each side. These angled cuts, or miters, facilitate seamless corner connections, resulting in a perfectly squared frame.
To build a mitered frame, begin by measuring your mirror’s dimensions and then cutting the wood accordingly to ensure a precise fit.
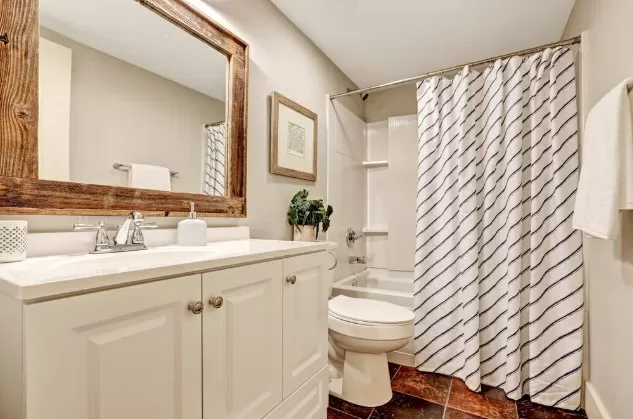
Alternatively, you can opt for a more rustic or contemporary appearance by purchasing pre-cut lengths of wood from a hardware store, tailored to match your mirror’s length and width.
Subsequently, sand, paint, and attach the wood to your mirror, omitting the mitered corners.
Effortless Charm: Embracing the Corner Block Frame
An alternative option for framing your bathroom mirror is the corner block frame, which provides a touch of convenience at a slightly higher cost.
This style eliminates the need for meticulous 45-degree angle cuts when creating corners, simplifying the construction process. To assemble this frame, you will require four corner blocks, such as rosettes available at Home Depot, in addition to the wood for the frame.
For a polished finish, paint or stain all sides of the frame and corner blocks before cutting and affixing them to the mirror’s edges.
Secure the four corner blocks flush with the mirror’s edge and precisely measure and cut the chosen wood trim to fit between each corner block. Utilize a durable adhesive to firmly attach the trim, similar to the one used for the corner blocks.
Embracing Nature\’s Aesthetics: Personalizing with Natural Elements

Infusing elements of nature into your home decor adds a distinctive touch of style.
To harmonize your mirror with a floral theme, consider adhering rows of vibrant flower blooms, such as multi-colored daisies from Amazon, along the mirror’s edges. Similarly, you can explore creative options like seashells, pebbles, small pinecones, trimmed raffia, faux leaves, or other decorative items sourced from your local craft store.
If you prefer a beachy or nautical ambiance, experiment with using thick lengths of rope to create a border for your mirror.
Artistic Illusion: Crafting a Faux Window Frame
If you possess an extra-large mirror, you can enhance its visual appeal by creating a faux window frame, which divides the reflection into intriguing segments.
Commence this project by obtaining half-round molding, such as unfinished pine trim from Lowes, and cutting it into pieces to mimic a window pane structure. You can opt for a single large pane on each side of the mirror or create smaller sections resembling a window grille. Before attaching the trim to the mirror, ensure it is sanded, stained, or painted to your desired finish.
Majestic Sophistication: Crown Molding Enhancement

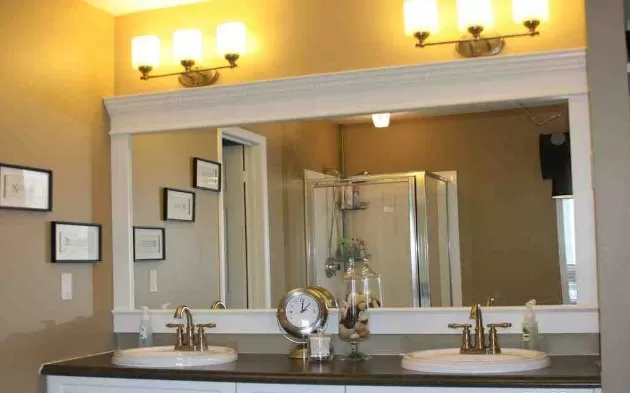
For those aspiring to achieve an opulent and classical-inspired aesthetic, incorporating crown molding into your mirror frame creates a seamless extension of the surrounding woodwork in your home.
To achieve this regal look, begin by procuring crown molding for the top of the mirror and wood trim for the remaining three sides. Measure the mirror’s length and width, cutting the crown molding and bottom trim piece to match the width precisely.
The side pieces should be cut slightly shorter to fit snugly between the crown molding and the trim.
*The information is for reference only.