Cleaning Unreachable Spots: 11 Handy Tips. Cleaning the often overlooked and hard-to-reach places is essential for maintaining a clean and healthy living environment. While these areas may be out of sight, it’s important to acknowledge their existence and tackle them periodically.
By doing so, you can minimize dust that can trigger allergies and asthma, eliminate harmful bacteria that may cause illness, and give yourself the satisfaction of a thorough cleaning that would make your mother proud.
Cleaning and Maintaining Ceiling Fans and Light Fixtures

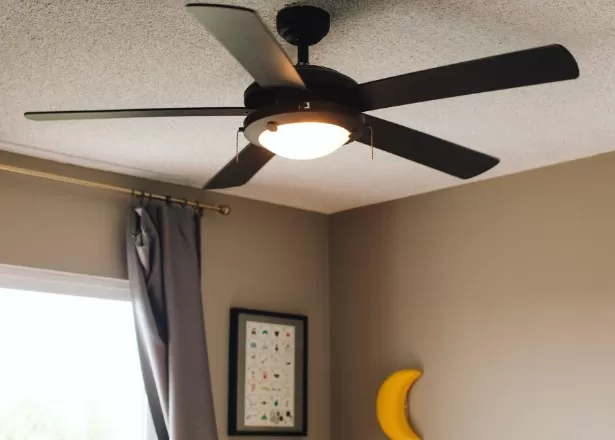
Cleaning ceiling fans and high-up light fixtures doesn’t require risky maneuvers or precarious balancing acts.
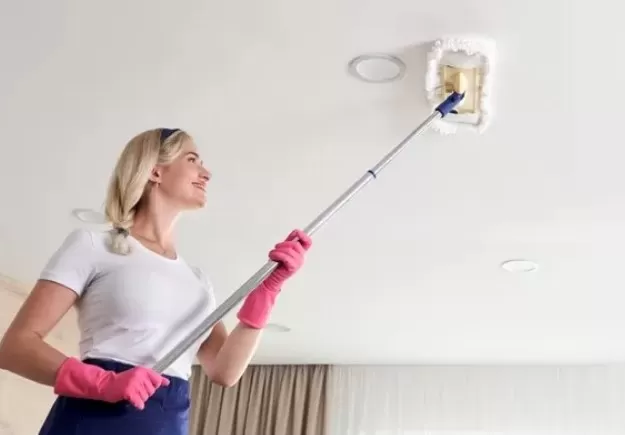
Instead, opt for convenient and safe cleaning methods that yield satisfying results. One recommended approach is using a disposable duster with an extendable handle, which effectively captures dust and spider webs.
Unlike feather dusters, disposable dusters are designed to cling to dust particles, preventing them from scattering around.
If a disposable duster is not available, you can easily fashion your own cleaning tool.
Secure a clean microfiber cloth to a broom or mop handle using a rubber band. This makeshift tool allows you to effectively clean hard-to-reach areas.
Safety should always be a priority, especially when using a ladder.
It is advisable to have another person present to support the ladder and provide assistance in case of any slips or falls. Avoid using a ladder when you are home alone, as it is not a recommended practice.
By following these methods and safety precautions, you can efficiently clean ceiling fans and high-up light fixtures, maintaining a fresh and dust-free environment without compromising your safety.
Caring for Ceilings and Moldings: Cleaning and Maintenance Tips

Take a moment to glance upward, and you might be surprised by the accumulation of dust and spider webs near your ceiling and crown moldings.
To tackle this issue, equip yourself with a long-handled duster, a clean and dry sponge mop, or a broom to effortlessly remove the dirt. It’s advisable to prioritize this step as the first task when cleaning a room, allowing you to conveniently vacuum up the fallen debris afterwards.
With these methods, you can restore the cleanliness and freshness of your ceilings and moldings.
Cleaning Cabinet Tops and High Furniture: Tips for Tackling Hard-to-Reach Areas

Cleaning Cabinet Tops and Tall Furniture: Reachable Solutions for a Spotless Space.
When it comes to cleaning those hard-to-reach areas like the Tops of Cabinets and tall furniture, having the right tools can make a significant difference.
Opt for a disposable duster with an extendable handle that features a pivoting head. This allows you to adjust the angle for optimal reach and coverage.
If you’ve noticed a buildup of dust and particles of grease on your kitchen cabinets, it’s time for a thorough cleaning.
Start by using a sturdy step stool to access the cabinet tops. Prepare a solution of two cups of warm water, one teaspoon of dishwashing liquid, and one teaspoon of household ammonia.
Dip a soft cloth into the cleaning solution and gently wipe away the accumulated soil on the cabinet surfaces.
Ensure thorough coverage and then rinse with another cloth dipped in plain water to remove any remaining residue. To complete the process, use a soft clean cloth to dry the surfaces and leave them looking fresh and clean.
By following these steps, you can effectively clean cabinet tops and tall furniture, restoring their appearance and creating a spotless environment in your home.
Cleaning Window Blinds: Tips and Techniques for Sparkling Results

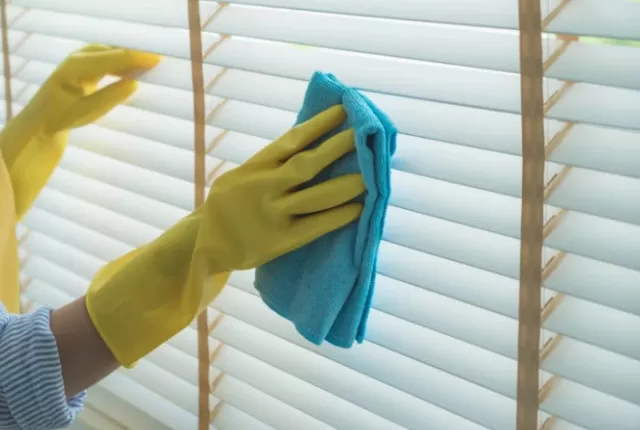
When dusting window blinds, it’s essential to remember the proper technique for thorough cleaning.
Start by closing the blinds and clean one side using a static duster. Once finished, reverse the direction to clean the other side, ensuring all surfaces are covered.
For a more efficient method to clean both sides of the slats simultaneously, you can utilize a pair of kitchen tongs and microfiber cloths.
Wrap two microfiber cloths securely around each end of the tongs, fastening them with a rubber band. Glide the tongs along each slat, allowing the microfiber cloths to wipe away dust from both the top and bottom surfaces.
Afterward, simply toss the microfiber cloths into the washer, and you’re done!.
By following these practical cleaning techniques, you can achieve sparkling window blinds that are free of dust and grime.
Cleansing Window, Sliding Door, and Shower Door Tracks: Tips for Effective Maintenance
Maintaining Pristine Window, Sliding Door, and Shower Door Tracks: Effective Cleaning Techniques.
Window, sliding door, and shower door tracks tend to accumulate remarkable amounts of dust and dirt, posing a cleaning challenge due to their tight spaces.
When it’s time to tackle this task, consider removing screens for a thorough cleaning. Start by using the crevice tool on your vacuum cleaner or create a custom crevice cleaner to effectively remove loose dust and grime, making the subsequent cleaning process easier.
After vacuuming, prepare a solution by mixing two cups of warm water with one teaspoon each of dishwashing liquid and household ammonia.
Employ a flexible stiff-bristled brush to scrub the tracks, ensuring a thorough cleaning. Rinse with plain water.
If dealing with soap scum on shower door tracks, some vinegar and extra care may be required, depending on the type of metal.
As an additional tip for cleaning outside window and door tracks, a pressure washer or a pressure nozzle for your hose can work wonders.
A strong burst of water can often bring the tracks to a sparkling clean state.
By following these effective cleaning techniques, you can maintain impeccable window, sliding door, and shower door tracks that are free from dust, dirt, and grime.
Tackling Hard-to-Reach Areas: Cleaning Behind the Toilet with Ease
Conquering the Hidden Space: Effective Cleaning Methods for Behind the Toilet.
The floor and wall behind the toilet often pose a challenge due to their limited accessibility, making it difficult for standard Cleaning Tools to reach.
However, with the right approach, you can effectively clean this area with ease.
Prepare yourself by wearing knee pads and rubber gloves, as this task requires some hands-on work.
Begin by using a dry stiff brush to remove loose dust, hair, and soil, paying attention to the baseboard as well. The crevice tool of your vacuum cleaner can be highly beneficial for sucking away debris from this confined space.
Next, equip yourself with a soft brush or sponge, dampened with warm water and a disinfectant cleaner.
Thoroughly wipe down the area, including the back of the toilet base, ensuring a comprehensive clean. Rinse the sponge or cloth with plain water and use it to remove any cleaning residue.
Finally, dry the area using a soft cloth.
By following these effective cleaning methods, you can successfully tackle the hidden space behind the toilet, ensuring a hygienic and fresh bathroom environment.
Maintaining Efficiency and Performance: Cleaning Refrigerator Coils for Optimal Function
Improving Efficiency: Cleaning Refrigerator Coils for Cost Savings and Optimal Performance.
The presence of dust and debris on your refrigerator coils not only increases your utility costs but also hampers the efficiency of your appliance.
Fortunately, with just a few tools and some effort, you can easily clean the coils without the need to unplug the refrigerator.
Depending on the model, the coils that condense and cool the refrigerant can be found either on the back of the appliance or underneath it.
For refrigerators with rear coils, simply roll out the appliance and use the upholstery brush attachment of your vacuum to effectively remove dust.
In the case of models with bottom coils, start by unsnapping the ventilated grill.
Utilize a long-handled stiff brush, along with the crevice tool of your vacuum cleaner, to eliminate dust and debris from the coils. Pay attention to all corners where dust bunnies tend to gather, using the brush to reach those areas.
While cleaning, take the opportunity to ensure the condenser fan is free from dust, allowing the blades to turn effortlessly. Accessing the fan may require removing a separate panel located at the back of the refrigerator.
By following these steps, you can enhance the efficiency and performance of your refrigerator while reducing utility costs.
A clean set of coils and a dust-free condenser fan will help your appliance operate optimally.
*The information is for reference only.