Discover the hidden dirt and grime lurking in your supposedly clean home. Uncover the secrets to effectively clean and revitalize your Cleaning Tools, ensuring a truly pristine living environment. Don’t let overlooked areas compromise the cleanliness of your home any longer.
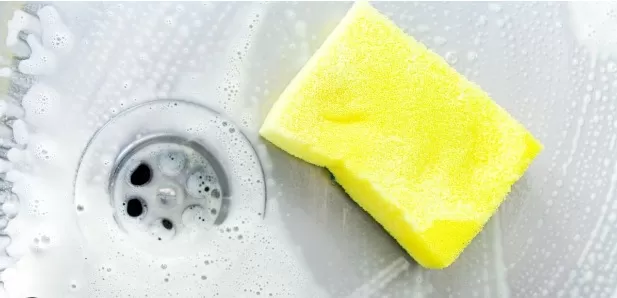
Eliminate Germs and Odors from Sponges with Proper Soaking

Sponges play a crucial role in our cleaning routines, but if not properly maintained, they can become smelly and harbor harmful germs.
To effectively banish dirt and bacteria from your sponges, it is important to follow the right soaking techniques. By dedicating just five minutes to a proper soak, you can restore your sponges to a clean and hygienic state.
Begin by preparing a solution of ¾ cup bleach diluted in 1 gallon of water.
This powerful mixture will effectively eliminate germs and odors from your sponges. Submerge the dirty sponges in the solution and allow them to soak for five minutes.
During this time, the bleach solution will penetrate the sponge, disinfecting it and neutralizing any unpleasant odors.
Alternatively, you can opt for machine cleaning methods.
Running sponges through the dishwasher on the normal setting can be an effective way to cleanse them. The high temperature and detergent action of the dishwasher will help eliminate germs and sanitize the sponges.
Ensure that the sponges are securely placed in the dishwasher, away from other dishes, to prevent cross-contamination.
Another option is to microwave a damp sponge on high for one to two minutes.
The microwave’s heat will kill most bacteria present on the sponge. However, it’s essential to ensure that the sponge is damp before microwaving, as a dry sponge can catch fire.
Regularly disinfecting your sponges is vital for maintaining a clean and healthy environment.
By eliminating germs and odors, you reduce the risk of cross-contamination during cleaning tasks.
Remember, sponges should be replaced regularly, especially if they show signs of wear or become heavily soiled.
Proper soaking techniques provide an interim solution to keep your sponges hygienic between replacements.
By following these simple steps, you can ensure that your sponges are fresh, clean, and free from harmful bacteria.
Embrace proper soaking techniques to maintain a sanitary cleaning routine and promote a healthier living space.
Maintain Optimal Vacuum Performance with Proper Cleaning and Maintenance
Vacuuming the living room and disposing of the collected debris might seem like the end of the task, but to ensure consistent peak performance from your vacuum cleaner, additional steps should be taken.
It is important to prioritize the cleanliness and maintenance of your vacuum after each use. By following a few essential practices, you can prolong its lifespan and maintain its effectiveness.
Whether your vacuum has a replaceable bag or is bagless with a dust collector, regular attention is necessary.
If your vacuum utilizes a bag, make it a habit to replace it regularly to prevent it from becoming overly full. For bagless models, empty the dust collector and wipe it down to remove any trapped dust and dirt.
This helps maintain optimal suction power and prevents clogging.
Dust and debris can accumulate on the hoses and attachments of your vacuum cleaner over time, hindering its performance.
After each use, take a damp cloth and thoroughly dust off these components to ensure they remain clean and free from blockages. This simple step helps maintain proper airflow and ensures that your vacuum can efficiently pick up dirt and debris.
Additionally, don’t forget to inspect the beater bar and roller of your vacuum.
These components can become tangled with hair, thread, or other debris, which may hinder their rotation and reduce cleaning effectiveness. Regularly check and remove any entangled materials to keep the beater bar and roller operating smoothly.
By incorporating these cleaning and maintenance practices into your routine, you can optimize the performance and longevity of your vacuum cleaner.
A well-maintained vacuum not only ensures a cleaner living environment but also saves you time and effort during cleaning tasks.
Remember, regular upkeep of your vacuum is vital for maintaining its vitality and effectiveness.
Dedicate a few moments after each use to tidy up the machine, and you’ll enjoy consistent peak performance whenever you need it.
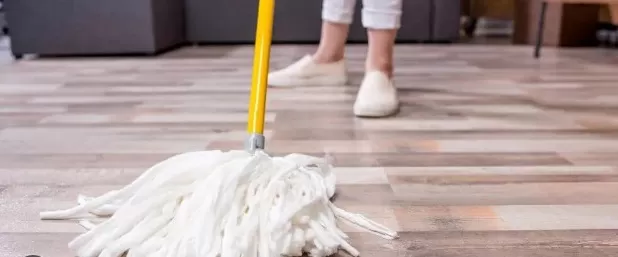
Properly Maintain and Disinfect Your Mop for Effective Cleaning

Regular mopping is essential for keeping your floors clean, but the care you give to your mop after each use is equally important.
Instead of simply wringing out the water and storing it until the next cleaning session, taking a few extra steps will ensure your mop remains clean and effective. By following proper cleaning and disinfection practices, you can maintain a hygienic mop and achieve optimal cleaning results.
After mopping, start by giving your mop a thorough soak in hot, soapy water.
This helps to loosen and remove any dirt or residue that may be trapped in the mop fibers. Allow the mop to soak for a sufficient amount of time, then rinse it well in hot water to eliminate any soapy residue.
Once rinsed, wring out the mop thoroughly to remove excess water.
It’s important to ensure the mop is as dry as possible before storing it to prevent the growth of mold or unpleasant odors. To facilitate drying, stand the mop upright or hang it in a well-ventilated area.
If your mop has a removable head, it is highly recommended to run it through the washing machine on the delicate cycle with bleach.
This extra step helps to disinfect the mop head and eliminate any lingering bacteria or germs. Be sure to follow the manufacturer’s instructions regarding the use of bleach and the appropriate water temperature.
Regularly cleaning and disinfecting your mop not only keeps it in good condition but also ensures that it effectively removes dirt and grime from your floors.
A properly maintained mop contributes to a cleaner and healthier living environment.
Remember, a clean mop is essential for achieving optimal cleaning results.
By dedicating a little extra effort to the post-mopping care of your mop, you can enjoy cleaner floors and a more hygienic home.
Properly Maintain and Disinfect Your Mop for Effective Cleaning
Regular mopping is essential for keeping your floors clean, but the care you give to your mop after each use is equally important.
Instead of simply wringing out the water and storing it until the next cleaning session, taking a few extra steps will ensure your mop remains clean and effective. By following proper cleaning and disinfection practices, you can maintain a hygienic mop and achieve optimal cleaning results.
After mopping, start by giving your mop a thorough soak in hot, soapy water.
This helps to loosen and remove any dirt or residue that may be trapped in the mop fibers. Allow the mop to soak for a sufficient amount of time, then rinse it well in hot water to eliminate any soapy residue.
Once rinsed, wring out the mop thoroughly to remove excess water.
It’s important to ensure the mop is as dry as possible before storing it to prevent the growth of mold or unpleasant odors. To facilitate drying, stand the mop upright or hang it in a well-ventilated area.
If your mop has a removable head, it is highly recommended to run it through the washing machine on the delicate cycle with bleach.
This extra step helps to disinfect the mop head and eliminate any lingering bacteria or germs. Be sure to follow the manufacturer’s instructions regarding the use of bleach and the appropriate water temperature.
Regularly cleaning and disinfecting your mop not only keeps it in good condition but also ensures that it effectively removes dirt and grime from your floors.
A properly maintained mop contributes to a cleaner and healthier living environment.
Remember, a clean mop is essential for achieving optimal cleaning results.
By dedicating a little extra effort to the post-mopping care of your mop, you can enjoy cleaner floors and a more hygienic home.
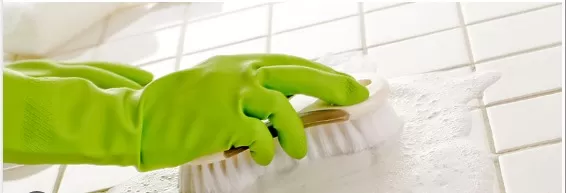
Keep Your Scrub Brushes Clean and Effective

Scrub brushes are indispensable for tackling stubborn grease and grime, but their bristles can quickly become clogged and dirty.
To ensure their optimal performance, it’s important to clean and maintain scrub brushes properly. By following a few simple steps, you can keep your brushes in top condition and ready for the next grime-fighting session.
After each use, rinse the scrub brush thoroughly in hot water.
This helps remove any loose debris and prevents residue buildup. While rinsing, gently knead the bristles with your fingers to dislodge any stubborn particles.
By doing so, you ensure that the bristles remain clean and ready for the next use.
Once rinsed, it’s crucial to allow the brush to dry properly.
You can achieve this by placing the brush upright in a dish drainer, allowing any excess water to drip off and air-dry naturally. Alternatively, you can hang the brush from a hook or a designated brush holder, ensuring proper airflow for thorough drying.
If your scrub brush is dishwasher-safe, another option for cleaning and sanitizing is running it through the dishwasher on the normal setting.
This method is especially useful for removing grease and bacteria from the bristles. Before placing the brush in the dishwasher, check the manufacturer’s instructions to ensure it can withstand dishwasher cleaning.
By regularly cleaning and maintaining your scrub brushes, you not only extend their lifespan but also ensure that they continue to effectively tackle tough cleaning tasks.
A clean brush guarantees optimal bristle contact with surfaces, resulting in more efficient and thorough cleaning.
Remember, proper care and cleaning of your scrub brushes are essential for maintaining their effectiveness.
Rinse, knead, and allow them to dry thoroughly after each use. Additionally, consider periodic dishwasher cleaning if suitable for your brushes.
With these practices, you can keep your scrub brushes clean, hygienic, and ready to tackle even the toughest grime.
*The information is for reference only.