Creating Snow Globes: A Step-By-Step Guide.Are you yearning for a white Christmas and looking to add a touch of winter magic to your holiday decor? Why not create your very own snow globe This Year? This simple do-it-yourself project is perfect for the season, and the materials you need are readily available. Almost any jar, be it a storage container, jam jar, or jelly jar, can work, but a wide-mouthed jar is ideal as it provides more space for crafting your wintry scene. You can easily find glycerin in your local pharmacy’s health and beauty aisle, while epoxy and glitter are likely lurking in your craft room.
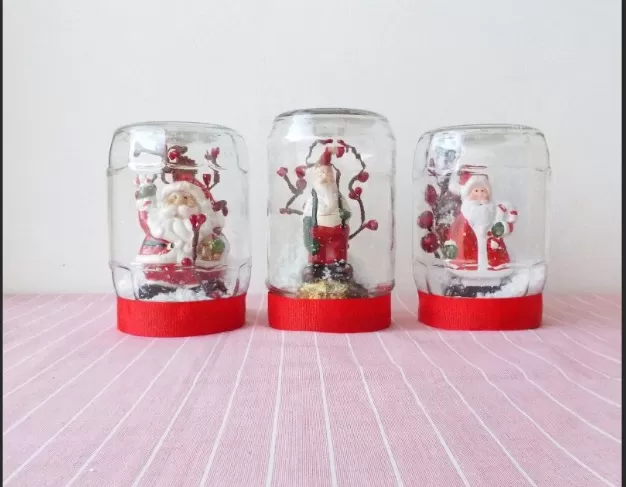
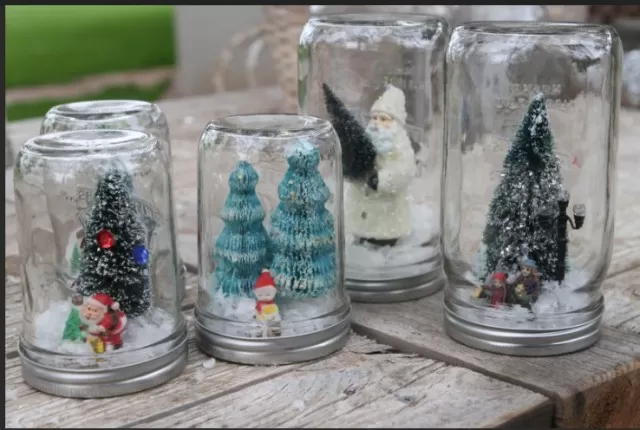
When crafting your snow globe, remember that the details inside are just as crucial, if not more so, than the globe itself. You can let your creativity shine by populating your snowy landscape with tiny polymer clay creations. For example, you can fashion a miniature snowman by rolling three white clay balls in descending sizes, adding details like a carrot nose, button eyes, a scarf, and a top hat. Alternatively, explore using toy figurines like reindeer, skiers, carolers, or a cheerful Santa. For a personal touch, involve your child in selecting the perfect figurine to display in their own custom snow globe.
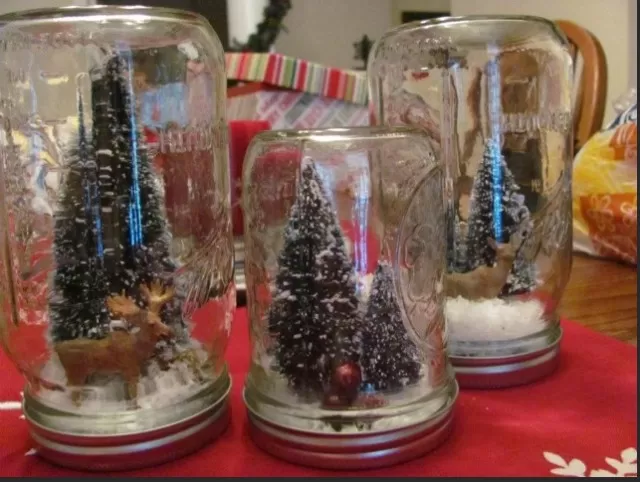
If you’re aiming to create a more traditional and long-lasting snow globe, opt for plastic or ceramic figurines, as metal ones are prone to rust. To complete your nostalgic wintry tableau, consider using synthetic evergreen tips, readily available at many floral-supply stores. This DIY snow globe project is a wonderful way to bring the enchantment of a winter wonderland into your home this holiday season.
Materials List

What You’ll Require: .
Synthetic evergreen tips
Oil-based enamel paint (optional)
Sandpaper
Glitter
Glycerin
Plastic or ceramic figurines
Glass jar
Clear-drying epoxy.
Step 1
Begin by assessing the color of your jar lids.
If they are not already in seasonal colors, you can enhance their appearance by applying a coat of oil-based enamel paint. This step will help ensure that the lids complement the overall festive aesthetic of your project.
Step 2

To create a secure bond, sand the interior surface of the lid until it becomes rough.
Next, using clear-drying epoxy, affix the plastic or ceramic figurines to the inside of the lid. Allow the epoxy to dry thoroughly, ensuring a strong and lasting attachment.
This step will add an enchanting element to your project as the figurines become an integral part of your decorative jar.
Step 3
Pour distilled water into the jar, filling it nearly to the top.
To create a captivating snow globe effect, add a pinch of glitter and a small amount of glycerin. The glycerin helps to control the descent of the glitter, preventing it from falling too rapidly. Be cautious not to add an excessive amount of glycerin, as this could cause the glitter to stick to the bottom of the jar when it’s inverted. Achieving the right balance will result in a mesmerizing snowfall when the jar is turned upside down.
Step 4

Once you’ve added the water, glitter, and glycerin, securely screw the lid onto the jar.
Be mindful not to dislodge the figurine that you’ve attached to the lid in the previous steps. With the lid tightly sealed, you can now enjoy the magical snow globe effect.
Turn the jar upside down and then back again, and watch as your enchanting winter scene comes to life, creating a captivating snowy spectacle.
*The information is for reference only.