Undo the Mess: 5 Simple Solutions for a Botched Paint Job. Painting mistakes can happen to anyone, but fortunately, they can often be fixed with some simple solutions. If you’re looking to achieve near perfection and correct glaring painting mistakes, here are some tips.
Rectify Paint Accidents: Tips for a Flawless Finish

Regardless of your level of expertise or caution when it comes to painting, occasional mishaps can occur during both DIY projects and professional endeavors.
Paint can unexpectedly splatter, spill, or bleed, and various unforeseen obstacles can disrupt the process of achieving a perfect paint application. However, it’s important to remember that a botched paint job is not irreversible.
By following these tips, you can swiftly rectify any mistakes. Additionally, if you happen to have leftover paint, you can utilize it for a more enjoyable DIY project.
Fortunately, most errors can be easily remedied without much difficulty.
The next time you encounter a drip, spill, or an “oops” moment, consider trying one of these simple solutions that will guide you toward achieving a flawless finish.
Fixing Uneven Paint Coverage
Achieving a flawless paint job requires applying the appropriate number of coats.
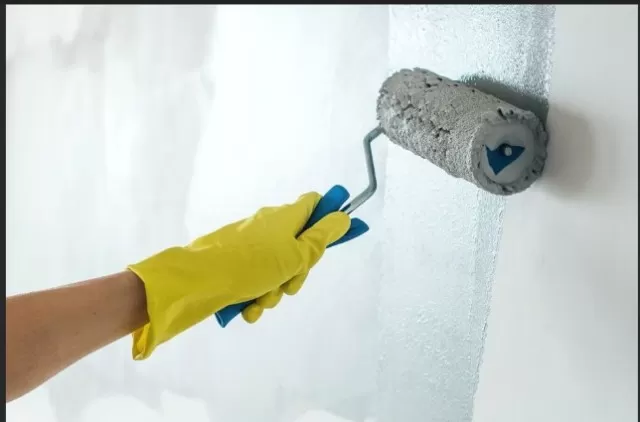
If you notice that your walls appear patchy, with traces of the old finish peeking through, it means you haven’t applied enough layers. To rectify this common mistake, allow the paint to dry completely and then proceed with a second coat.
Uneven coverage can also result from using paint that hasn’t been properly stirred.
Over time, paint tends to separate, with solids settling at the bottom of the can. Before applying the paint, ensure that you thoroughly stir it using a paint stirrer.
While a stir stick can suffice, using a mechanical stirrer like the ALLWAY Paint Mixer, compatible with most drills (available on Amazon), can make the mixing process a bit easier.
Eliminate Paint Bubbles

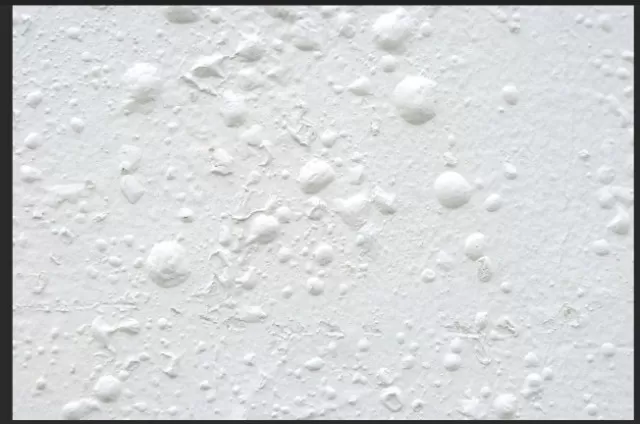
Paint bubbles or blisters can form when the top coat of paint fails to adhere adequately to the underlying layer, typically due to moisture or heat issues.
If you come across these unattractive bubble formations, it’s crucial to first identify and address the root cause before proceeding with the repairs.
Once you have resolved the underlying problem, use a convenient paint scraper such as the HYDE scraper (available on Amazon) to carefully remove the bubbles and blisters.
Afterward, smooth the surface by sanding it. Finally, apply a coat of primer before repainting the affected area.
Fixing Uneven Paint Coverage
Achieving a flawless paint job requires applying the appropriate number of coats.
If you notice that your walls appear patchy, with traces of the old finish peeking through, it means you haven’t applied enough layers. To rectify this common mistake, allow the paint to dry completely and then proceed with a second coat.
Uneven coverage can also result from using paint that hasn’t been properly stirred.
Over time, paint tends to separate, with solids settling at the bottom of the can. Before applying the paint, ensure that you thoroughly stir it using a paint stirrer.
While a stir stick can suffice, using a mechanical stirrer like the ALLWAY Paint Mixer, compatible with most drills (available on Amazon), can make the mixing process a bit easier.
Eliminate Paint Bubbles

Paint bubbles or blisters can form when the top coat of paint fails to adhere adequately to the underlying layer, typically due to moisture or heat issues.
If you come across these unattractive bubble formations, it’s crucial to first identify and address the root cause before proceeding with the repairs.
Once you have resolved the underlying problem, use a convenient paint scraper such as the HYDE scraper (available on Amazon) to carefully remove the bubbles and blisters.
Afterward, smooth the surface by sanding it. Finally, apply a coat of primer before repainting the affected area.
*The information is for reference only.