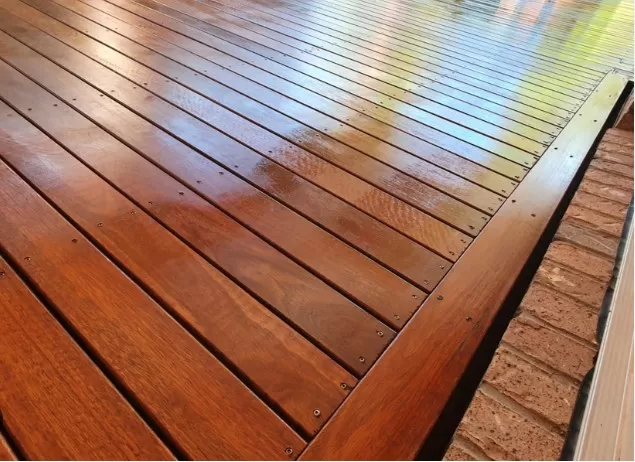
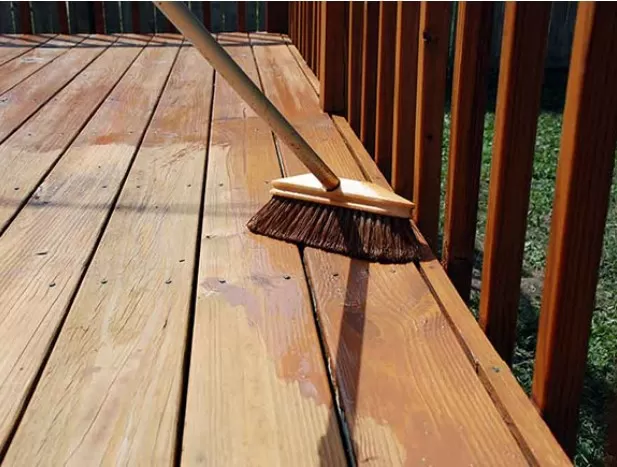
Achieve a Lasting Deck Stain: Expert Tips. As you prepare your backyard for the summer season, it’s crucial not to overlook the maintenance of your deck. Alongside regular cleaning, staining is a vital step in caring for this outdoor feature.
Stains not only enhance the deck’s overall appearance but also provide protection against the elements, ultimately extending its lifespan. While the process may seem time-consuming, staining your deck is a manageable task with the right guidance and materials. To ensure staining success, equip yourself with a few essential tips and the appropriate supplies. By following these guidelines, you’ll be well-prepared to transform your deck into a stunning and long-lasting outdoor space.
Essential Materials for a Successful Deck Staining Project

Prepare for your deck staining project by gathering the necessary materials.
A visit to your local home improvement store will ensure you have everything you need for a smooth process. Here’s a list of essential tools and supplies to include in your shopping trip:.
Pressure washer or garden hose: Used to thoroughly clean the deck surface before staining.
Sandpaper: Helps in preparing the deck by smoothing rough areas and removing old stain or paint. Deck cleaner: Effective in removing dirt, grime, and stains from the deck surface.
Deck brush: Used in conjunction with the cleaner to scrub away debris and ensure a clean surface. Eye goggles: Provides protection for your eyes while working with chemicals or during sanding.
Cleaning gloves: Keeps your hands protected from cleaning agents and harsh chemicals. Paint roller with an extension handle: Ideal for applying the stain smoothly and evenly.
Deck stripper: Helps remove old, worn-out stain or paint from the deck surface. Stain: Choose a high-quality deck stain that suits your desired color and offers protection against the elements.
Painter’s tape: Useful for covering areas you don’t want the stain to reach, such as walls or posts. Drop cloth: Protects the surrounding areas from drips and spills during the staining process.
By ensuring you have all these materials on hand, you’ll be well-prepared to tackle your deck staining project efficiently and achieve excellent results.
Mastering Deck Preparation: The Key to Successful Staining

Preparing your deck properly is essential to ensure a successful staining process.
By following these key steps, you can create an ideal foundation for the stain, enhancing its longevity and appearance.
Clear the deck: Remove all furniture, plants, and any other items from the deck to provide ample working space.
Clean the deck: Begin by sweeping the deck thoroughly to remove loose dirt, leaves, and debris.
Next, use a pressure washer or a garden hose with a high-pressure nozzle to clean the deck surface. If there are any stains or stubborn dirt, use a deck cleaner and a deck brush to scrub the affected areas.
Rinse the deck thoroughly and allow it to dry completely.
Inspect and repair: Carefully inspect the deck for any signs of damage, such as loose boards, nails, or splintered wood.
Make necessary repairs by tightening screws, replacing nails with deck screws, and securing any loose boards. Sand down any rough or splintered areas with sandpaper to create a smooth surface.
Apply deck stripper (if needed): If there is an existing layer of stain or paint on the deck, you may need to use a deck stripper.
Follow the manufacturer’s instructions carefully to apply the stripper, allowing it to penetrate the old coating. Once the recommended time has passed, use a scraper or a power washer to remove the old stain or paint.
Protect surrounding areas: Use painter’s tape and drop cloths to cover any surfaces you want to keep stain-free, such as walls, posts, or nearby landscaping.
By meticulously preparing your deck before staining, you’ll create a clean and smooth surface that allows the stain to adhere properly, resulting in a beautiful and long-lasting finish.
Don’t rush through this crucial step, as it sets the foundation for a successful deck staining project.
Selecting the Perfect Deck Stain: Considerations for Color and Opacity

Choosing the right deck stain color is a personal decision that allows you to customize the look and feel of your outdoor space.
With numerous options available, consider the following factors to make an informed choice:.
Personal preference: Select a stain color that resonates with your personal style and complements your overall aesthetic vision for the deck.
Deck’s surroundings: Take into account the existing colors and elements surrounding your deck, such as the house exterior, landscaping, and Outdoor Furniture.
Choose a stain color that harmonizes with these elements for a cohesive look.
Natural wood tones: Consider the natural tones of your deck’s wood.
Some stains aim to enhance the wood’s natural color, while others provide a different tint. Decide whether you want to accentuate or alter the wood’s original appearance.
Once you’ve chosen a stain color, you’ll also need to determine the opacity level.
Here are the four common options to consider:.
a. Clear or transparent: Allows the most wood grain to show through while providing minimal color change.
b. Semi-transparent: Offers moderate wood grain visibility and a subtle tint that enhances the deck’s appearance.
c. Semi-solid: Provides more coverage and color, with less wood grain visibility.
d. Solid or opaque: Offers the highest level of coverage, hiding the majority of wood grain and providing a solid color finish.
Consider your desired level of wood grain visibility and the amount of color coverage you prefer when selecting the opacity level.
Keep in mind that higher opacity levels may offer better protection against UV rays and weathering.
By considering your personal preferences, the deck’s surroundings, and the desired opacity level, you can confidently choose a deck stain that enhances the beauty of your outdoor space while providing protection and longevity.
Step-by-Step Guide to Staining Your Deck

With your deck prepared and the stain chosen, it’s time to start the application process.
Follow these steps for a successful deck staining experience:.
Sweep debris: Before applying the stain, ensure the deck surface is clean by sweeping away any debris that may have accumulated during the drying process.
Protect adjacent siding: Apply painter’s tape to any adjacent siding or surfaces of your home that you want to keep stain-free.
Cover surrounding plants: Use a drop cloth or plastic sheeting to protect any nearby plants or landscaping from accidental staining.
Stir the stain: Thoroughly stir the stain to ensure it is well-mixed and the color is consistent throughout the container.
Pour stain onto a paint tray: Transfer the stain from the can to a paint tray, making it easier to load the roller.
Apply stain with a roller: Use a roller with an extension handle to apply an even, thin coat of stain to a two-to-three board section of the deck.
Roll in the direction of the wood grain for a smooth finish. Be mindful not to overload the roller with too much stain.
Repeat the process: Continuously move along the deck, applying stain to small sections at a time.
Ensure each section is coated evenly before moving on to the next.
Use a brush for small areas: In corners, steps, railings, end grain, and cracks where a roller cannot reach, use a paintbrush to apply the stain.
This will ensure thorough coverage in these hard-to-reach areas.
Allow for complete drying: Once you have finished applying the stain, allow the deck to dry completely according to the manufacturer’s instructions.
This usually takes around 24-48 hours, depending on weather conditions.
By following these Step-by-Step Instructions, you’ll achieve a beautifully stained deck that not only enhances its appearance but also provides protection against the elements.
Enjoy your refreshed outdoor space once the deck is fully dry and ready for use.
*The information is for reference only.