If your baking sheets need deep cleaning to remove stains and built-up grime, you can try these DIY Cleaning Solutions.
It’s important to note that these methods are suitable for uncoated baking sheets and not recommended for non-stick pans, as they require different care.
Clean Baking Sheets with baking soda

Mix Boiling Water with Baking Soda:
Start by pouring boiling water onto the baking sheet, covering the surface.
Sprinkle a few tablespoons of baking soda evenly over the sheet.
Let it Sit and Wipe:
Allow the solution to sit for about an hour, giving the baking soda time to work on the stains and debris.
After an hour, use a soft cloth or sponge to wipe away the burned-on debris.
The baking soda should help loosen the stains and make them easier to remove.
Hand-Wash with Mild Dish Soap:
Once you’ve wiped away the debris, hand-wash the baking sheet with mild dish soap and warm water.
Use a non-abrasive sponge or cloth to gently scrub the surface, removing any remaining residue.
Rinse the baking sheet thoroughly to remove any soap residue.
For Stubborn Stains:
If you’re dealing with stubborn scorch marks or burned-on messes, you can try a soaking method using baking soda:
Create a Soaking Solution:
In a sink or large container, mix 1 tablespoon of baking soda, a few drops of dish soap, and hot water.
Stir the mixture to dissolve the baking soda and create a solution.
Soak the Baking Sheet:
Place the baking sheet in the soaking solution, ensuring that it is fully submerged.
Let the sheet pan soak for one hour overnight, depending on the severity of the stains.
Scrub and Rinse:
After soaking, use a non-abrasive sponge or brush to scrub away any remaining debris or stains.
Rinse the baking sheet thoroughly with warm water to remove any residue from the soaking solution.
Note: When cleaning non-stick pans, it’s important to avoid heavy-duty or abrasive scrubbing to prevent damage to the non-stick coating.
The combination of baking soda and dish soap in the soaking solution should help lift stains without harsh scrubbing.
By following these methods using baking soda, you can effectively clean your baking sheets and remove stains, debris, and scorch marks, keeping them in good condition for future use.
Clean Baking Sheet Pans with Baking Soda and Vinegar
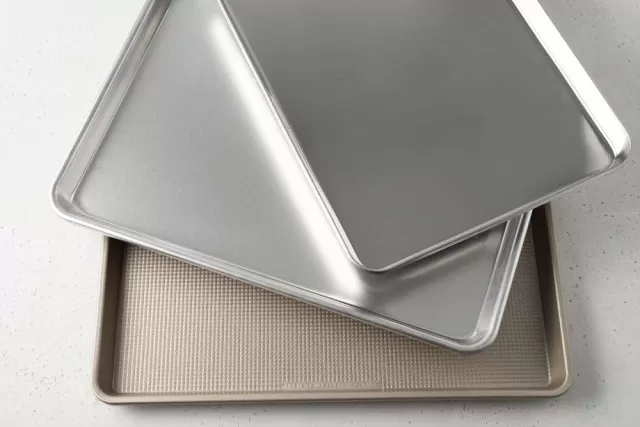
Fill Sink with Cleaning Mixture:
Start by filling your kitchen sink with hot water.
Add equal parts of baking soda and vinegar, approximately a half cup each, to the water.
Mix the baking soda and vinegar to create a cleaning solution.
Soak the Sheet Pan:
Place the sheet pan in the sink, ensuring it is fully submerged in the cleaning mixture.
Let it soak for 30-60 minutes.
The baking soda and vinegar will work together to help lift stubborn stains and baked-on residue.
Scrub and Dry:
After soaking, scrub the sheet pan using the abrasive side of a basic Kitchen Sponge.
The baking soda acts as a natural abrasive to help remove the residue.
Continue scrubbing until the baked-on debris is loosened and removed.
Once clean, wash the pan with mild dish soap and rinse it thoroughly.
Dry the sheet pan completely before storing or using it again.
For Non-Stick Sheet Pans:
If you have a non-stick sheet pan, it’s important to be more gentle to protect the non-stick coating.
Here’s how to clean a non-stick baking sheet using baking soda and vinegar:
Apply the Cleaning Mixture:
Cover the non-stick baking sheet with 2 teaspoons of baking soda.
Pour 1 cup of vinegar over the baking soda.
The mixture will create a foaming reaction.
Let it Sit:
Allow the mixture to sit on the surface of the pan for about 30 minutes.
The foaming action will help to loosen stuck-on food.
Wipe Away and Wash:
After 30 minutes, wipe away the dissolved residue using a soft cloth or sponge.
Wash the pan with mild dish soap and rinse it thoroughly.
Make sure to remove any remaining baking soda and vinegar mixture from the pan.
Dry the sheet pan completely before storing or using it again.
By using the combination of baking soda and vinegar, you can effectively tackle tough messes and stains on your sheet pans, whether they are regular or non-stick.
Just remember to be gentle with non-stick pans to avoid damaging the coating.
Clean Baking Sheets with a Scouring Tool or Product
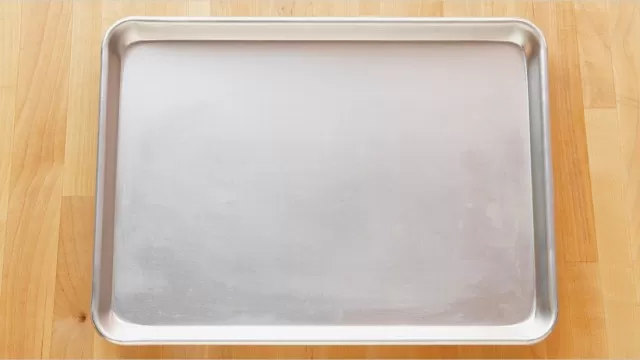
If you have stubborn stains or burnt-on residue on your baking sheets, you can use scouring tools or products to help remove them.
Here’s how you can clean baking sheets using scouring tools:
Choose a Scouring Tool:
You can use a copper cloth or a rolled-up sheet of aluminum foil as scouring tools.
Copper cloths are gentle yet effective in removing stains, while aluminum foil can provide more abrasion for tougher stains.
Choose whichever option you prefer or have available.
Apply an Abrasive Cleaner:
Sprinkle a granulated detergent like Bar Keepers Friend or Bon Ami onto the surface of the baking sheet.
These cleaners are specifically designed to tackle tough stains and grime on metal surfaces.
Scrub the Baking Sheet:
Use the scouring tool (copper cloth or aluminum foil) to scrub the baking sheet vigorously.
Apply pressure and scrub in circular motions, focusing on the areas with stains or burnt-on residue.
Continue scrubbing until the stains and residue start to loosen and come off.
Rinse and Dry:
Once you’ve scrubbed the baking sheet thoroughly, rinse it with warm water to remove any remaining cleaner and residue.
Dry the baking sheet completely using a clean towel or by air-drying.
Note: For non-stick pans, it’s important to avoid using scouring tools or abrasive cleaners, as they can damage the non-stick coating.
Instead, follow the manufacturer’s instructions for cleaning non-stick pans, which typically involve using mild dish soap and a soft sponge or cloth.
By using a scouring tool and an abrasive cleaner, you can effectively remove tough stains and burnt-on residue from your baking sheets.
Just remember to be cautious and avoid using these methods on non-stick pans to preserve their coating.
Clean Baking Sheets with Hydrogen Peroxide
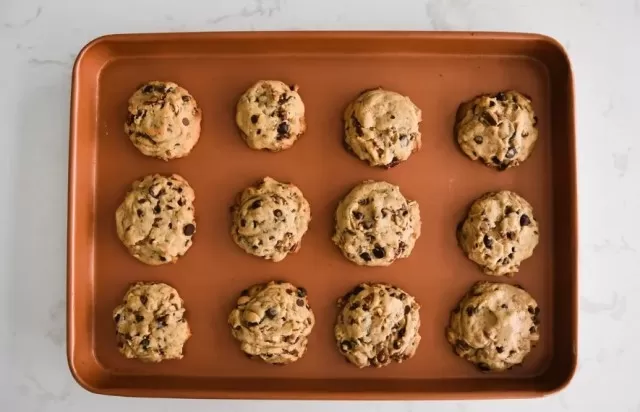
Cleaning baking sheets with hydrogen peroxide can be an effective method for removing stains and tough residue.
Here’s how you can do it:
Sprinkle Baking Soda:
Start by sprinkling a layer of baking soda over the scorched areas of the baking sheet.
Ensure that the affected areas are well-covered with baking soda.
Pour Hydrogen Peroxide:
Next, pour hydrogen peroxide over the baking soda, ensuring that it is evenly distributed over the surface of the baking sheet.
The combination of baking soda and hydrogen peroxide will create a foaming reaction, which helps to lift stains and residue.
Add Another Layer of Baking Soda:
Sprinkle another layer of baking soda over the hydrogen peroxide, creating a second layer of the cleaning mixture on top of the baking sheet.
Let it Sit:
Allow the baking soda and hydrogen peroxide mixture to sit on the baking sheet for up to two hours.
This will give the solution enough time to penetrate and loosen the stains and residue.
Wipe and Repeat (If Needed):
After the soaking time has passed, use a sponge or a soft cloth to wipe away the mixture from the baking sheet.
For tough stains or stubborn residue, you may need to repeat the process by applying another round of baking soda and hydrogen peroxide mixture and allowing it to sit for additional time.
Rinse and Wash:
Once you have removed the cleaning mixture, thoroughly rinse the baking sheet with water to remove any remaining residue.
Finish by washing the baking sheet with mild dish soap to ensure it is clean and ready for use.
Note: Hydrogen peroxide can have a bleaching effect, so it’s important to test it on an inconspicuous spot on the baking sheet first to ensure it doesn’t cause any discoloration.
Additionally, hydrogen peroxide is not considered a food-grade product, so make sure to rinse the baking sheet thoroughly and wash it with dish soap to remove any residual hydrogen peroxide before using it for food preparation.
While hydrogen peroxide can be effective, there are alternative methods available to clean baking sheets.
If you prefer not to use hydrogen peroxide, you can try other methods mentioned earlier using baking soda, vinegar, or other cleaning agents.
Clean Baking Sheets in a Self-Cleaning Oven

Cleaning baking sheets in a self-cleaning oven can be an option when other methods haven’t been successful.
Here’s how you can do it:
Place the Baking Sheets in the Oven:
Remove any loose debris or food particles from the baking sheets.
Place the baking sheets in the oven, ensuring they are positioned correctly according to the manufacturer’s instructions.
Start the Self-Cleaning Cycle:
Follow the specific instructions provided by your oven’s manufacturer to activate the self-cleaning cycle.
The self-cleaning cycle typically involves heating the oven to very high temperatures to burn off and reduce any residue on the interior surfaces, including the baking sheets.
Allow the Cycle to Complete:
Let the self-cleaning cycle run its full course, which usually takes several hours.
During this process, the oven will become extremely hot, so it’s important to take precautions and keep children and pets away from the area.
Cool Down and Remove Baking Sheets:
Once the self-cleaning cycle is complete, allow the oven to cool down completely.
Carefully remove the baking sheets from the oven using oven mitts or heat-resistant gloves.
Wash with Mild Soap:
After the baking sheets have cooled down, wash them with mild dish soap and warm water.
Use a sponge or non-abrasive cloth to scrub away any remaining residue or stains.
Rinse thoroughly to remove any soap residue.
Dry the Baking Sheets:
Dry the baking sheets with a clean towel or allow them to air dry completely before storing or using them again.
Note: It’s important to follow the manufacturer’s instructions for your specific oven model when using the self-cleaning feature.
Some baking sheets may not be suitable for the extreme temperatures of the self-cleaning cycle, especially those with non-stick coatings or other sensitive materials. If your baking sheets are severely damaged, scratched, warped, or have a peeling non-stick coating, it may be time to consider replacing them.
Remember to prioritize safety when using the self-cleaning feature, and always follow the guidelines provided by your oven’s manufacturer.
*The information is for reference only.