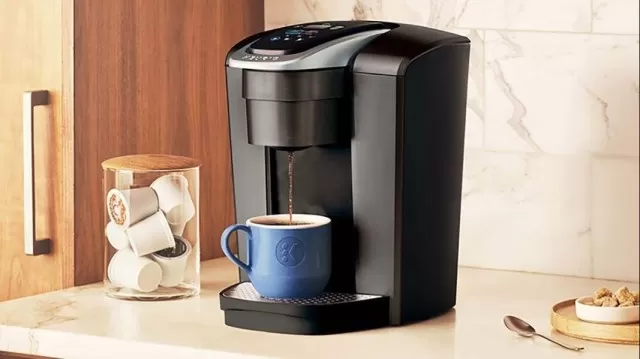
One of the primary advantages of Keurig coffee makers is their remarkable convenience in usage.

One of the primary advantages of Keurig coffee makers is their remarkable convenience in usage.
They make it incredibly easy to grab your daily caffeine boost on the go with a simple push of a button. However, despite their convenience, it’s crucial to regularly clean your Keurig Coffee Maker to ensure your brew maintains its exceptional taste.
Several indications indicate when it’s time to clean your Keurig.
Firstly, if you notice any buildup on your coffee maker, it’s a clear indication that it requires a thorough scrub. Additionally, if your coffee tastes strange or if any component of the machine is not functioning as it typically does, it’s a sign that cleaning is in order.
Regardless of these signs, it is recommended to clean your Keurig Coffee Maker every three to six months for optimal results. If you utilize your coffee maker daily, it’s advisable to clean the machine approximately once a month.
Best Way to Clean and Descale a Keurig Coffee Maker

Required Items:
Equipment/Tools
Towel or cloth
Toothbrush
Empty mug
Materials
- All-purpose cleaner
- Dish Soap
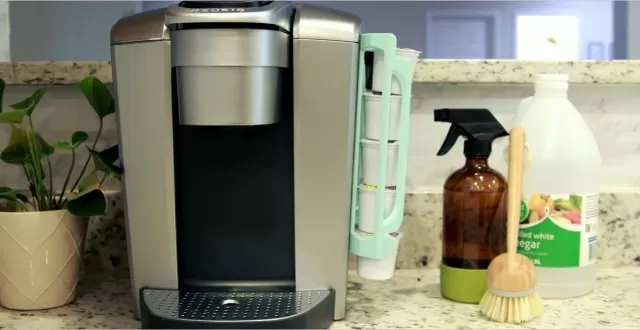
- White distilled vinegar
- Descaling solution (optional)

Instructions:
Always refer to the specific cleaning instructions provided by the manufacturer for your Keurig coffee maker.
For general guidance, follow the steps below. Ensure that there are no pods in the machine before cleaning.
Clean the Exterior:
Before unclogging or descaling the coffee maker, thoroughly clean the exterior.
Use a cloth dampened with an all-purpose cleaner to wipe the surface of the machine.
Wash Removable Parts:
The reservoir, drip tray, cover, holder, and funnel can be washed in the dishwasher.
However, avoid placing the reservoir lid in the dishwasher. Alternatively, you can fill a sink with hot water and approximately 1 tsp.
of dish soap. Submerge the removable parts in the Soapy Water and let them soak for 15 minutes.
Rinse them thoroughly and towel dry.
Clean the Interior:
While the removable parts are being washed or soaked, take a clean toothbrush and gently brush away any trapped coffee grinds in the K-Cup holder.
Use a damp cloth to remove any buildup in the interior.
Remove Mineral Deposits:
If you notice any limescale deposits (white crusty buildup), dampen part of a cloth with White Vinegar, apply it to the affected areas, and let it soak for a few minutes.
Wipe the surface again, and the white marks should disappear.
Run Vinegar Solution:
Place a large empty mug on the drip tray.
Empty the reservoir of any water and remove the water filter if present. Refill the reservoir to the maximum line with a mixture of equal parts white distilled vinegar and water (1:1 ratio).
Turn on your Keurig, select the largest cup setting, and allow the vinegar solution to run through the machine. Continue the process until the “More/Add Water” indicator comes on after each brew.
Dispose of the hot liquid in the sink.
Let Sit and Rinse the Reservoir:
Let the Keurig coffee maker sit for at least 30 minutes.
Afterward, remove the reservoir and rinse it thoroughly with water to eliminate any remaining vinegar residue. Repeat the rinsing process if necessary.
Run Keurig with Water:
Repeat Step 6, but this time use plain water to flush out any remaining vinegar from the machine.
Place an empty mug on the drip tray and fill the reservoir with water up to the maximum fill line. Select the largest cup setting and run water through the machine until it is empty.
Finally, reassemble the Keurig coffee maker. Congratulations! You now have a clean Keurig coffee maker, ready to brew your next morning cup of coffee.
Descaling your Keurig Coffee Maker

- Purchase a manufacturer-approved descaling solution.
These solutions are specifically designed to break down and remove calcium deposits or scale. You can find them at various retailers, such as Target, for around $14. - Follow the specific descaling instructions provided by the manufacturer for your particular model of Keurig.
Each model may have a slightly different descaling process. - Generally, Keurig recommends descaling your coffee maker every three to six months to ensure optimal performance and taste.
- Prepare the descaling solution according to the instructions on the packaging.
Usually, this involves mixing the solution with water in a specific ratio. - Empty the water reservoir of your Keurig coffee maker and fill it with the descaling solution mixture.
- Place a large mug or container on the drip tray to collect the liquid.
- Turn on your Keurig and begin the brew cycle.
Select the largest cup size option to run the descaling solution through the machine. - Let the solution flow through the coffee maker and into the mug/container.
Repeat the brewing process until the reservoir is empty. - Dispose of the collected liquid and rinse the reservoir thoroughly to remove any residue from the descaling solution.
- Refill the water reservoir with Clean Water and run several brewing cycles with just water to flush out any remaining descaling solution.
- Once the brewing cycles are complete, your Keurig coffee maker should be descaled and ready to use.
Remember to consult the specific descaling instructions provided by Keurig or refer to the manual for your model for accurate and detailed guidance on the descaling process.
*The information is for reference only.