Clean kitchen cabinets step-by-step effectively is essential to maintain their appearance and keep them looking their best.
Clean kitchen cabinet is a prominent feature in most kitchens, making their cleanliness crucial as they can easily attract attention.
While everyday stains like fingerprints, food splatters, and watermarks are common, more stubborn stains can accumulate over time. Luckily, our helpful tips on clean kitchen cabinets cover a range of issues, including grease stains and sticky surfaces.
To maintain the pristine condition of your cabinetry, follow our time-saving cleaning schedule, which includes both spot cleans and deep cleans. When it’s time to clean kitchen cabinets, refer to our tailored advice on the best cleaning methods for different cabinet styles.
Remember that what works on a Painted Cabinet may not be suitable for a Glass Cabinet.
Before you clean kitchen cabinet, carefully review the steps and ensure you have all the necessary cleaning supplies.
We recommend using everyday household items like vinegar and baking soda. Additionally, it’s important to identify the specific material of your cabinets, such as wood or laminate, to clean kitchen cabinet better as the cleaning approach can vary.
If you’re unsure, consult the cabinet owner’s manual or seek advice from a cabinet professional.
Laminate Cabinet

To effectively clean kitchen cabinets covered by laminate, follow these steps:
Gather your supplies:
You will need an all-purpose cleaning wipe or diluted vinegar, a clean cloth, baking soda, water, and a soft eraser (if needed).
Wipe down the cabinets:
Use an all-purpose cleaning wipe or a solution of diluted vinegar and water to wipe down the laminate cabinets.
Ensure that the cabinets are thoroughly wiped, paying attention to any areas with visible dirt or grime.
Dry the cabinets:
After cleaning, use a clean cloth to dry the cabinets thoroughly.
This step is important to prevent any moisture from lingering on the laminate surface.
Remove stains:
For stubborn stains on the laminate cabinets, create a paste by mixing baking soda and water.
Apply the paste to the stained area and let it sit for a few minutes to allow the baking soda to work. Then, gently scrub the stain with a soft cloth or sponge.
Rinse the area with Clean Water and dry it thoroughly.
Avoid abrasive cleaning pads:
To protect the laminate surface, avoid using abrasive cleaning pads or rough brushes that could scratch the cabinets.
Stick to soft cloths or sponges for cleaning.
Address scuffs:
If you notice any scuffs or marks on the lower cabinets, use a soft eraser to gently rub the affected area.
The eraser should help remove the scuffs without damaging the laminate surface. Test the eraser on a small, inconspicuous area first to ensure it doesn’t cause any damage.
Regular maintenance:
For routine maintenance, regularly wipe down the laminate cabinets with a damp cloth or an all-purpose cleaning wipe.
This will help keep them clean and prevent the build-up of dirt and grime.
By following these tips and regularly cleaning your laminate cabinets, you can maintain their appearance and keep them looking their best.
Glass Cabinet

To clean kitchen cabinets made of glass effectively, follow these steps:
Gather your supplies:
You will need a glass cleaner, a soft polishing cloth or microfiber cloth, and a separate cleaner suitable for the adjacent cabinet material (if necessary).
Start with the glass:
Spray the glass cleaner directly onto the glass panes of the cabinet doors.
Make sure to cover the surface evenly.
Wipe away fingerprints and marks:
Use a soft polishing cloth or microfiber cloth to gently wipe away fingerprints, smudges, and other marks from the glass.
Work in a circular motion or a back-and-forth motion, depending on your preference.
Clean the inside of the cabinet:
Open the cabinet door and clean the inside glass panes as well.
This will help ensure thorough cleaning and remove any dust or dirt that may have accumulated.
Pay attention to the adjacent material:
If your glass cabinets have adjacent materials such as wood or laminate, be cautious when cleaning around them.
Avoid using oil-based cleaners on the adjacent material, as they can leave residue and streaks on the glass. Instead, use a cleaner suitable for the specific material of the cabinets.
Dry and polish:
After cleaning, use a dry part of the cloth or a separate cloth to dry and polish the glass surfaces.
This will help remove any remaining streaks or moisture, leaving the glass cabinets looking clean and shiny.
Regular maintenance:
To keep your glass cabinets looking their best, regularly dust the glass surfaces with a soft cloth or use a glass cleaner as needed.
Remember to always follow the manufacturer’s instructions for cleaning and maintenance of your specific glass cabinets to ensure their longevity and appearance.
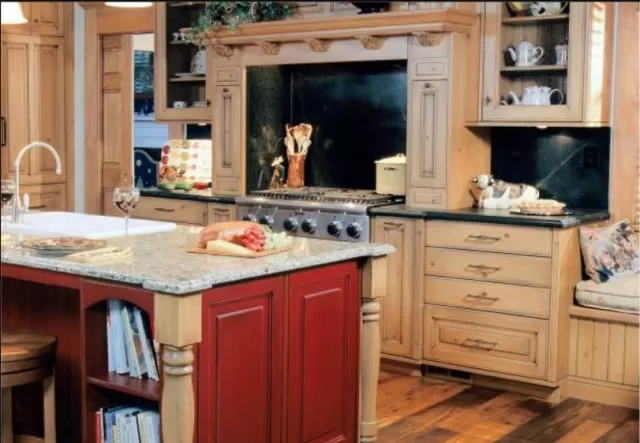
Wood Cabinet

To effectively clean kitchen cabinets made of wood, follow these steps:
Gather your supplies:
You will need oil soap (such as Murphy Oil Soap), damp cloths, a dry microfiber cloth, and additional sealant (if needed for high-moisture areas).
Dilute the oil soap:
Follow the instructions on the oil soap bottle to dilute it with water, if necessary.
Some oil soaps come pre-diluted, while others require dilution before use.
Clean the cabinets:
Dip a damp cloth into the diluted oil soap solution and wring out any excess liquid.
Gently wipe down the wood cabinets, making sure to clean all surfaces, including doors, drawers, and frames. Pay extra attention to any areas with visible dirt, grease, or stains.
Avoid excessive moisture:
Ensure that your cloth is damp but not soaked.
Too much liquid can harm the wood, so it’s important to be cautious with the amount of moisture used during cleaning.
Wipe with the grain:
Always wipe in the direction of the wood grain to avoid leaving streaks or scratches.
This helps to maintain the natural appearance of the wood.
Buff and polish:
Once you have finished cleaning, use a dry microfiber cloth to buff and polish the wood cabinets.
This step helps to remove any remaining residue and adds shine to the surface.
High-moisture areas:
Monitor cabinets located in high-moisture parts of the kitchen, such as above the stove.
These cabinets are more prone to exposure to steam and condensation, which can impact the wood. Consider applying an additional coat of sealant to these cabinets to provide extra protection against moisture.
Remember to always follow the manufacturer’s instructions for any cleaning products or sealants you use on your wood cabinets.
Regular maintenance, such as dusting and wiping spills promptly, will also help keep your wood cabinets looking their best.
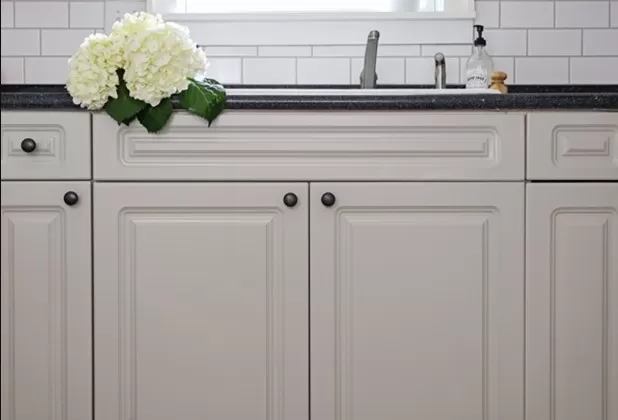
Painted Cabinet

To effectively clean kitchen cabinets that are painted, follow these steps:
Prepare a spot cleaner:
Mix one part water with two parts baking soda to create a paste.
This homemade solution is a budget-friendly and effective option for removing stains from painted cabinets.
Apply the paste:
Dab the paste onto the stain or mark it on the painted cabinet.
Make sure to cover the affected area with a thin layer of the paste. Allow the paste to sit for a few minutes to loosen the stain.
Wipe clean:
Using a clean cloth, gently wipe the stained area, removing the paste and any residue.
Apply light pressure and avoid scrubbing too vigorously to prevent damaging the paint. If needed, repeat the process until the stain is completely removed or visibly less noticeable.
Remove grease stains:
Grease stains are common in kitchens, especially around cooking areas.
Dilute ammonia with water and dampen a cloth with the solution. Gently wipe the grease-stained area, using a cloth to lift and remove the grease.
Be careful not to saturate the painted surface with too much liquid.
Repaint when necessary:
Over time, painted cabinets may start to chip or show signs of wear.
If the paint begins to deteriorate significantly, it might be time to consider repainting the cabinets. This will help restore their appearance and protect the underlying surface.
Remember to test any cleaning solution or method in a small, inconspicuous area first to ensure it does not damage or discolor the painted surface.
Regular dusting and wiping spills promptly can also help maintain the cleanliness and appearance of painted kitchen cabinets.
Stains on kitchen cabinet

To remove various stains when clean kitchen cabinets, follow these steps:
Fingerprints:
Mix equal parts water and vinegar to create a cleaning solution.
Dampen a cloth in the solution and gently wipe the fingerprints on the cabinet doors and hardware. Use a polishing cloth to buff the surface clean.
Grease:
Diluted vinegar can also be effective in removing grease stains.
Apply the vinegar solution to the greasy areas and let it sit for a few minutes. Repeat the process if necessary, and wipe away the grease with a clean cloth.
Food splatters:
Act quickly and wipe up any food messes with a damp cloth.
For stubborn stains, create a paste using baking soda and water. Apply the paste to the spot, let it sit for a few minutes, and then wipe it away.
Polish the area with a clean cloth to restore shine.
Water stains:
Hard water can leave unsightly stains on cabinets.
To prevent water spots, use distilled water instead of tap water when cleaning your cabinets.
Scuffs:
Use a soft eraser to remove scuffs caused by shoes, tables, or chairs.
Gently rub the eraser along the mark, and then wipe away the residue with a clean cloth. This method works well, especially for cleaning white kitchen cabinets.
Remember to test any cleaning solution or method in a small, inconspicuous area before applying it to the entire cabinet surface.
This ensures that the cleaning process doesn’t cause any damage or discoloration.
*The information is for reference only.