Cleaning an Oven: Step-by-Step Guide. Is the smell of smoke lingering in your kitchen? It might be time to inspect your oven for spills and splatters from long-forgotten casseroles. Don’t worry, with a little effort and the right approach, you can get your oven looking and smelling fresh once more.
Roll up your sleeves and follow this step-by-step guide to restore your oven’s sparkle. With these steps, your oven should be free from spills and splatters, and that smoky smell should be a thing of the past. Regular maintenance and periodic cleaning will help keep your oven in top condition, making your cooking experiences more enjoyable and your kitchen a fresher place to be.
Essential Steps and Natural Solutions for Efficient Oven Cleaning

When it’s time to tackle the task of oven cleaning, you’ll come across a plethora of supplies both online and on store shelves.
The process may seem overwhelming, but fear not, as cleaning your oven is a straightforward task that involves only a handful of steps. While commercial oven-cleaning products come in various chemical-based formulations, you might be surprised to find that your pantry holds the most natural and effective cleanser of all: baking soda.
Although baking soda requires a bit more elbow grease than some commercial products, it offers excellent results. Vinegar can also come in handy during the cleaning process.
In this guide, we will explore the different methods you can use to clean your oven, emphasizing the use of natural solutions and the importance of setting aside sufficient time for both active scrubbing and downtime during the soaking process.
5 Simple Steps to Achieving a Sparkling Clean Oven

Cleaning your oven doesn’t have to be a daunting task.
With the right approach and a little effort, you can restore your oven to its pristine condition. In these five simple steps, we’ll guide you through the best way to clean your oven, using readily available products and a systematic process to ensure excellent results.
Step 1: Remove and Revive the Oven RacksBegin by taking out the oven racks, as they also need a thorough cleaning.
Submerge them in hot, soapy water, or use a crumbled dishwasher tablet for an effective soaking solution. If your kitchen sink isn’t spacious enough, try the bathtub, but remember to line it with an old towel to protect the tub’s finish from any potential scratches.
Step 2: Gently Scrape Off Baked-On ResidueWithin the oven chamber, use a wooden spoon to gently scrape away any stubborn, baked-on residue.
Having the best oven cleaner for baked-on grease handy will make this job much easier. While the sides of the oven might also need attention, focus on removing ashy chunks from the bottom of the oven.
Most spills and splatters can be eliminated with this gentle scraping technique, but we’re not done yet!.
Step 3: Apply Your Chosen Oven CleanerNow it’s time to apply your selected oven cleaner.
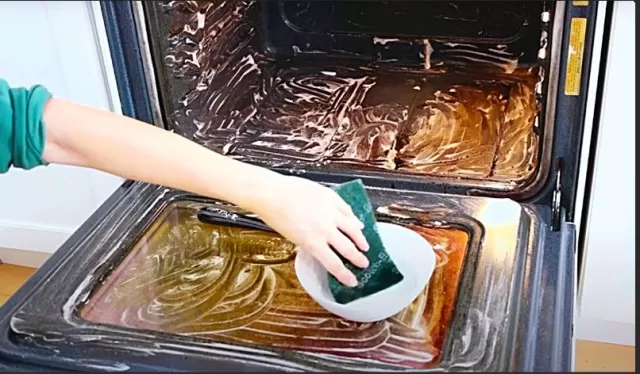
You have two options: create a homemade cleaner using a thick paste of baking soda and water (a 2-to-1 ratio works well) or opt for a store-bought heavy-duty oven cleaner. Ensure that every surface inside the oven, including the oven door, is coated with the cleaning agent.
Allow the cleaner to work its magic for several hours or even overnight to penetrate and break down tough stains. If you’re using a store-bought cleaner, make sure your kitchen is well-ventilated due to the strong odor.
Step 4: Soak and Scrub with CareAfter several hours have passed, prepare to tackle the cleaning process.
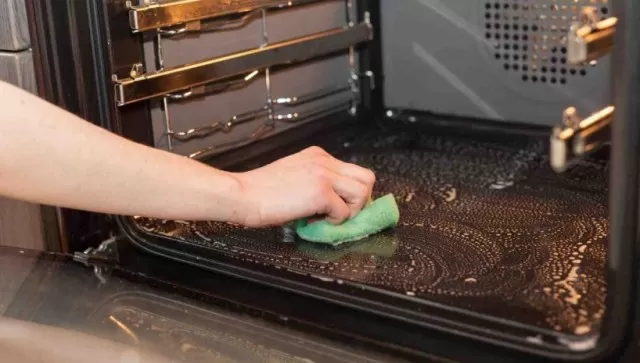
Lay old newspapers or paper towels on the floor in front of the oven to catch any debris. Using a slightly moist sponge, start wiping out as much of the cleaning paste as possible.
You’ll notice a significant amount of grease and ash coming off along with the paste. Keep wiping and rinsing the sponge as needed until no traces of the paste remain in the oven.
If the oven chamber still appears dirty, consider repeating the process, reapplying the baking soda paste and allowing it to sit before scrubbing again.
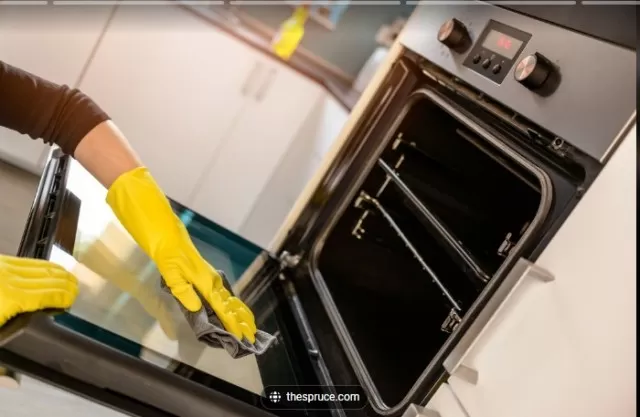
Step 5: Restore the Oven Door’s ClarityDon’t forget the oven door! Mix equal parts white vinegar and water in a spray bottle and use it to spray down the glass portion of the oven door.
Wipe away the moisture with a clean, dry microfiber cloth to reveal a clear and spotless oven door.
With these five simple steps, you can achieve a sparkling clean oven without the need for harsh chemicals.
Embrace the process with a positive mindset, some music to keep you motivated, and your trusty rubber gloves. Soon, you’ll be rewarded with an oven that looks and operates like new, providing a fresh and inviting atmosphere for your culinary adventures.
Happy cleaning!.
Tips for Maintaining a Clean Oven

Regular oven maintenance is essential to keep your oven in top condition and prevent a buildup of grease and grime.
By adopting a few simple habits and incorporating easy cleaning hacks into your routine, you can ensure that your oven stays clean and functional. No more facing daunting cleaning sessions or tolerating a greasy oven—just a few proactive steps will make all the difference.
Schedule Regular Cleaning Sessions: Make a commitment to clean your oven regularly.
Instead of letting grime accumulate to the point of resembling a grease trap, set a specific date each week for oven cleaning. Consistency is key; a weekly cleaning is less labor-intensive than infrequent, intensive cleanings.
Immediate Spot Cleaning: After each use, get into the habit of checking your oven for spills and splatters.
However, avoid cleaning while the oven is still hot to prevent burns. Once it’s cooled down, tackle the mess right away using a damp cloth or sponge.
This quick spot cleaning will prevent stains from hardening and becoming more difficult to remove later.
Remove and Soak Racks Weekly: Your oven racks can accumulate grease and food debris over time.
To keep them clean, remove them from the oven every week and soak them in hot, soapy water. This process will help to loosen any stuck-on residue, making it easier to clean.
Embrace the Power of Baking Soda: Baking soda is a versatile and effective natural cleaner for your oven.
Keep a steady supply on hand, as it’s perfect for frequent touch-ups and spot cleaning. A mixture of baking soda and water creates a powerful paste that can break down stubborn stains and grease without harsh chemicals.
Utilize Oven Liners: Consider using oven liners or aluminum foil to protect the oven’s bottom from spills and splatters.
These liners can be easily removed and replaced, saving you time and effort in the long run.
Be Mindful of Cooking Techniques: Avoid overcrowding your oven when cooking, as this can lead to spills and splatters.
Use appropriate cooking vessels, like baking sheets or dishes with high sides, to contain any potential mess.
Employ Self-Cleaning Function (if available): If your oven has a self-cleaning function, make use of it periodically.
This feature can heat the oven to high temperatures, turning residues into ash, which can then be easily wiped away.
*The information is for reference only.