Common DIY Deck Staining Mistakes to Avoid. To protect your deck from damage and environmental hazards, be mindful of these common staining mistakes.
Avoid insufficient preparation, over-application of stain, inadequate drying time, and ignoring weather conditions. By following proper techniques, you can ensure a durable and visually appealing finish for your deck.
Deck Staining Mistakes: Avoid These Common Snafus

When it comes to maintaining a deck, one important task is sanding and staining the wood.
This crucial process ensures that the wood is sealed, safeguarding it against moisture that can lead to rotting. Additionally, the stain provides protection from freezing temperatures and direct sunlight, which can otherwise cause the wood to dry out, fade, and crack.
Unfortunately, many DIY enthusiasts mistakenly assume that staining a deck is a straightforward process of applying a coat of stain with a paintbrush.
However, there are several common mistakes that one must avoid. Here are eight deck staining snafus to watch out for:.
Insufficient preparation: Failing to adequately prepare the deck by cleaning and sanding it can hinder the stain’s effectiveness and longevity.
Poor weather conditions: Staining your deck during unsuitable weather conditions, such as rain or extreme heat, can lead to uneven application and poor absorption of the stain.
Rushing the process: Applying the stain too quickly or without giving it sufficient drying time can result in a sticky or uneven finish.
Over-application of stain: Applying an excessive amount of stain can lead to an overly thick and blotchy appearance, preventing the wood from breathing properly.
Neglecting to remove excess stain: Failing to remove excess stain before it dries can cause shiny or sticky patches on the deck’s surface.
Using the wrong type of stain: Choosing an inappropriate stain for your deck’s wood type or environmental conditions can result in subpar protection and an unsatisfactory appearance.
Ignoring the manufacturer’s instructions: Neglecting to follow the specific instructions provided by the stain manufacturer may lead to suboptimal results.
Neglecting maintenance: Once the deck is stained, it’s important to regularly maintain it by periodically cleaning and reapplying stain to preserve its appearance and protection.
By avoiding these common deck staining mistakes, you can ensure a beautiful, long-lasting finish that enhances the durability and aesthetics of your deck.
Addressing Deck Material Issues: Essential Steps for a Lasting Solution
When working on your deck, it’s crucial to assess the condition of the deck boards before proceeding with staining or any other maintenance tasks.
It can be disheartening to realize that the boards are too old or rotten to adequately support the deck. Often, this realization comes to light during the sanding or preparation stage for a new stain.
It’s important not to overlook this issue and simply proceed with staining the boards.
While a fresh coat of stain may improve the deck’s appearance, it does nothing to address the underlying problem of weakened boards that could potentially lead to a deck collapse and potential injuries.
To ensure a safe and long-lasting deck, it’s essential to take the following steps:.
Identify and replace damaged boards: Take the time to carefully inspect the deck and identify any broken, rotten, or weakened boards.
These boards need to be properly removed and replaced with new ones that can provide adequate support. Ignoring this step can lead to further deterioration and safety hazards.
Repair loose nails
Loose nails can pose a tripping hazard and compromise the stability of the deck.
Make sure to fix any loose nails or replace them with appropriate deck screws for a more secure attachment.
Allow the new wood to dry
After replacing damaged boards, it’s important to allow the newly installed wood to dry thoroughly.
This drying period allows the preservatives in the wood to fully penetrate and protect it against future decay and damage.
Apply a coat of stain
Once the new wood has dried adequately, apply a coat of stain to enhance its appearance and provide added protection.
Choose a high-quality stain that is suitable for your specific deck material and follow the manufacturer’s instructions for application.
By addressing material issues and following these steps, you can ensure that your deck remains structurally sound and visually appealing.
Taking the time to properly replace damaged boards and perform necessary repairs will result in a deck that not only looks good but also provides a safe and enjoyable outdoor space for years to come.
The Importance of Proper Surface Preparation for Deck Staining

One critical aspect that DIYers often overlook when it comes to deck staining is the significance of thorough surface preparation.
Taking the necessary steps before diving into the staining process can make a significant difference in the final outcome. Here are some essential considerations:.
Sanding for optimal absorption
Prior to opening the stain container and grabbing a paintbrush, it’s crucial to sand the entire deck.
This step removes any remnants of old stain, paint, or varnish from the wood surface. Sanding creates a porous surface that can readily absorb the stain, ensuring better penetration and a more even finish.
Power-washing for cleanliness
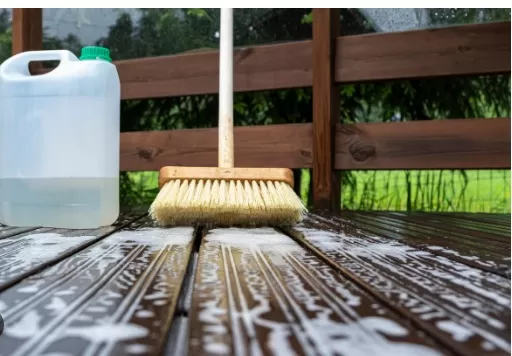
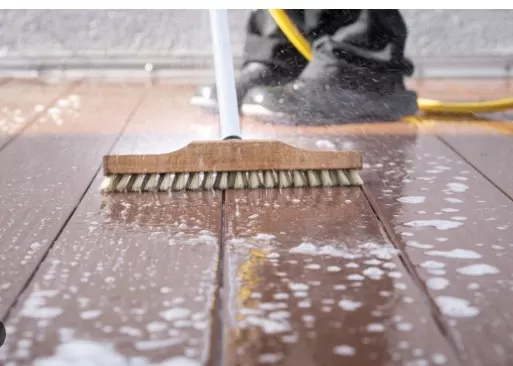
After sanding, it’s recommended to power-wash the deck to remove any lingering debris, dirt, or dust particles.
This step helps achieve a clean surface, allowing the stain to adhere properly. It’s essential to allow the deck ample time to dry for at least 24 hours before proceeding with staining.
Consider the drying time for new wood: If you’re working on a new deck, it’s important to be aware that the preservatives in new wood can take up to 30 days to dry and evaporate fully.
Staining the deck before this drying period is complete may result in poor absorption of the stain and uneven color distribution, leading to unsightly staining and splotches. Patience is key to achieving a desirable and long-lasting finish.
By diligently following these surface preparation steps, you create an optimal foundation for the deck stain to penetrate and adhere effectively.
This approach enhances the overall appearance of the deck and promotes better protection against the elements. Remember, proper surface preparation sets the stage for a successful staining project and helps ensure a beautiful and durable deck for years to come.
Expanding Your Toolset for Deck Staining Success
While using a paintbrush is a common approach for deck staining, limiting yourself to this tool alone may not always yield the best results.
To enhance your efficiency and achieve a more professional finish, consider incorporating additional tools such as rollers, extension poles, and paint sprayers. Here’s why:
Rollers for efficient coverage: Utilizing rollers can significantly expedite the process of covering larger areas of the deck, such as the deck boards, steps, and top of railings.
Rollers enable you to apply stain more quickly and evenly, saving you time and effort.
Extension poles for accessibility and comfort: Attaching an extension pole to your roller allows you to extend your reach, making it easier to stain areas that are higher or harder to access.
This minimizes the need to bend over and reduces strain on your knees and back, promoting a more comfortable staining experience.
The Importance of Testing the Stain on a Sample Board

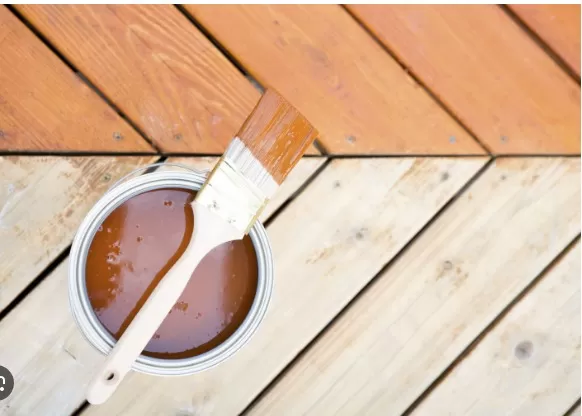
When it comes to deck staining, it’s crucial not to skip the step of testing the stain on a sample board or an inconspicuous corner of the deck.
Unlike paint, stains interact differently with wood, accentuating its natural grain and color rather than providing complete coverage. Here’s why testing is essential:.
Understanding the stain’s effect on wood: Stains penetrate the wood, highlighting its unique characteristics and variations in color and grain.
By testing the stain on a small area, you can observe how it interacts with your specific wood type, allowing you to determine if it achieves the desired effect and if the color complements the overall aesthetic of your deck.
Accounting for wood and deck variations: Different types of wood have distinct properties, including variations in color, texture, and porosity.
Additionally, the age and condition of the deck can also affect how the stain behaves. By testing the stain, you can account for these variables and ensure that the final result aligns with your expectations.
Avoiding costly mistakes: Stains can have unexpected results, especially when applied to unfamiliar wood types or in varying environmental conditions.
By conducting a test, you can identify any issues or potential color inconsistencies before committing to staining the entire deck. This saves you from potential costly mistakes and the hassle of having to redo the entire project.
Remember, each deck is unique, and the appearance of the stain can vary based on several factors.
Taking the time to test the stain on a sample board or inconspicuous area allows you to make an informed decision and achieve the desired outcome for your deck staining project.
*The information is for reference only.