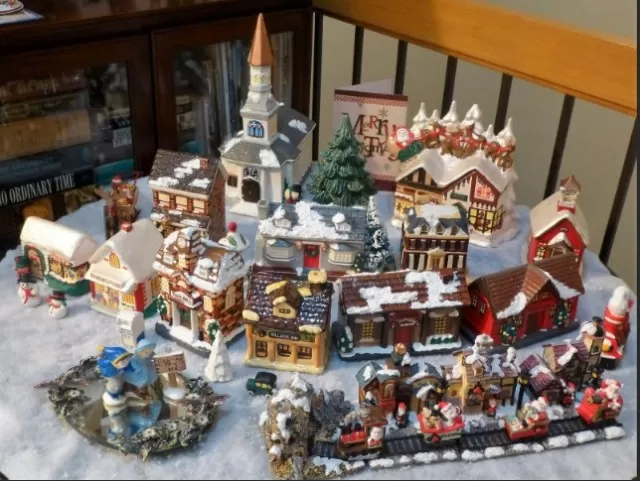
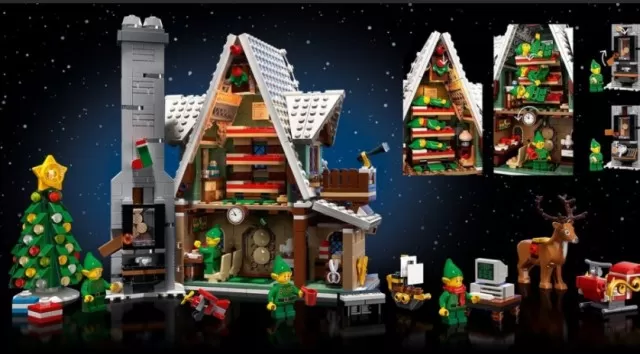
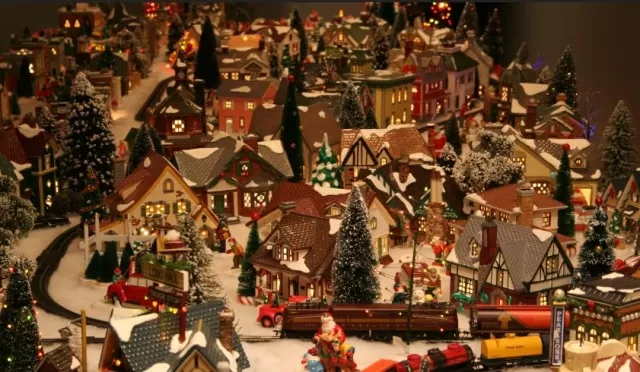
Crafting Your Winter Village House or Ornament. There’s a special charm in taking a brisk walk after a fresh snowfall, watching your neighborhood’s streets transform into a magical winter wonderland. However, if you’re eagerly waiting for the snowflakes to fall in your area, why not satisfy your winter cravings by crafting your very own winter village that mirrors this enchanting scene? Using our winter village template, you can effortlessly create a DIY house adorned with delicate snowflakes. Depending on the size you select, you can craft a miniature model or a delightful hangable ornament. Whether it’s the joy of constructing a snowy village or the nostalgia of your childhood dreams, all you need is some craft glue, sturdy chipboard, and a sprinkle of fine powder glitter to bring this winter wonderland to life. And the best part? You can immerse yourself in this snowy world right from the warmth and comfort of your own home.
Essential Supplies for Your Winter Village Project

Gather the following materials to bring your winter village to life:.
Winter Village Template: Your blueprint for creating a picturesque winter scene.
Glue Stick: To securely adhere various elements of your village.
Chipboard: A sturdy material often used for crafting, ideal for constructing your village’s base or buildings.
Glassine: A semi-translucent paper often used for window details or delicate features.
Craft Glue: For more robust bonding and attaching heavier components.
Utility Knife: An essential tool for precision cutting and shaping of materials.
Latex Primer: Prepare your village components for painting with a suitable primer.
Tempera or Latex House Paint: To add color and life to your winter village structures.
Fine Glass Glitter or Fine Powder Glitter: For that magical, glistening snow effect that will make your winter village sparkle.
These materials will help you embark on a creative journey to craft a beautiful winter village that will delight and enchant all who see it.
Step 1: Preparing the Template and Chipboard for Your Village House or House Ornament
To kickstart your project of crafting a charming village house or a delightful house ornament, follow these detailed steps:.
Template Enlargement: If you’re aiming to create a village house, take your chosen template and enlarge it by 140 percent.
For a house ornament, maintain the template at its original 100 percent size.
Affixing the Template: Cut out the various template elements meticulously.
Using a glue stick, gently adhere these elements to sheets of chipboard. Ensure that the printed lines on the templates are clearly visible.
Cutting the Chipboard: Armed with a utility knife, precisely cut along the solid lines of the template.
To maintain accuracy, use a straightedge as A Guide.
Scoring the Chipboard: Along the dotted lines of the template, carefully score the chipboard.
This step is crucial for later folding and assembling.
Template Removal: Once you’ve completed cutting and scoring, remove the remnants of the template from the chipboard.
You are now ready to move on to the next stages of your village house or house ornament creation.
Step 2: Assembling Your Village House or House Ornament

Follow these instructions to continue crafting your village house or house ornament:.
Fold the Chipboard Pieces: Fold the chipboard pieces along the scored lines so that these scored lines align with the outer edges of the folds.
This will facilitate the assembly process.
Adding Window Coverings: Cut rectangles of glassine, ensuring they are approximately 1/2 inch larger than the window holes on all sides.
Use glue to attach these glassine pieces to the inside walls, effectively creating window coverings that add a realistic touch to your structure.
Gluing and Joining Tabs: Lay a bead of craft glue along each tab that you’ve folded.
Then, join these tabs to their corresponding adjacent surfaces. This step helps secure the structure of your village house or house ornament.
Assemble Additional Features: If your project involves a steeple, vestibule, dormers, or any other additional architectural elements, assemble them according to your design.
Make sure to attach these features as needed.
Leave the Door Panel Unattached: At this stage, refrain from attaching the door panel.
You’ll likely want to keep it unattached until later in the crafting process, possibly for a more interactive or decorative purpose.
With these steps completed, you’re well on your way to creating a beautifully detailed village house or house ornament.
Follow the subsequent steps to complete your project with finesse.
Step 3: Priming and Painting Your Village House or House Ornament
Now, let’s move on to the essential steps for priming and painting your project:.
Priming the House:.
Apply latex primer to both the outside and inside of your village house or house ornament.
Priming the inside is particularly important to prevent the cardboard from warping or bowing due to moisture. Ensure you don’t get primer on the glassine windows.
Allow the primer to dry completely.
This may take some time, so be patient.
Applying the Finish Coat:.
Once the primer is completely dry, use tempera or latex house paint for the finish coat.
Apply the paint to the exterior of the house, including any additional architectural features you’ve assembled.
Don’t forget to paint the door panel to your liking.
Drying Time:.
Allow the paint to dry thoroughly.
The drying time can vary depending on the type of paint you’ve used, so refer to the product instructions for guidance.
Attach the Door Panel:.
Once the paint has dried, attach the door panel to your village house or house ornament.
This step will complete the exterior look of your project.
Adding a Snowy Touch:.
If you’d like to create a winter scene, use white paint to add a touch of snow along the roof peaks.
This will give your village house or ornament a charming, wintry feel.
Final Drying:.
Allow the added snow paint to dry completely.
This is the finishing touch for your project.
With these steps completed, your village house or house ornament should now be beautifully primed, painted, and adorned with a snowy finish, ready to add a festive and decorative touch to your space.
Enjoy your crafting journey!.
Step 4: Adding Glitter to Your Village House or House Ornament

Now, let’s add some sparkle to your project with a touch of glitter:.
Applying Glue to Snowy Ridges:.
Using a small brush, apply a layer of craft glue along the white-painted snowy ridges on the roof.
Ensure the glue is spread evenly over these areas.
Sprinkling Opaque White Glitter:.
With a spoon or a shaker, sprinkle opaque white glitter onto the glue-covered snowy ridges.
This will create a glistening, snow-covered effect on the roof of your village house or house ornament.
Allow to Dry:.
Let the glue and glitter on the snowy ridges dry completely.
This step will give your snowy roof a lovely, sparkling finish.
Coating the Remaining Surfaces:.
For the remaining surfaces of the house (excluding the windows), apply a layer of craft glue.
You can use a brush or sponge for this step.
Sprinkling Fine Glass or Powder Glitter:.
Sprinkle fine glass glitter or fine powder glitter onto the glue-covered surfaces.
This will add a delicate and shimmering effect to the rest of your project, giving it a magical and festive appearance.
Final Drying:.
Allow the glue and glitter to dry thoroughly.
This may take some time, depending on the type of glue used, so be patient and ensure it’s completely dry before proceeding.
Once this step is completed, your village house or house ornament will be beautifully adorned with a layer of sparkling glitter, creating a captivating and enchanting holiday decoration.
Enjoy the final result of your creative endeavor!.
*The information is for reference only.