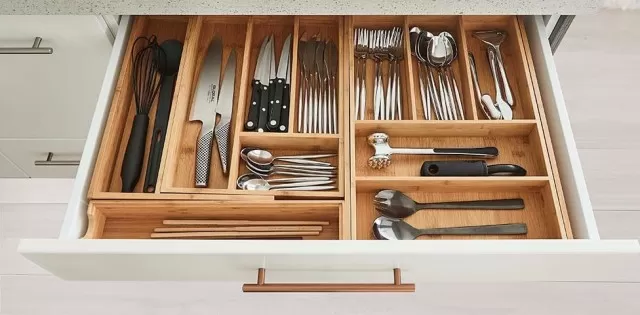
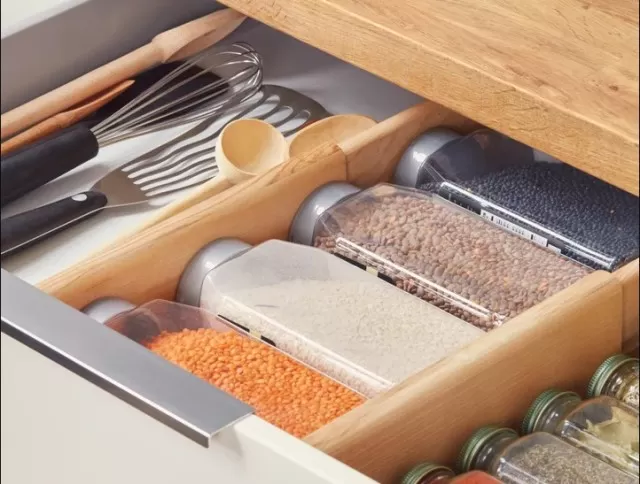
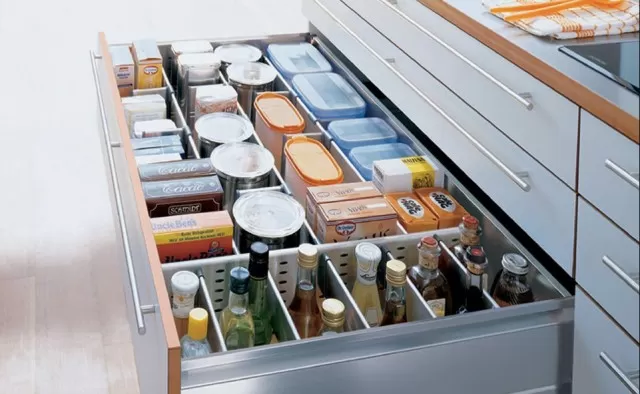
Creating DIY drawer dividers is a practical way to tackle the problem of messy kitchen drawers and improve organization.

With this simple project, you can use affordable craft boards and wood glue to construct dividers that suit your specific needs.
It’s a quick and easy task that can be completed in under an hour. The measurements of the dividers can be adjusted to fit any drawer size.
In addition to organizing silverware, these dividers can be useful for sorting office supplies, bathroom items, miscellaneous household objects (like the notorious junk drawer), or even organizing socks.
Follow the instructions provided below to make your own DIY drawer dividers and achieve better organization in various areas of your home.
DIY Drawer Dividers Guide

Required Materials:
- Measuring tape or ruler
- Table saw
- Pencil
- Clamps
- 1/2-inch x 2-inch craft boards
- Wood glue

Instructions:
1. Cut the wood into the specified dimensions:
- 2 end pieces measuring 12-7/8″ x 1/2″ x 2″.
- 3 compartment pieces measuring 9″ x 1/2″ x 2″.
2. Empty the contents of a drawer and sort the items by function or size. Measure the inside of the drawer and the items to be stored, which will help determine the size of the drawer dividers.
This project is suitable for kitchen utensil drawers, bathroom vanities, dressers, or junk drawers.

3. Using a table saw, cut the craft boards into pieces according to your desired compartments or the provided dimensions. Arrange the layout of the dividers based on the measurements of your drawer.
The specific layout will depend on your drawer’s dimensions and the items to be stored. For example, you can create a ladder-like assembly by placing three shorter pieces between two long cuts.
Use a pencil to mark your desired measurements on the wood pieces, such as making marks every 2. 5 inches for the compartment pieces.
4. Apply wood glue to the edge of a compartment piece and attach it perpendicular to an end piece. Repeat this process with the other pieces to form compartments.
Attach the other end piece to complete the divider. Use clamps to hold the pieces together and allow the glue to dry overnight.
If desired, you can also use pin nails for additional hold. Finally, place the divider in the drawer and utilize the compartments to organize your items.
*The information is for reference only.