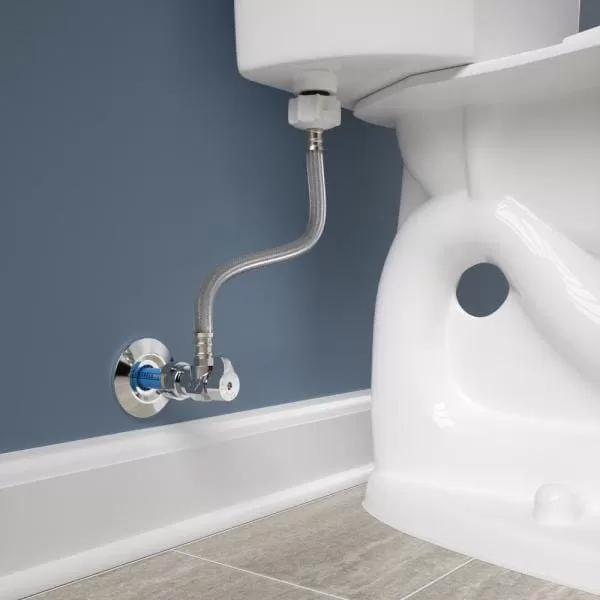
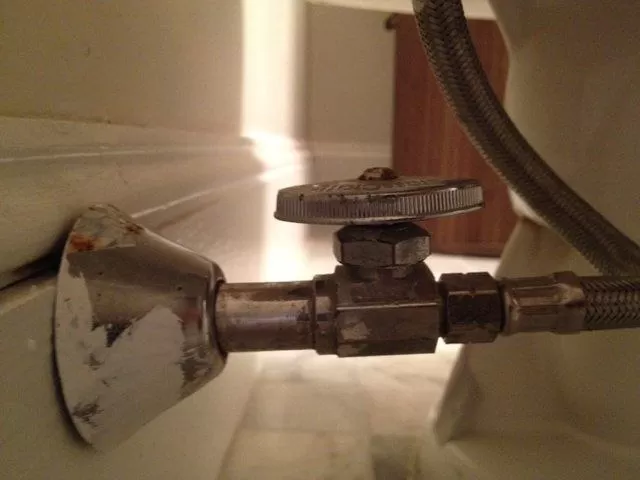
Learn how to replace a faulty toilet shut-off valve without hiring professionals. save money by tackling this repair using your own toolbox.
Assessing Your Plumbing Type Before Replacing a Toilet Shut-Off Valve

Before embarking on a toilet shut-off valve replacement project, it is crucial to evaluate the type of plumbing system you have in your home.
This assessment will help determine the potential challenges and best course of action for a successful repair.
If your house was constructed before 1980, it is likely that you have iron pipes.
It is important to note that corroded iron pipes can be fragile and prone to breaking or crumbling when attempting to remove an old shut-off valve. This can turn a seemingly straightforward repair into a daunting do-it-yourself nightmare.
To avoid such complications, it is highly recommended to hire a professional plumber experienced in handling old cast iron plumbing.
Another common plumbing material you may encounter is copper.
Toilet shut-off valves are often connected to copper pipes using a process called sweating, which involves soldering the joint using a blowtorch. While this may appear daunting, it is not necessarily a hindrance for do-it-yourself enthusiasts.
It is possible to cut a sweated copper joint and replace it with a compression connection, eliminating the need for high-intensity flames and combustible gas. However, if you prefer to undertake the sweating technique for the new joint, it is advisable to enlist the assistance of a professional plumber to ensure a proper and safe installation.
A Step-by-Step Guide to Replacing a Toilet Shut-Off Valve

Replacing a toilet shut-off valve may seem like a daunting task, but with the right guidance, it can be a manageable DIY project.
This step-by-step guide will walk you through the process, ensuring a successful replacement and restoring proper functionality to your toilet.
Gather the necessary tools and materials: Before starting the replacement, make sure you have the following items on hand: an adjustable wrench, a pipe cutter or hacksaw, a new shut-off valve, Teflon tape, and a bucket or towel to catch any water.
Shut off the water supply: Locate the main water supply valve for your house and turn it off.
Flush the toilet to drain any remaining water from the tank and bowl.
Disconnect the old shut-off valve: Use an adjustable wrench to loosen and remove the nut connecting the shut-off valve to the water supply line.
If the valve is soldered, use a pipe cutter or hacksaw to cut the pipe above the soldered joint.
Prepare the new shut-off valve: Wrap Teflon tape around the threads of the new shut-off valve in a clockwise direction.
This will create a watertight seal when connecting it to the water supply line.
Install the new shut-off valve: Attach the new shut-off valve to the water supply line and tighten the nut with an adjustable wrench.
If the valve is soldered, use a blowtorch to heat the joint and apply solder to create a secure connection.
Turn on the water supply: Slowly turn on the main water supply valve and check for any leaks around the new shut-off valve.
Tighten the connections if necessary.
Test the functionality: Flush the toilet and check if the shut-off valve effectively stops the water flow.
Ensure there are no leaks or drips from the valve or surrounding connections.
Common Challenges and Solutions

When Replacing a Toilet Shut-Off Valve Content: Replacing a toilet shut-off valve can present some challenges along the way.
Understanding these common issues and their solutions will help you navigate the replacement process more effectively and achieve a successful outcome.
Stuck or corroded shut-off valve: Over time, shut-off valves can become stuck or corroded, making them difficult to remove.
Applying penetrating oil and using a pipe wrench or pliers can help loosen a stubborn valve. In extreme cases, it may be necessary to cut the valve off using a pipe cutter or hacksaw.
Water leaks: Improperly tightened connections or damaged seals can lead to water leaks.
Ensure all connections are securely tightened and use Teflon tape or pipe dope to create a watertight seal. If leaks persist, consider replacing the affected components.
Compatibility issues: Different shut-off valves may have varying sizes or connection types.
Ensure the new shut-off valve is compatible with your existing plumbing system. Consult a professional if you’re unsure or need assistance with compatibility.
Soldering difficulties: Soldering can be challenging for beginners.
If you’re uncomfortable with soldering, opt for a shut-off valve with compression fittings or seek the help of a professional plumber.
Tips for Maintaining a Toilet Shut-Off Valve
Proper maintenance of your toilet shut-off valve is essential to ensure its longevity and prevent unexpected issues.
Follow these tips to keep your shut-off valve in good working condition:.
Regular inspections: Periodically inspect the shut-off valve for signs of leaks, corrosion, or damage.
Address any issues promptly to prevent further damage or water wastage.
Lubrication: Apply a small amount of silicone or plumber’s grease to the valve’s moving parts to keep them lubricated.
This prevents stiffness and ensures smooth operation.
Exercise the valve: Turn the shut-off valve on and off a few times every six months to prevent it from seizing up.
This helps keep the internal components free from sediment buildup.
Avoid overtightening: When closing or opening the shut-off valve, avoid using excessive force.
Overtightening can cause damage to the valve or the water supply line.
Replace worn components: If you notice signs of deterioration, such as cracked or worn seals, it’s advisable to replace the affected components promptly.
This prevents leaks and ensures optimal performance.
*The information is for reference only.