DIY Pitfalls: 5 Common Fixes That May Cause More Problems. While we often rely on common knowledge, neighborly advice, old wives’ tales, or even following the way our parents did things, it’s important to recognize that not all of these sources provide accurate information. In the realm of home repair and improvement, some of these well-intentioned hints can lead to ineffective, unsightly, or even harmful outcomes.
It’s crucial to approach such advice with a critical eye and verify its validity. Instead, consider seeking guidance from trusted professionals, reputable sources, or reliable experts in the field. By relying on accurate information and expertise, you can ensure that your home projects yield the desired results while avoiding any potential pitfalls.
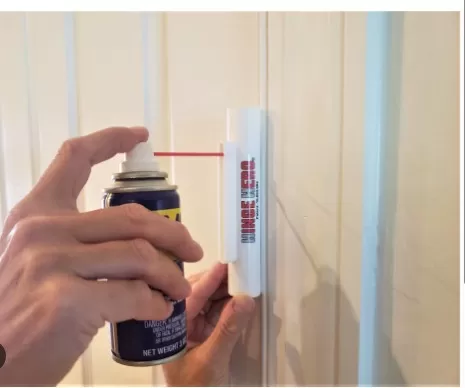
Choosing the Right Lubricant for Hinges: Avoid WD-40

When it comes to lubricating hinges, it’s essential to select the appropriate product to ensure smooth operation and avoid potential issues.
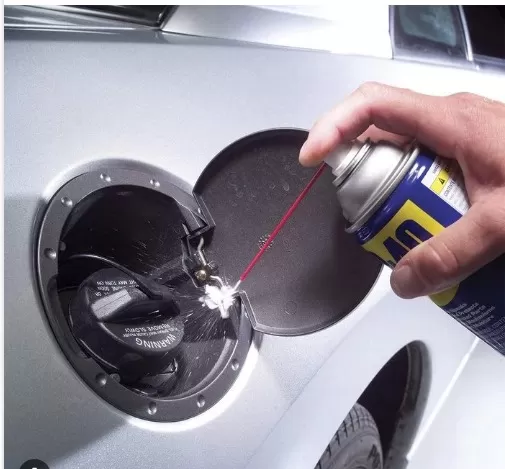
While WD-40 is a versatile solution for various purposes, using it on squeaky door hinges can lead to unwanted consequences. WD-40’s lubricating properties may attract dirt and dust, potentially causing the hinge pin to darken over time.
Instead, consider alternative options like common bar soap or petroleum jelly, which can effectively silence squeaks without the risk of attracting debris. By making the right choice, you can keep your hinges in optimal condition and enjoy quiet movement.
Safely Cleaning Up Broken Glass: Avoid Using a Vacuum Cleaner
Accidents happen, and when a glass object shatters into numerous pieces, it’s important to clean it up properly.
While your initial inclination may be to reach for the Vacuum Cleaner, it’s advisable to refrain from doing so as glass fragments can damage its mechanism. Instead, here’s a better method: put on a sturdy oven mitt and wrap several layers of duct tape around it, ensuring the sticky side faces outward. Carefully press the sticky tape onto areas where sharp glass shards may be hiding. Once you’ve finished, slide the duct tape off and dispose of it in the garbage. This approach ensures a safer and more effective cleanup, protecting both you and your vacuum cleaner.
Avoid Using a Copper Penny as a Fuse Replacement

While it may have been a common practice in the past, substituting a blown fuse with a copper penny is a dangerous and outdated technique that should be avoided.
Fuses in your circuit box serve a crucial purpose—they protect your home’s electrical system by preventing excessive current flow, which can lead to overheating of wires. By inserting a copper penny in place of a fuse, the system is no longer safeguarded against overloading, risking melted wiring or even a potential house fire.
Instead, it is recommended to either replace the blown fuse yourself with the correct rating or seek assistance from a qualified electrician. Prioritizing safety ensures the proper functioning of your electrical system and protects your home from potential hazards.
Considerations When Making DIY Dishwasher Detergent
The internet is full of do-it-yourself (DIY) recipes for dishwasher detergent, but it’s important to approach them with caution.
While using a homemade mixture occasionally may not pose significant harm, it’s important to note that these DIY formulations often don’t deliver the same effectiveness as commercial dishwasher detergents. In addition to potentially subpar cleaning results, there is a risk of damaging your dishwasher and voiding its warranty when using homemade alternatives. It’s advisable to weigh the potential cost savings against the potential risks before opting for a DIY dishwasher detergent. To ensure optimal cleaning performance and preserve the warranty, it’s generally recommended to use commercially available dishwasher detergents that are specifically formulated for use in dishwashers.
Safely Removing a Stripped Screw: Alternative to Using a Drill

Encountering a stripped screw can be frustrating, but before resorting to using a drill, it’s important to consider a safer alternative.
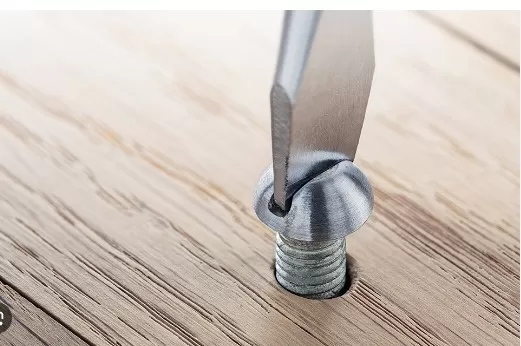
Using a drill can lead to unintended damage to your walls, resulting in the need for repairs and repainting. Instead, try the following method: place a large rubber band over the stripped screw head, then position a screwdriver over the rubber band and into the groove of the screw.
Apply gentle pressure and slowly turn the screwdriver, allowing the rubber band to provide extra grip. With careful maneuvering, the screw should gradually loosen, enabling you to remove it easily by hand.
This approach reduces the risk of further damage and provides a practical solution for dealing with a stripped screw.
*The information is for reference only.