Door Hardware Installation Guide: Step-by-Step Instructions. Having recently upgraded from living in a garage to residing in a half-constructed house, the simple pleasure of having multiple doors to open and close at will is truly a novelty that cannot be overstated.
After weeks of adapting to the convenience of using a finger to hook through the empty hole and swing the door open or closed, I’ve come to appreciate the simplicity of this makeshift arrangement. There are no knobs to turn or levers to push, and it’s always easy to tell if the bathroom is occupied by simply peering through the open hole. Privacy becomes a moot point when you spend a year cohabitating in a small space with another person and a cat, so the open door serves its purpose quite well.
A Guide to Installing Basic Cylindrical Interior Door Hardware
When it comes to installing a basic cylindrical interior door hardware, it’s essential to familiarize yourself with its components.
The hardware typically includes a latch assembly, a handle connected to the cylinder, a second handle, and a faceplate. Luckily, installing this type of door handle is a straightforward task that can be completed without the need for specialized tools.
To get started, gather the following tools and materials:.
Door hardware.
Screwdriver.
Cordless drill.
Chisel.
With these items in hand, you’ll be well-prepared to begin the installation process.
Remember, it’s always a good idea to have all the necessary tools and materials before starting any project.
Additionally, we want to disclose that we are a participant in the Amazon Services LLC Associates Program.
This program enables us to earn fees by linking to Amazon. com and affiliated sites.
Rest assured, any recommendations or product links provided in this guide are carefully selected to assist you in finding the right hardware for your interior doors.
Step 1: Installing the Latch Assembly

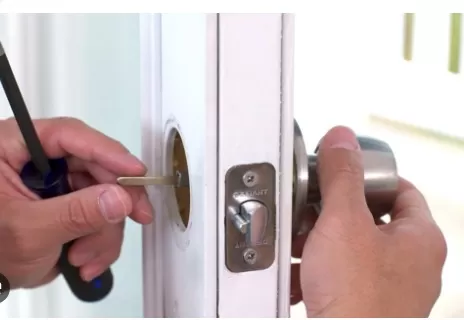
To begin, ensure that the beveled side of the latch faces the jamb.
This orientation is crucial as it allows the latch to push back when the door is closed. If the latch is installed backwards, you’ll have to turn the handle each time to close the door.
Most doors are designed with pre-cut space to accommodate the face plate.
However, if your door doesn’t have this feature, follow these steps:.
Center and level the face plate on the door.
Trace the outline of the face plate onto the door.
Use a chisel to carefully remove some wood from the traced area, ensuring the face plate sits flush.
Once the latch assembly is in place, it’s advisable to wait until the rest of the handle is installed before screwing the face plate in place.
This approach allows for easier adjustment and alignment of all the hardware components.
Step 2: Installing the Handles

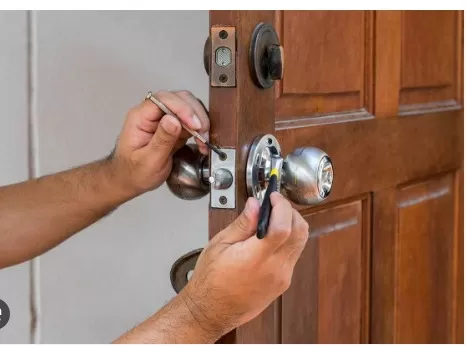
Once the latch assembly is installed, proceed to slide the door handle with the attached cylinder into place.
Ensure that it aligns with the holes in the latch assembly for proper functionality.
Once the handle is in position, secure the connection by positioning the opposite handle accordingly.
Fasten the handles using two screws, typically located on the “locking” side of the door.
Note: In the case of lever-style handles, it may be necessary to “swap handles” so that they face the correct direction.
Most models have a small button on the base of the handle that can be pressed to release and reposition the handle accordingly.
Step 3: Fastening the Face Plate

To complete the installation of your door hardware and ensure secure closure, follow these simple steps:.
Take the face plate and align it over the latch assembly and holes on the door.
Using screws provided with the door hardware, fasten the face plate securely to the door.
Typically, there are multiple screw holes on the face plate for added stability.
Ensure that the face plate is firmly attached to the door, as this will help keep the hardware in place and prevent any potential issues.
Congratulations! With the face plate properly fastened, you have successfully completed the installation of your door hardware.
Enjoy securely closed doors and enhanced privacy in your space.
*The information is for reference only.