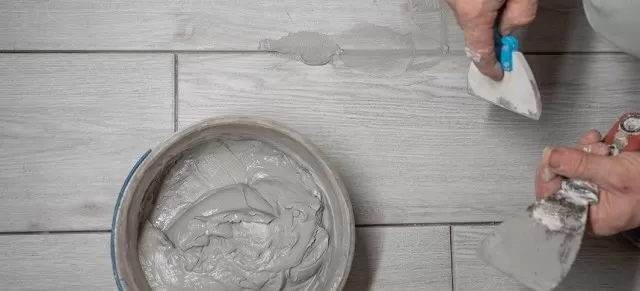
Cleaning grout can be a breeze with our straightforward Step-by-Step Instructions using natural ingredients.
Step-by-Step Guide

Cleaning grout can be a breeze with our straightforward step-by-step instructions using natural ingredients.
Here’s how to get your grout looking its best:
Prepare the Grout Area: Start by wiping down the tile surface with a damp cloth.
This initial step is crucial for removing any visible dust, dirt, or general grime. If you notice any buildup or stains, take the extra time to address those areas as well.
Mix Your Cleaning Solution: The choice of grout-cleaning solution depends on the condition of your tile grout:
For regular dirt and debris, create a mixture of two parts baking soda and one part water.
If you’re dealing with stained or discolored grout, combine two parts baking soda with one part vinegar. For tiles that are either coarse or fragile, use a blend of two parts baking soda and one part hydrogen peroxide.
Alternatively, you can opt for a commercial grout cleaner if you prefer. Apply the Grout Cleaning Solution: Utilize a grout brush or an old toothbrush to evenly apply the paste onto the grout lines.
If you’re using the vinegar-based solution, it’s wise to test a small amount of paste in an inconspicuous area to ensure that the acidic vinegar won’t stain the tile.
Scrub and Seal the Grout: Allow the paste to sit on the grout for a few minutes, giving it time to work its magic.
Then, thoroughly scrub all the grout lines to remove dirt and stains. Rinse the cleaned grout lines with water to eliminate any residue.
After cleaning, let the grout dry for a full 24 hours before applying a grout sealer. Sealing the grout helps preserve your Hard Work and maintain its cleanliness.
Editor’s Tip: For added scrubbing power, consider using an old electric toothbrush when applying the grout-cleaning paste.
By following these simple steps and using natural ingredients, you can effectively clean your grout and keep your tile surfaces looking fresh and well-maintained.
Plus, you’ll avoid the potential pitfalls associated with harsh chemical cleaners.
Additional Tips and Techniques for Grout Cleaning

When dealing with grout that has lighter stains, you can opt for a strong bleach solution.
Mix 3/4 cup of bleach with 1 gallon of water and use a small brush or toothbrush to scrub the stained grout. However, it’s essential to be gentle when scrubbing to avoid damaging the grout.
To protect your eyes from bleach splatter, wear safety goggles, and ensure proper ventilation in the workspace. Alternatively, you can try a foaming grout cleaner, but be patient as it may require several minutes of soaking to be effective.
For deeply stained and discolored grout, the best solution might be to replace it.
Tile stores often sell or rent tools for grout removal. When using such a tool, be careful not to scratch the surrounding tiles.
After removing the old grout, clean the gaps between the tiles with a strong bleach solution, then apply new grout and seal it. Be cautious not to spill bleach on porcelain tiles, as it can lead to pitting or result in yellow or pink stains.
If you have recently installed new grout or refreshed existing grout on a tile floor, it’s crucial to start your grout-cleaning routine with prevention.
Grout is porous and prone to collecting grime, so it’s a good practice to apply a grout sealer 10-14 days after the grout has cured. This will help maintain the appearance of your grout and make future cleaning efforts more manageable.

To clean your grout effectively, follow these simple steps using natural ingredients:
Begin by wiping down the tile with a damp cloth to remove visible dust, dirt, or grime.
Prepare a cleaning solution based on the condition of your grout:
For everyday dirt and debris, mix two parts baking soda with one part water.
For stained or discolored grout, combine two parts baking soda with one part vinegar. If you have coarse or fragile tiles, use a mixture of two parts baking soda with one part hydrogen peroxide.
You can also choose to use a commercial grout cleaner if preferred. Apply the paste to the grout lines using a grout brush or an old toothbrush.
If you’re using the vinegar solution, test a small amount of paste in an inconspicuous area to ensure it doesn’t stain the tile.
Let the paste sit on the grout for a few minutes, then scrub all the grout lines thoroughly.
Rinse clean with water.
Allow the grout to dry for 24 hours before applying a grout sealer to protect your hard work.
Editor’s Tip: To increase scrubbing efficiency, use an old electric toothbrush when applying the grout paste.
With these grout-cleaning tips and techniques, you can keep your tile surfaces looking fresh and well-maintained while avoiding potential damage or health risks associated with harsh chemicals.
*The information is for reference only.