Flat Paint Cleaning: Effective Techniques. In many homes, especially newly-constructed starter homes, flat or matte latex paint is commonly used on the walls of bedrooms and Living Areas.
The flat paint finish provides ease of application and helps conceal surface imperfections by minimizing light reflection. If your painted wall doesn’t reflect light, it likely has a flat paint finish.
However, flat paint is more prone to showing scuffs, smudges, and fingerprints compared to other paint finishes. It is not resistant to moisture, which is why it is rarely used in kitchens and bathrooms. Aggressive scrubbing and harsh chemicals can cause discoloration, unevenness, or even remove the paint from the drywall. Fortunately, most interior doors and trim are painted with a more resilient semi-gloss finish that can withstand moisture, cleaning, and exposure to harsh chemicals.
Despite being vertical surfaces, walls can still accumulate dust, smoke stains, insect droppings, as well as scuffs and marks from hands, feet, and furniture.
Just like we regularly clean our floors, it’s important to give attention to cleaning flat Painted Walls too. With a few basic products and tools, you can help your walls regain a cleaner and brighter appearance.
How Often Should You Clean Flat Painted Walls??

As part of your regular cleaning routine, it is important to give attention to maintaining the cleanliness of flat painted walls.
Here are some guidelines to follow:.
Dusting and Cobweb Removal: Dust the flat painted walls on a monthly basis to prevent the accumulation of dust particles.
Additionally, check for cobwebs in the corners and remove them using a soft-bristle brush or a microfiber cloth. Increasing the frequency to twice a month can provide even better results.
Smudges and Dirt: Pay close attention to areas around doorknobs and light switches, as they tend to accumulate smudges and dirt.
Clean these areas as soon as possible using a gentle cleaning solution or a mild detergent mixed with warm water. Remember to test the solution on a small, inconspicuous area first to ensure it doesn’t damage the paint.
Deep Cleaning: Due to the delicate nature of flat paint, deep cleaning with wet solutions should be done sparingly.
It is generally recommended to perform deep cleaning only once or twice a year, and preferably before repainting the room. Deep cleaning may involve using a mild solution of warm water and gentle Dish Soap, applied with a soft cloth or sponge.
Ensure that you gently wipe the walls without scrubbing too vigorously to avoid damaging the paint.
By incorporating these cleaning practices into your regular chores, you can effectively maintain the cleanliness of your flat painted walls and keep them in good condition.
Remember to always follow the manufacturer’s recommendations and test any cleaning solution on a small area before applying it to the entire wall.
Before You Begin

To ensure the safe and effective cleaning of flat painted walls, it’s important to keep a few additional tips in mind:.
Test Cleaning Solutions: Before applying any cleaning solution to a large area, test it in a small, inconspicuous spot on the wall.
This will help you determine if the solution may cause any adverse effects on the paint, such as discoloration or damage.
Start from the Top: When cleaning the walls, always begin at the top and work your way down.
This approach allows you to catch any drips or excess cleaning solution and prevents the need for re-cleaning already cleaned areas.
Protect Floors: To prevent any damage or staining to the floor, place a plastic tarp or drop cloth beneath the area you are cleaning.
This will help catch any drips or spills from the cleaning solution.
Safeguard Electrical Outlets: Prioritize the protection of electrical outlets by either covering them with painter’s tape or turning off the power to the room you are cleaning.
This precautionary measure ensures your safety and avoids the risk of electrical accidents while cleaning.
By following these additional tips, you can maintain the integrity of your flat painted walls and ensure a safe and effective cleaning process.
How to Clean Flat Paint Walls: Effective Techniques and Tips

Effective Techniques for Cleaning Flat Paint Walls and Furniture Placement.
Prepare the Space: To facilitate easier and more efficient cleaning, start by removing wall art and decor items.
Additionally, move furniture away from the walls to create ample space for maneuvering a step stool or ladder.
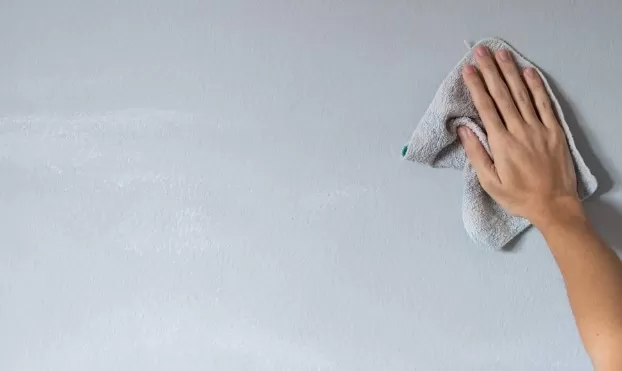
Eliminate Dust: Dusting can significantly enhance the appearance of flat paint.
Begin at the top of the wall and use a vacuum with a dusting or upholstery brush attachment, or a microfiber duster on an extendable wand, to remove dust and cobwebs. Work your way down the wall in small sections, changing the duster or cloth if heavily soiled.
For high spots, ensure the use of a sturdy step stool or ladder.
Basic Water Cleaning: Fill a bucket with warm water.
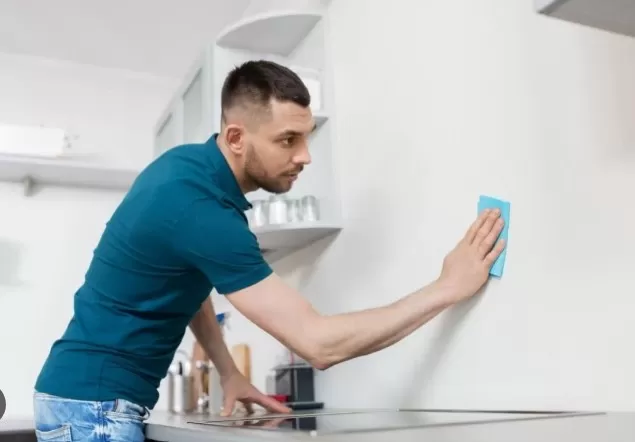
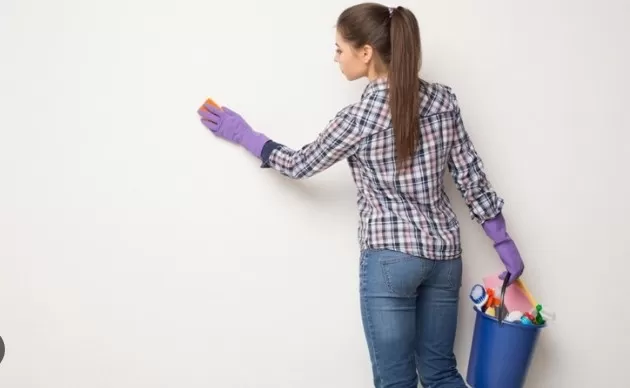
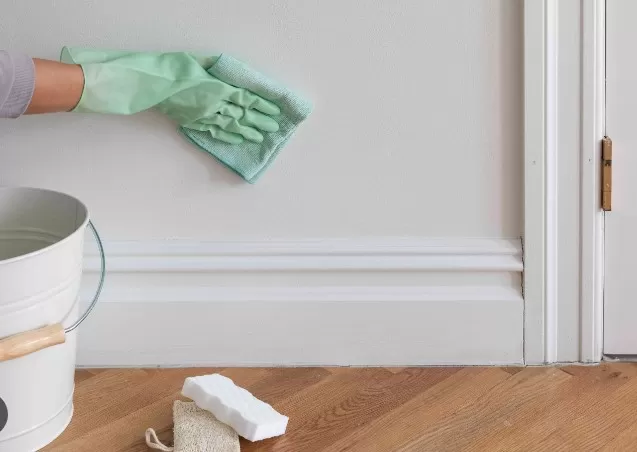
Dip a soft sponge or microfiber cloth into the water, wringing it out until it is not dripping. Clean the walls in small sections, working from top to bottom.
If the results are not satisfactory and stains persist, proceed to stronger cleaning methods.
Creating a Cleaning Solution: In a bucket, combine one teaspoon of dishwashing liquid and one-half cup of distilled white vinegar per quart of warm water.
Prepare a second bucket with clean water.
Wipe Down the Walls: Dip the sponge or cloth into the cleaning solution, wring out excess liquid, and start at the top of the wall.
Work in small sections, moving down the wall. Rinse the sponge frequently and pay close attention to heavily soiled areas.
Use another sponge or cloth dipped in clean water to remove any soapy residue as you progress.
Addressing Problem Areas: For stubborn scuffs and smudges, dampen a sponge with baking soda and gently rub the affected area.
The mild abrasive properties of baking soda can help lift the stains. If necessary, use a damp melamine sponge with a gentle touch, checking it frequently for color transfer.
Avoid rubbing too hard to prevent shiny spots or paint removal.
Covering Stains with Touch-up Paint: In some cases, it may be easier to cover scuff marks and stains with fresh paint rather than attempting to clean them.
If cleaning has resulted in shiny spots or removed paint, use leftover paint to touch up the walls. Feather the edges to blend the new paint with the existing flat paint.
For crayon or oily splatters that are difficult to remove, clean them as best as possible and then repaint the affected area.
By following these techniques, you can effectively clean your flat paint walls, addressing both general dirt and problem areas, while also considering touch-up painting when necessary.
How to Remove Crayon Marks from Painted Walls: Effective Techniques and Tips

Effective Techniques for Removing Crayon Marks from Painted Walls.
Kids’ creativity often finds its way onto walls through crayon markings.
If you’re faced with this colorful challenge, don’t worry! There are several methods you can try to remove crayon marks and restore your wall to its pristine condition.
Blow Dryer: Use a blow dryer to apply heat to the crayon markings.
This will soften the wax, making it easier to remove. Wipe the marked area with a microfiber cloth or paper towel that has a small amount of dish soap on it.
Gently scrub until the crayon marks disappear.
Cleaning Eraser: Try using a cleaning eraser, such as a Magic Eraser, on the crayon marks.
Rub lightly to avoid removing the paint. Before proceeding, test an inconspicuous spot on the wall to ensure it doesn’t cause any damage.
WD-40: Spray a small amount of WD-40 onto a cloth or paper towel.
Gently wipe off the crayon markings. After removing the crayon, wash the oily residue off the wall using a mild soap and water solution.
Mayonnaise: Apply a small amount of mayonnaise directly to the crayon marks.
Allow it to sit for a few minutes to penetrate the wax. Then, using a damp cloth, gently wipe off the mayo and the crayon markings.
Rinse the cloth regularly to avoid spreading the crayon residue.
Non-Gel Toothpaste: Using non-gel toothpaste, apply a generous amount directly onto the crayon marks.
Scrub the marked area with a rag or scrub brush, applying gentle pressure. Once the crayon marks are removed, use a damp cloth to clean off any residue from the toothpaste.
Remember to test any cleaning method on a small, inconspicuous area of the wall before applying it to the entire crayon-marked surface.
This will help ensure that the method is safe and effective for your specific wall paint.
By trying these techniques, you can effectively remove crayon marks from painted walls and restore the clean and vibrant appearance of your walls.
*The information is for reference only.