How to Remove Mold from Walls in 6 steps. Mold can develop on any surface from wood to tile to sheetrock walls when exposed to moisture and warmth. The color of mold can be black, green, brown, or white, and the type of mold growth determines the health risks involved.
Disinfectants can safely remove allergenic and pathogenic molds, but large colonies require professional treatment. Toxic molds demand immediate professional attention and the disposal of all affected materials. While small colonies of mold can be removed with basic disinfecting supplies by following safety procedures, extensive mold growth should be handled by a professional Mold Removal company.
The U.S. Department of Environmental Protection recommends seeking professional help for mold colonies that cover more than 10 square feet, and local public health departments can provide advice on mold testing and refer you to a mold remediation company.
How Often Should You Clean Mold off Walls?

If you do find mold growth on your walls, it’s important to clean it off as soon as possible to prevent it from spreading and causing health problems.
The frequency of cleaning will depend on the underlying cause of the mold growth. If the mold is due to a leak or excess moisture in the home, the source of the problem should be fixed and the affected area should be cleaned immediately.
Regularly checking for signs of mold growth and addressing any issues promptly can help prevent the need for frequent cleaning.
How to Make a Mold Cleaning Solution

To prepare a cleaning solution for mold, mix one-part dishwashing liquid, 10 parts bleach, and 20 parts water in a plastic bucket.
For smaller areas, a mixture of one tablespoon dishwashing liquid, 1/2 cup chlorine bleach, and one cup of warm water in a spray bottle can be used. Adding dishwashing liquid to the solution helps it to cling to the wall and kill the mold spores more effectively.
While chlorine bleach is the most effective product for removing mold spores at home, you can use distilled White Vinegar or hydrogen peroxide for small infestations.
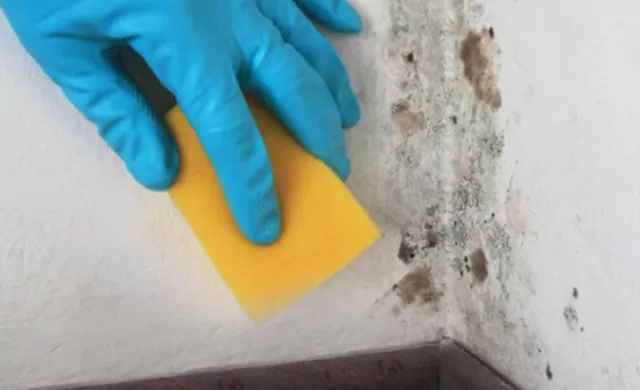
White vinegar slowly breaks down the structure of mold and kills it but may leave dark stains that require additional cleaning. Simply spray the mold with distilled white vinegar, wipe it away with a microfiber cloth or sponge, and let the area air-dry.
Hydrogen peroxide is another option but works more slowly than chlorine bleach, requiring multiple applications. Use a first-aid grade, three-percent hydrogen peroxide spray, wipe the area with a sponge, and let the wall air-dry.
Ways to Protect Yourself When Cleaning Mold Off Walls

It is recommended to take precautions when removing mold.
Wear old clothes that can be washed in hot water to remove any mold spores and avoid wearing clothes that you care about getting bleach splattered on. Additionally, it is important to wear a face mask (preferably N-95), protective eyewear, and gloves to protect yourself from inhaling mold spores and coming into direct contact with the cleaning solution.
How to Increase Ventilation When Removing Mold

To enhance the ventilation while cleaning, consider opening windows or using a circulating fan.
If you are cleaning a bathroom, turn on the bathroom ventilation fan and use the kitchen’s exhaust fan.
How to Apply Cleaning Solution to Remove Mold from Walls
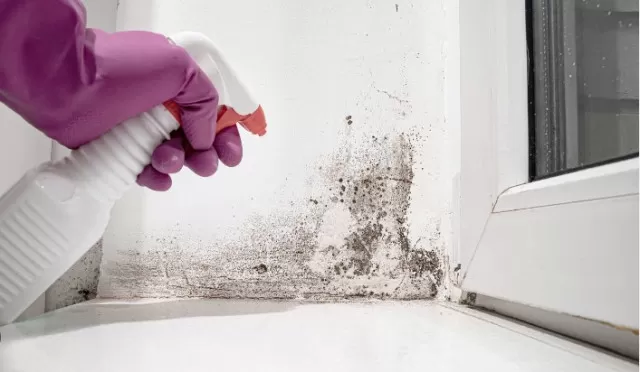
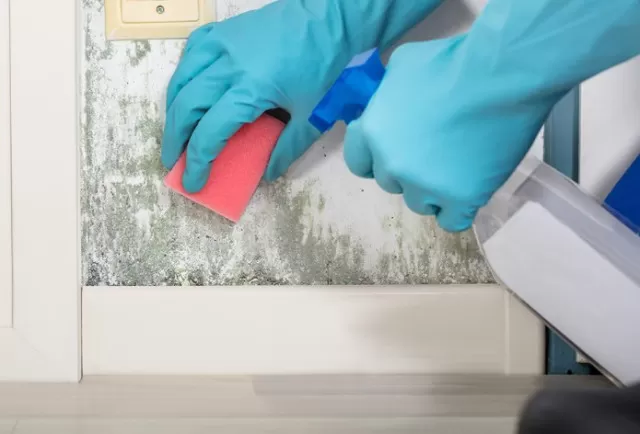
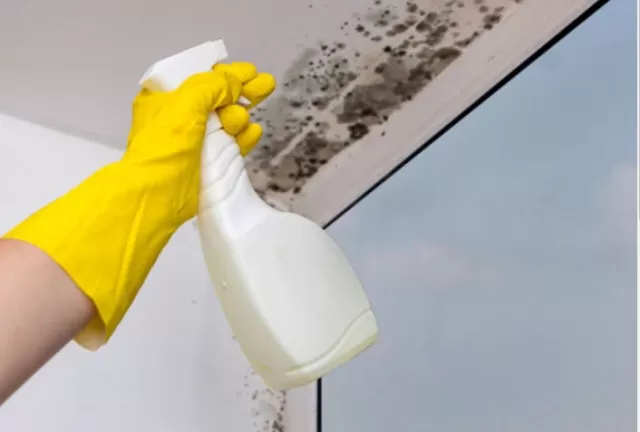
To apply the cleaning solution, you can use either a spray bottle or a sponge.
To avoid spreading the spores and streaking the wall, it’s recommended to start cleaning the mold from the bottom and work your way up. Make sure that the wall’s surface is fully wet, but not oversaturated, to prevent any damage to the drywall. If the mold is near the ceiling, it’s important to use a sturdy stepladder or apply the solution with a clean sponge mop.
Air-Drying the Wall After Cleaning Mold
To ensure effective cleaning, it is important not to wipe away the cleaning solution from the wall.
Instead, allow the wall to air-dry naturally. This helps to ensure that the cleaning solution is given enough time to work on the mold spores and prevents any residual solution from being left on the surface, which could damage the wall.
How to Check for Remaining Stains on the Wall After Cleaning Mold
After Air-Drying, Check for Any Remaining Stains and Repeat Cleaning Process if Necessary.
*The information is for reference only.