How to Utilize the Self-Cleaning Feature on an Oven. Cleaning the oven can be a daunting task, especially if it has accumulated grease and spills over time.
However, if you have an oven with a self-cleaning feature, you’re in luck. The process is relatively simple and only requires a few minutes of preparation, some patience, and a quick wipe-down at the end.
How Often Should You Use the Self-Clean Oven Cycle?

The self-clean cycle of an oven is typically recommended to be run every six months at most.
However, how often you should use it depends on how frequently you use your oven, as well as your cooking and cleaning habits.
Before you begin, it is important to refer to your oven model’s use and care guide.
If you have misplaced the manual, it is usually available online from the manufacturer. Keep in mind that the self-clean cycle can last from one to five hours, so schedule it at a time when you won’t need to use the oven.
The oven door will automatically lock during the cycle, and you should not attempt to stop it or open the door until it is complete.
The self-clean cycle generates smoke and fumes due to the high temperature it uses to incinerate the soil inside the oven.
To help dissipate the smoke and eliminate any odors, it is vital to keep your kitchen well-ventilated during the process. Avoid obstructing the oven vents to allow air to flow freely.
Additionally, check out this video featuring three condiments you can use to clean your oven!.
Step-by-Step Guide to Clearing Your Oven

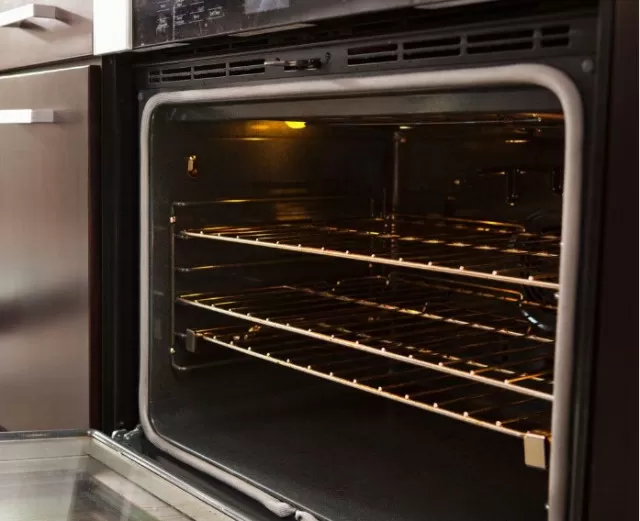
Before starting the self-cleaning cycle of your oven, ensure that it is completely empty.
Check the oven’s operating manual to confirm whether the racks are self-cleanable. Most racks, particularly those made of stainless steel, should be removed before using the self-clean feature.
As the self-cleaning cycle expels hot air through a vent on the stovetop, it is necessary to remove anything placed on top of the stove, such as spice containers, oven dials, or trivets.
If you have towels or oven mitts hanging from the oven door, remove them as well. This will help prevent any items from melting or catching fire due to the high temperatures produced by the self-cleaning process.
Cleaning Your Oven: Don’t Forget the Door Seal!

Using a lint-free microfiber cloth, dip it in warm water and wring it until it is slightly damp.
Gently wipe the inside edge of the oven door and the surrounding door frame to remove any crumbs or dirt that may obstruct a proper seal. Be careful not to move or bend the gasket around the door as you clean.
Tips for Better Kitchen Ventilation
To eliminate excess heat and fumes generated during the oven self-cleaning process, turn on the range hood to improve ventilation in your kitchen.
If possible, open windows and turn on overhead fans to increase air circulation and help clear any lingering smoke or odor.
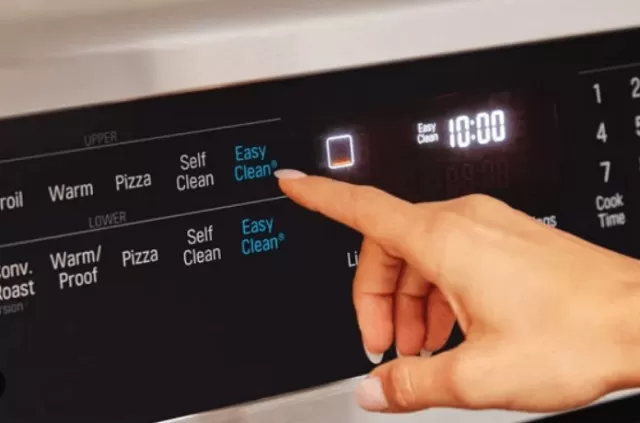
How to Start the Self-Cleaning Cycle: Locking the Door and Picking the Right Cycle
When you select the self-clean cycle, most oven doors will lock automatically.
If your oven door doesn’t lock automatically, you can lock it manually before proceeding. Once the door is locked, select the self-clean cycle on the control panel and let it run for the recommended time.
Once the self-clean cycle has finished, the oven door will remain locked until the temperature inside has dropped to a safe level.
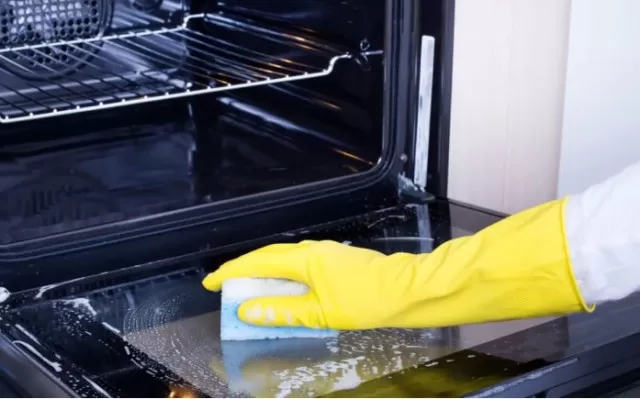
Afterward, open the door and use a damp microfiber cloth to wipe away any remaining ashy residue on the sides and bottom of the oven.
If you removed any oven racks, clean them by washing them in hot, Soapy Water using a scrubbing sponge.
Rinse, dry, and then reposition them back into the oven. Your oven is now ready to use.
Now that your oven’s interior is clean, it’s a great opportunity to clean the exterior surfaces, including the door and control panel.
The cleaning method will depend on the surface, but most can be cleaned with a damp microfiber towel dipped in hot, soapy water. Wipe down the surfaces and then dry with a fresh towel.
*The information is for reference only.