Keeping your kitchen appliances clean is essential for maintaining a clean and functional kitchen.
Keeping your kitchen appliances clean is essential for maintaining a clean and functional kitchen.
If you have specific kitchen appliances in mind that you would like instructions for cleaning, please let me know, and I’ll be happy to provide you with step-by-step instructions tailored to those appliances.
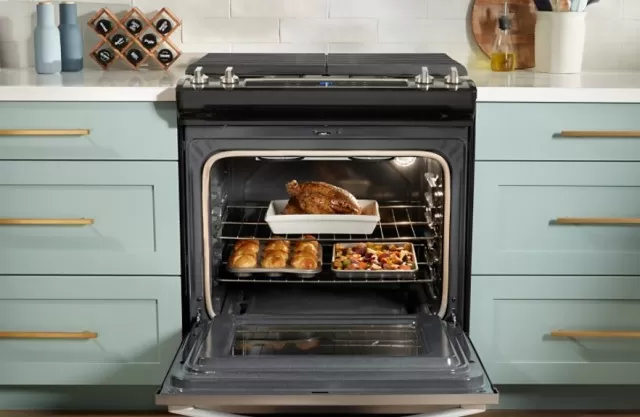
Oven

Cleaning your oven is an important task to remove built-up grime and prevent any potential problems.
Here’s a guide on how to clean an oven using natural ingredients:
What You Need:
Baking pan
Dishwashing soap
Sponge
Step 1: Prep the Oven.
Heat the oven to 225 degrees Fahrenheit.
Place a baking pan filled with water in the oven and let it sit for about 15 minutes. Turn off the oven and allow the water to cool down.
Step 2: Scrub the Oven.
Once the water has cooled, mix it with dishwashing soap to create a soapy solution.
Dip a sponge into the solution and use it to scrub the inside of the oven, focusing on areas with built-up grime or tough spots. Apply more soapy solution as needed and continue scrubbing until the grime is loosened and removed.
For stubborn stains or tough spots, you may need to use additional cleaning methods specific to oven cleaning. Consult the manufacturer’s instructions or refer to specialized oven-Cleaning Tips for guidance.
By following these steps and using natural ingredients like dishwashing soap and water, you can effectively clean your oven. Regular oven cleaning helps maintain its performance and prevents any potential problems caused by excessive grime buildup.
Remember to take appropriate safety precautions and refer to the manufacturer’s instructions for specific cleaning recommendations for your oven model in the kitchen.
Stainless-Steel Appliances

Cleaning stainless-steel kitchen appliances can help remove water spots, fingerprints, and smudges, keeping them looking shiny and clean.
Here’s a guide on how to clean stainless-steel appliances effectively:
What You Need:
Distilled white vinegar
Towel
baking soda
Sponge
Soft cloth
Rubbing alcohol
Lemon oil
Step 1: Clean Water Spots.
Bring distilled white vinegar to a boil.
Lay a vinegar-soaked towel on the water spot for about 30 minutes to allow the vinegar to penetrate and loosen the stain. Sprinkle baking soda on the affected area and scrub gently with the grain of the stainless steel using a sponge.
Wipe clean and dry the surface with a soft cloth.
Step 2: Clean Fingerprints.
For fingerprints and smudges, wipe the stainless-steel surface with a soft cloth dampened with rubbing alcohol.
Gently rub the affected areas to remove the fingerprints, following the grain of the stainless steel. Wipe clean with a dry cloth to remove any residue.
Step 3: Add Extra Shine.
To add extra shine and protect the stainless steel, rub the surface with a soft cloth and a few drops of lemon oil.
Buff the surface gently to bring out the shine and leave a protective layer on the stainless steel. By following these steps, you can effectively clean and maintain the appearance of your stainless-steel appliances, removing water spots, fingerprints, and smudges.
Regular cleaning and maintenance will help keep your appliances looking their best. Remember to always follow the manufacturer’s instructions for cleaning and caring for your specific stainless-steel appliances.
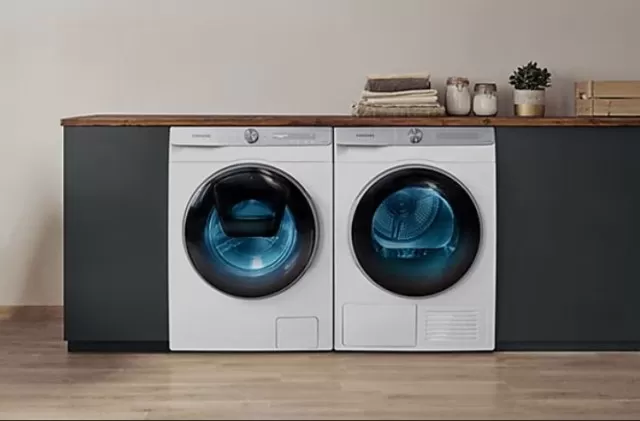
washing machine and Dryer

Cleaning your washing machine and dryer is an important maintenance task that helps keep them functioning effectively.
Here’s a guide on how to clean a washing machine and dryer.
What You Need:
Vinegar
Sponge
Toothbrush
Dryer brush
Step 1: Run the Washing Machine with Vinegar.
Pour two cups of vinegar into the washing machine drum.
Run the longest cycle at the hottest temperature. This helps clean the drum and remove any buildup or odors.
Step 2: Clean the Washing Machine.
After the vinegar cycle is complete, mix 1/4 cup vinegar with a quart of warm water.
Dip a sponge and toothbrush into the mixture and use them to clean the inside of the machine, including the drum, soap dispenser (if removable), and rubber seal (for front loaders). For removable soap dispensers, let them soak in the vinegar and water mixture before scrubbing.
Run another cycle without vinegar or detergent, using the hottest and longest setting.
Step 3: Clean the Dryer.
Clean the lint screen or filter before every load to maintain optimal airflow and prevent fire hazards.
Periodically, clean the lint trap compartment located below the lint screen. Use a dryer brush designed to bend and reach into the compartment to remove any accumulated lint or debris.
Additional Tips:
Follow the manufacturer’s instructions for any specific cleaning or maintenance recommendations for your washing machine and dryer models.
For dryers, refer to the dryer cleaning and care guide for annual cleaning instructions and tips on removing stains from the drum. By following these steps and regularly maintaining your washing machine and dryer, you can ensure they operate efficiently and keep your clothes clean and fresh.
Small Appliances

Cleaning small kitchen appliances is important to keep them in good working condition and maintain hygiene in the kitchen.
Here’s a general guide on how to clean small appliances.
Wipe Down After Use:
After each use, wipe down the exterior of the appliance with a damp cloth or sponge to remove any spills or residue.
This helps prevent the buildup of grime and makes it easier to maintain cleanliness.
Regular In-Depth Cleaning:
Depending on the frequency of use, small appliances should be given a more thorough cleaning from time to time.
This can range from monthly to quarterly, depending on the appliance and how often it’s used.
Unplug Before Cleaning:
Before starting the cleaning process, always ensure that the appliance is unplugged for safety purposes.
Clean Crevices and Undersides:
Use a small toothbrush or a soft-bristle brush to clean the crevices and hard-to-reach areas of the appliance. Pay attention to buttons, knobs, vents, and other areas where dirt and grime can accumulate.
Don’t forget to clean the undersides of appliances as well, as they can collect dust and spills.
Internal Cleaning for Specific Kitchen Appliances:
Some small appliances, like coffee makers, require internal cleaning as well.
Refer to the manufacturer’s instructions or follow a specific guide on how to clean that particular appliance. For example, to clean a Coffee Maker, you may need to descale it using a mixture of water and vinegar or run a cycle with a dedicated coffee machine cleaner.
Rinse and Dry Thoroughly:
After cleaning, rinse any removable parts with water and dry them thoroughly before reassembling them. Wipe down the exterior of the appliance with a clean, dry cloth to remove any moisture.
By following these general steps and referring to specific instructions for each appliance, you can keep your small kitchen appliances clean and in good working condition. Regular cleaning helps prolong their lifespan and ensures optimal performance.
*The information is for reference only.