Optimize Your Lawn and Plants: Lowering Soil pH Made Easy. The pH level of a yard’s soil plays a crucial role in the growth and health of plants. If your greenery isn’t thriving, soil that is too alkaline (high pH) could be the underlying issue. Here’s what you need to know about the impact of alkaline soil on your garden and how to address it
Determining the Soil pH Needs for Your Current or Planned Garden or Lawn

To begin the process of adjusting soil pH, it is crucial to first identify the pH requirements of the specific garden or lawn you have or intend to have.
This assessment is important because different plants necessitate varying levels of soil pH. For instance, grass, vegetables, and numerous annual and perennial plants can tolerate a broader pH range.
In general, most plants thrive when the soil pH falls between 6. 5 and 7.
5. However, certain plants like blueberries and rhododendrons prefer more acidic soil with a pH value below 6.
5 and are less tolerant of alkaline soil. Therefore, understanding the plants you plan to grow is essential in determining the optimal soil pH for your garden.
STEP 2: Determine the Current pH Level of the Soil
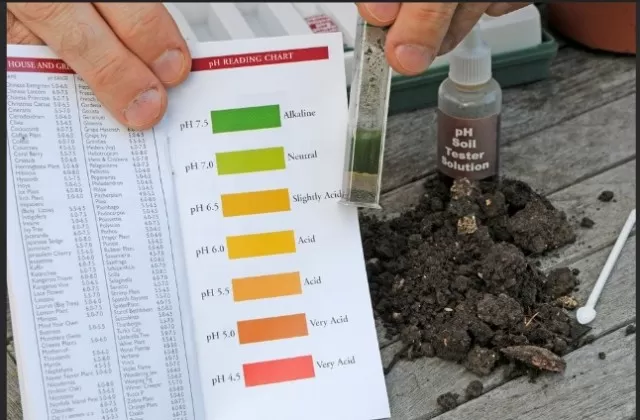
To determine the pH level of the soil, it is recommended for gardeners to utilize one of the convenient soil test kits available.
These kits are widely regarded as the easiest method for testing soil pH. The test results will provide a numerical value on the soil pH scale, which ranges from 0 to 14. If the test indicates a pH level above 7. 5, it signifies that the soil’s pH needs to be lowered in order to ensure optimal growth for any plants planted there. Additionally, gardeners may consider acquiring one of the reliable pH meters to regularly monitor the soil’s alkalinity levels.
STEP 3: Assess the Soil Composition

The composition of the soil plays a crucial role in determining the appropriate steps to lower the soil pH.
Soil composition is determined by the proportions of sand, silt, and clay present. These components affect the soil’s ability to retain moisture and nutrients.
Generally, soils are classified as clay, sandy, or silty based on their composition. Understanding the soil composition is essential when selecting additives to lower the soil pH.
In the case of dense clay soil, the use of elemental sulfur is beneficial.
However, it’s important to note that elemental sulfur takes several months to break down sufficiently for safe planting. On the other hand, fast-draining sandy soil can have its pH effectively lowered by using aluminum sulfate.
However, this process may need to be repeated each growing season to maintain the desired soil pH level.
A simple test can help determine the type of soil you have.
Take a handful of slightly damp soil and shape it into a ball. If the ball crumbles easily, it indicates a soil with a higher proportion of sand and gravel.
If the ball holds together, it suggests a silty soil. Next, drop the ball onto a hard surface, such as a concrete walkway.
If the ball retains its shape, it indicates heavy clay soil.
STEP 4: Apply Elemental Sulfur or Aluminum Sulfate to Lower Soil pH
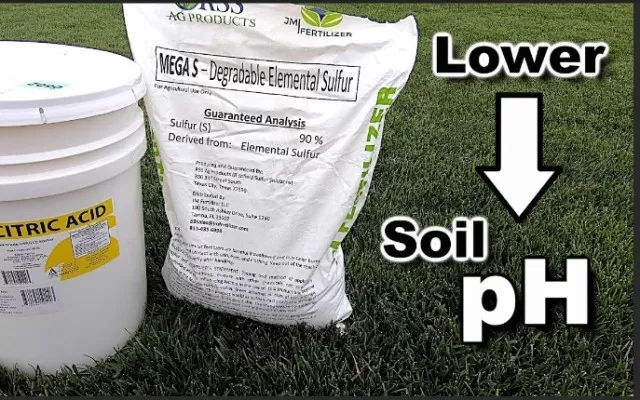
To effectively lower the soil’s pH, the two commonly used additives are elemental sulfur and aluminum sulfate.
It is crucial to follow the manufacturer’s recommendations and avoid excessive use of additives, as they can be harmful to the soil. Regardless of the chosen additive, incorporating additional materials such as mulch and manure can enrich the soil and improve its workability. These organic materials naturally contribute to soil acidity as they break down over time.
Elemental sulfur is particularly suitable for lowering pH in dense clay soils, but it requires time to break down before it can be safely used for planting.
Ideally, it should be incorporated into the soil a year prior to planting, if possible. Elemental sulfur is cost-effective, making it a viable option for large areas.
On the other hand, aluminum sulfate acts more quickly as it dissolves instantly when moisture is present. It is not as economical as elemental sulfur and is more user-friendly.
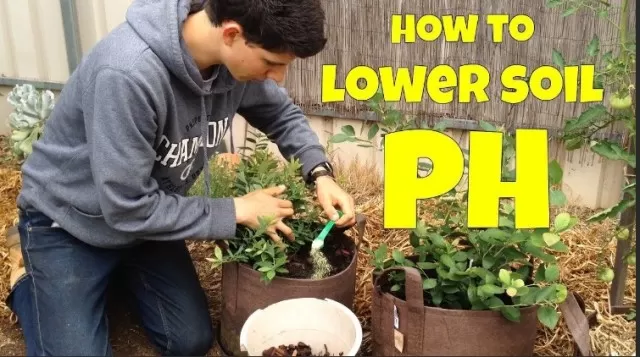
It can lower the soil’s pH almost immediately upon contact. When applying either additive, it is recommended to add the recommended amount gradually over several months, lightly working it into the soil and watering well each time.
After three months, retesting the soil can indicate if the pH levels are decreasing. Some soils may require multiple applications to observe a significant change.
It is important to note that while sulfuric acid is sometimes suggested as a fast-acting method to lower soil pH naturally, it is considered highly dangerous and not recommended for use by home gardeners.
Sulfuric acid is corrosive and can cause severe harm to the skin, eyes, teeth, and lungs. Professional industry users may occasionally employ it in specific circumstances, such as around established trees, but it is not deemed safe for general home gardening purposes.
STEP 5: Sustain the Soil pH with Balanced Fertilizers

After successfully lowering the soil’s pH, it is important to maintain the optimal pH levels using well-balanced fertilizers.
These fertilizers contain a balanced combination of nutrients, such as a product with NPK (nitrogen, phosphorus, and potassium) values of 10-10-10. While ammonium-containing nitrogen fertilizers like ammonium sulfate or urea can assist in maintaining soil acidity, they should not be solely relied upon for lowering soil pH levels.
To promote sustained pH balance in the soil, incorporating organic materials that break down gradually over time is highly beneficial.
Peat moss or mulch containing acidic plant materials like pine needles can be added to the soil. Another effective approach is incorporating manure, which not only lowers the soil pH but also provides immediate nutrients for plants while enhancing the soil’s workability.
By using a combination of well-balanced fertilizers and organic materials, gardeners can ensure the ongoing maintenance of the desired soil pH levels, promoting optimal conditions for plant growth.
STEP 6: Periodically Test the Soil Every 3 Years
After implementing the necessary steps to adjust the soil pH, it is crucial to continue monitoring the soil’s pH levels periodically.
It is recommended to test the soil every 3 years or when there are significant changes in the planting plans or if there are noticeable issues with plant health. Regular soil testing helps ensure that the desired neutral pH level is maintained over time.
By combining faster-acting additives and slow-release organic matter, the soil is more likely to maintain a stable pH level for an extended period.
While the process of testing the soil and incorporating the right additives to correct high soil pH may take time, it is an essential step in ensuring the thriving of plants. Once the soil’s pH is significantly lowered, the key to maintaining it is providing proper nutrients and conducting regular soil testing.
Many experienced gardeners attribute their success to consistent soil testing and nutrient management.
*The information is for reference only.