Our Top Gift-Wrapping Hacks and Techniques. With your shopping complete and thoughtful gifts in hand for everyone on your list, it’s time to add that final touch that transforms these items into true presents. Wrapping them up in a creative and festive manner not only adds an element of surprise but also conveys the warmth of your thoughtfulness.Remember, the act of wrapping a gift is like adding a personal touch, showing that you’ve put thought and effort into making the recipient’s day special. So, unleash your creativity, and let the wrapping be as memorable as the gift itself.
Elevate Your Workspace: Coordinating Wrapped Journals and Pencil Cases for a Stylish Desk Makeover

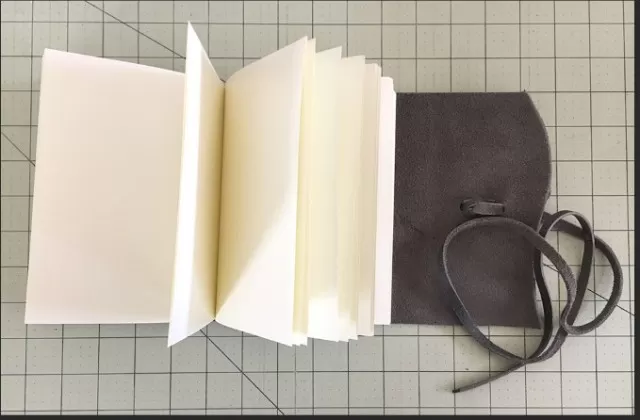
Discover a fun and creative way to spruce up your workspace with our DIY project, where we show you how to transform your ordinary journals and pencil cases into stylish, matching desk supplies.
Unleash your inner designer by tracing the exteriors of these items on patterned paper and adding an extra inch for that perfect fit. We’ll guide you through the process of applying adhesive, wrapping the paper tightly, and achieving those impeccable, clean corners.
Elevate your desk game with this fashionable and functional makeover!.
Captivating Mosaic Party Favor Boxes
Enhance your next celebration with these eye-catching mosaic party favor boxes, guaranteed to create a memorable and picturesque moment.
Follow these steps to craft your own:.
Begin by arranging multiple 3-inch boxes into a snug square formation.
Calculate the total surface area of the box lids, and then cut patterned paper to match these specifications.
On the back of the paper, gently sketch a grid with lines spaced 3 inches apart.
Carefully cut out the squares, ensuring they remain in their designated positions, and affix them to the box lids using glue.
Fill these charming boxes with tiny favors, and snugly nestle them together for a visually stunning and heartwarming send-off.
Your guests will surely cherish the beauty and thoughtfulness of these mosaic party favor boxes as a perfect conclusion to your event.
Elevated Plant Gift Packaging

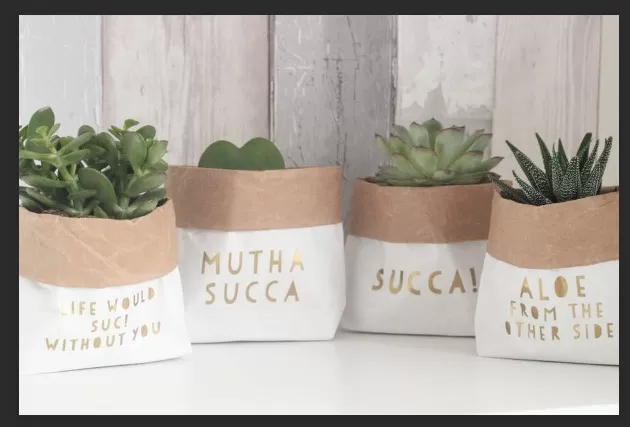
While the beauty of a gift like an amaryllis is undeniable, it’s often the cellophane plant wrapper that inadvertently communicates, “I picked this up at the grocery store.
” To bestow a botanical gift, whether it’s a rosemary plant, an orchid, paperwhite bulbs, or a miniature boxwood, in a truly distinctive manner, consider this creative approach:.
Begin by transforming a simple paper sack into a work of art.
Use spray paint in a lustrous metallic shade to coat the sack, giving it an elegant and sophisticated appearance.
Allow the paint to thoroughly dry, ensuring it glistens and gleams as intended.
To add an extra touch of style, fold down a cuff at the top of the sack.
This contrasting element enhances the visual appeal of your gift package.
Finally, gently nestle the plant into this upcycled, metallic package.
It’s now ready to be presented to a delighted hostess or teacher, demonstrating your thoughtful gesture with a touch of creativity and charm.
With this unique and stylish plant gift bag, you’ll convey your appreciation and gratitude in a way that leaves a lasting impression, ensuring your gift is truly memorable.
Elegant Double-Dyed Ribbons
For those who typically Splurge On expensive, embellished ribbons as part of their holiday traditions, consider making a change with these striking double-dyed bows.
Crafted from affordable cotton twill and stiffened with a touch of starch through careful ironing, these ribbons not only hold their shape but also leave gift recipients curious about the treasure inside the beautifully wrapped box.
Here’s how to create these captivating double-dyed ribbons:.
Begin by cutting your desired lengths of ribbon and soaking them in water until they are thoroughly saturated.
Prepare fabric dye in separate bowls, following the instructions on the package.
You’ll typically need about 1 cup of dye per color for this project.
Dip each ribbon into the dye, submerging it halfway, and leave it in the dye until you achieve the desired depth of color.
Keep in mind that the color will appear lighter when the ribbon is dry.
Lay the dyed ribbons flat on paper towels, allowing them to dry until they are no longer dripping.
If the opposite halves of the ribbons start to feel dry, dampen them again and then dip them into another color of dye.
Keep the ribbons separated on paper towels to avoid color bleeding until they are completely dry.
Iron the ribbons to give them a crisp appearance, and if desired, use spray starch to help them maintain their shape when tied into a bow.
With these double-dyed ribbons, your gift presentation will be a delightful surprise, and your recipients will appreciate the extra thought and effort that goes into making each package extra special.
Creative Plaid-Style Streamer Decorations

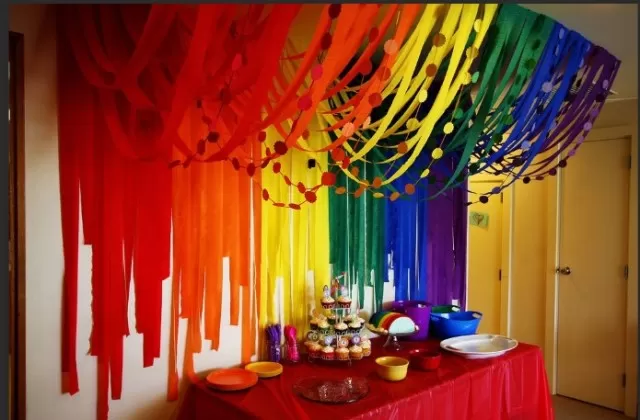
Elevate your gift-wrapping game with this fun and visually striking plaid motif using crisscrossed crepe-paper streamers.
Whether you’re a DIY enthusiast or a beginner, you can easily achieve this graphic and eye-catching decoration. Here’s how:.
Start by crisscrossing crepe-paper party decorations on your plain gift packages.
The interwoven streamers will form a lively plaid pattern that’s sure to delight any recipient.
For an extra layer of creativity, fold the streamers and cut shapes along the edges.
This adds a unique and personalized touch to your plaid design.
To further enhance the plaid effect, layer the wider strips of crepe paper with skinnier strips, creating a dynamic and visually appealing texture.
With this simple yet striking technique, your gift packages will stand out, and your recipients will appreciate the thought and effort you’ve put into making their presents extra special.
.
.
*The information is for reference only.