Effortless Path to a Successful Paint Transformation. Embarking on a paint transformation for your space doesn’t have to be a daunting task.
With the right approach and a touch of planning, you can effortlessly bring about a successful and visually striking change. Whether you’re looking to revamp a single room or your entire home, following a well-structured path can make all the difference. From selecting the Perfect Color palette to mastering application techniques, each step can be an enjoyable and rewarding experience. By embracing this streamlined journey, you’re poised to achieve a paint transformation that not only enhances your living space but also showcases your creative flair.
The Initial Table Description

A square table crafted from mahogany stands before us, boasting an exquisite and captivating form, accentuated by its intricately designed fretwork sides.
Regrettably, its inherent charm is overshadowed by an unfortunate choice – a coat of paint in a shade reminiscent of avocado green. This decision has led to an outcome that falls short of its potential; an uneven finish coupled with the telltale signs of hurried brushwork mar the table’s surface.
In essence, what we have here is a table that beckons for a rejuvenating paint transformation to reclaim its lost allure.
Using Paint Deglosser
Commence the process by employing a paint deglosser, often recognized as liquid sandpaper, as your initial step towards diminishing the luster of the existing finish.
Gently apply the deglosser onto the surface using a pristine cloth, allowing it the opportunity to effectively carry out its task. This method serves as a commendable substitute for traditional sandpaper, especially in situations where its usage is deemed suitable.
Manual Sanding Technique

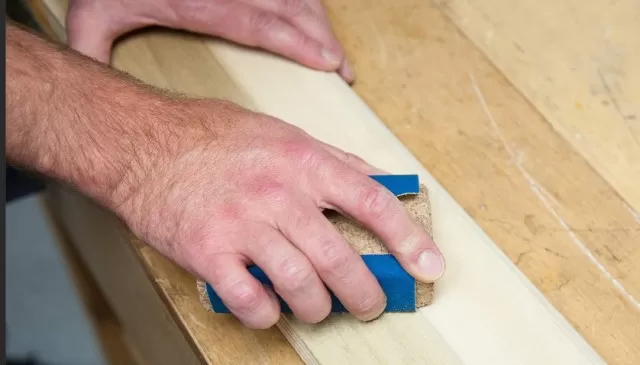
Depending on the nature of the existing finish, you might find it necessary to employ a sander to effectively address persistent issues – for instance, the unsightly brush grooves and patches of paint residue that were inadvertently left behind by the previous attempt at rejuvenation.
A brief session with a hand sander will serve to prepare the piece admirably for the upcoming painting phase. It’s important to note that your objective isn’t to strip the piece down to its raw wood; rather, your aim is to achieve a sufficiently even and polished surface that will facilitate seamless painting.
Initial Layer Application
If your intention involves applying a solitary hue to the piece, commence by delicately spreading on a thin initial layer of paint.
After a lapse of 24 hours, proceed to administer a similarly thin second coat. This approach is instrumental in thwarting the occurrence of unsightly drips and conspicuous brush markings. In the case of this particular table, I opted to infuse a touch of an additional color through a technique known as drybrushing. Now, you might wonder: what exactly is drybrushing? Allow me to elaborate in the following explanation.
Drybrushing Technique

Drybrushing, essentially involving the utilization of a brush carrying mere traces of paint, offers a creative avenue to introduce a subtle touch of color to any painted object.
While it might require a bit of experimentation to achieve proficiency, the fundamental principle revolves around maintaining a slight presence of paint on the brush. Here’s how to go about it: After dipping the tip of the brush into the paint can, lightly tap it against a dry piece of scrap wood to eliminate the majority of the paint.
Subsequently, delicately brush the piece in a controlled manner to impart a gentle suggestion of color. This method warrants a judicious sanding and can be safeguarded by applying a wipe-on polyurethane sealant, ultimately breathing new life into your weathered table.
For additional insights into enhancing your expertise in revitalizing items with paint, feel free to explore more of my suggestions on makeovers by clicking here.
*The information is for reference only.