Restoring an Air Mattress: Step-by-Step Guide for Patching. Inflatable air mattresses are a convenient and versatile bedding option, but they are prone to punctures and leaks over time.
Instead of discarding your deflated mattress, learning how to effectively patch the leaks can help you revive it and extend its lifespan. By following a few simple steps, you can restore your air mattress to its former comfort and enjoy uninterrupted restful nights. With the right tools and techniques, you’ll be able to say goodbye to those annoying leaks and keep your air mattress fully functional for years to come.
How to Detect and Locate Leaks in an Air Mattress

When it comes to patching an air mattress, the first challenge is to locate the elusive leak.
These tiny punctures can be quite tricky to find, but fear not! With a few techniques, you can become a master at identifying the source of the leak and extending the life of your beloved inflatable bed.
Before you embark on your leak-finding mission, remove any bedding and covers from the deflated mattress.
This will provide a clean canvas for your investigation.
If you have access to a swimming pool, submerge the fully inflated air mattress and gently squeeze it.
Keep your eyes peeled for those telltale bubbles rising to the surface. Voila! You’ve uncovered the precise area of the leak.
Alternatively, you can employ the garden hose method.
Inflate the mattress to its maximum capacity and spray its surfaces with water. Keep a keen eye out for bubbles forming on the wet surface, indicating the presence of a leak.
For a more hands-on approach, take a sponge soaked in Soapy Water and rub it over the mattress’s surfaces.
Once again, give it a gentle squeeze and observe the formation of soap bubbles over the elusive leaky spot.
But let’s not forget the power of our senses! Fully inflate the mattress and listen intently for any hissing sounds of escaping air.
Don’t hesitate to use your hands to feel for the subtle breeze that reveals the location of the leak.
Lastly, it’s crucial to inspect the air valve for any signs of damage.
Ensure it is fully sealed, closed, and free from tears or rips. Keep in mind that most valve issues cannot be repaired, requiring the replacement of the mattress.
As a pro tip, once you successfully detect the leak, dry the area with a cloth and mark it with a permanent marker.
This simple step will facilitate the patching process when you’re ready to seal the deal.
Now armed with these detective skills, you can confidently embark on your air mattress leak-finding adventure, saving you from restless nights and ensuring a peaceful and comfortable slumber.
Mastering the Art of Deflating an Air Mattress: A Step-by-Step Guide

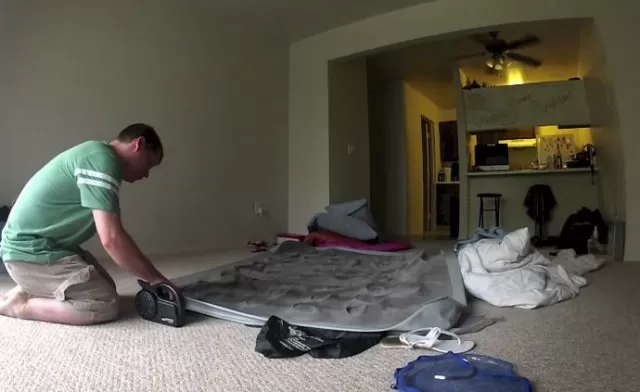
Before embarking on the task of patching your air mattress, it’s crucial to ensure that it is fully deflated.
This step is essential as it provides a flat and stable surface, allowing for a seamless patching process. By deflating the mattress completely, you set the stage for a successful and smooth repair.
So, grab your pump and start releasing the air, knowing that a well-patched air mattress awaits you.
Cleanse the Area Surrounding the Air Mattress Leak

To achieve a tight seal and ensure a successful patch, it is crucial to have a pristinely clean surface around the leak on your air mattress.
Dust, dirt, or grease can hinder the adhesive’s effectiveness, compromising the durability of the repair. Follow these steps to properly clean the area:.
Smooth the Flocked Surface: If the area around the leak is flocked, use a small piece of sandpaper to gently remove the fuzzy coating.
This creates a smooth surface for the patch to adhere to.
Wipe with All-Purpose Cleaner: Take a damp lint-free microfiber cloth and apply a few drops of all-purpose cleaner.
Thoroughly clean the area, ensuring that any residual dirt or debris is removed.
Disinfect with Isopropyl Alcohol: After cleaning with the all-purpose cleaner, use a fresh microfiber cloth dampened with isopropyl (rubbing) alcohol.
This step helps disinfect the area and removes any remaining residue.
Allow for Air-Drying: Give the cleaned area sufficient time to air-dry completely.
This ensures that the surface is dry and ready for the patching process.
By following these cleaning steps, you set the stage for a tight seal and maximize the effectiveness of the patch on your air mattress.
Harness the Power of an Air Mattress Patch Kit

When faced with a pesky leak in your air mattress, an air mattress patch kit can be your saving grace.
These kits are easily accessible online or at sporting goods stores, offering a practical solution to fix the problem. Inside the kit, you’ll find patches that can be cut to the desired size and a strong adhesive to ensure a secure bond.
It’s important to check the label to ensure compatibility with the material of your mattress, whether it’s vinyl, rubber, or both.
Follow these steps or the instructions provided in the package to effectively use the patch kit:.
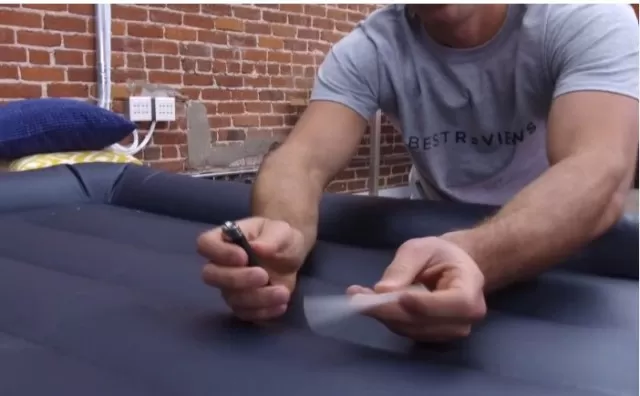
Select a patch that generously covers the punctured or torn area.
Consider cutting it into a round or oval shape to prevent catching on bedcovers. Apply the adhesive evenly, extending it at least 50 percent beyond the patch placement area.
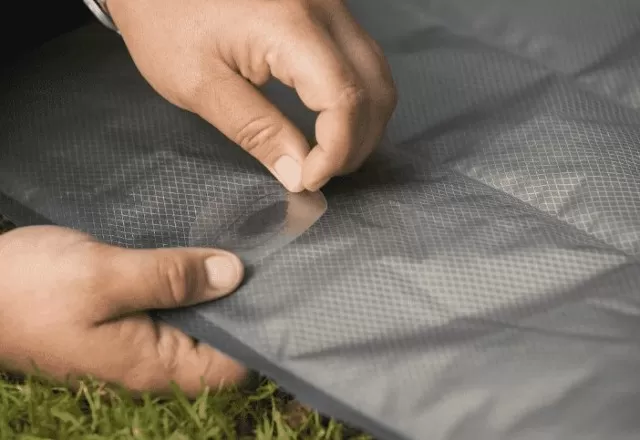
Peel off the protective backing from the patch, revealing the sticky side, and carefully position it over the puncture. Smooth the patch with your fingers or a coin, removing any trapped air bubbles.
Place books or weights of five to 10 pounds over the patched area to ensure a secure bond. Allow the patch and adhesive to cure for 24 to 48 hours for a strong and long-lasting repair.
If immediate use of the mattress is necessary, the patch should hold after a few hours of drying, but keep in mind that it may not be a permanent fix. IMPORTANT: Be aware that using a patch kit from a different brand or attempting a DIY repair may void the warranty provided by the air mattress manufacturer.
Some manufacturers may recommend returning the mattress to them for professional repairs. Always consider the warranty terms and guidelines before proceeding with any repairs.
Make a DIY Air Mattress Repair: Quick Fixes for Leaks
If you find yourself without a patch kit, don’t worry.
There are still DIY repair solutions you can try, depending on the type of air mattress you have and the severity of the damage. Keep in mind that these solutions may provide temporary fixes and may not be as long-lasting as using a commercial patch kit. Here are some options to consider:.
Shower Curtain Liner Patch (for plastic or PVC mattresses):.
Cut a rounded-edge patch from a shower curtain liner, ensuring it is at least an inch larger on all sides than the puncture.
Thoroughly clean the area around the puncture. Apply a strong adhesive like E6000 to the patch and adhere it to the mattress, directly over the puncture.
Smooth out any air bubbles and place books or weights on top of the patch for at least eight hours to ensure proper bonding. Bike Inner Tube Patch (for rubber air mattresses):.
Obtain a bike inner tube that matches the size of the puncture.
Follow the same steps as mentioned above for the application of the patch, using a strong adhesive to secure it to the mattress. Duct Tape (for temporary fix in emergencies):.
Ensure the damaged area of the mattress is clean and dry.
Apply duct tape directly over the puncture, firmly pressing it down to create a seal. Keep in mind that this is a temporary solution and may not provide a long-lasting repair.
Super Glue (for small rips and punctures):.
Clean the affected area and ensure it is dry.
Apply a few drops of super glue directly onto the rip or puncture to temporarily seal it. Note that this is not a permanent solution and may require additional repairs.
Remember, these DIY repairs are intended to be temporary solutions. It’s still recommended to acquire a proper patch kit or seek professional assistance for a more permanent fix.
*The information is for reference only.