Saving Seeds for Next Year’s Plants. If you want to cultivate a garden that flourishes year after year, consider the practice of saving seeds from your most robust and thriving plants. By following this process, you not only save money on buying new seeds but also create a unique and resilient garden that adapts to your specific conditions over time. Saving seeds from your thriving garden specimens is a sustainable practice that fosters a deeper connection with your plants and the cycles of nature.
Understanding Seed Saving: Preserving Genetic Heritage for Future Harvests

Seed saving entails the practice of preserving seeds from one harvest with the intention of utilizing them for subsequent planting.
For novice seed savers, the objective is to cultivate a plant that flourishes in their garden and yields seeds containing identical genetic characteristics. A plant that consistently imparts its genetic makeup is referred to as “true to seed” or “true to type.”.
To maintain the fidelity of your plant’s offspring, it’s essential not only to select the appropriate plant but also to cultivate it under optimal conditions.
This meticulous process ensures the continuation of a plant’s desirable traits from one generation to the next, safeguarding the genetic legacy of your garden’s bounty.
Embarking on the Seed Saving Journey: Tips for Successful Seed Preservation
Starting your seed saving endeavor can be straightforward, especially when you choose the right plants.
Here are some key tips to help you begin the process of saving seeds successfully:.
Select Open-Pollinated Varieties: Open-pollinated plants are genetically stable and produce offspring that resemble the parent plant.
This trait makes them ideal for seed saving, as the seeds will carry the same characteristics as the original plant.
Focus on Heirloom Varieties: Heirloom plants are open-pollinated and have been passed down through generations.
They often have unique flavors, colors, and textures that make them excellent choices for seed saving.
Choose Healthy and Productive Plants: When selecting plants for seed saving, opt for those that are healthy, vigorous, and exhibit desirable traits.
These plants are more likely to produce seeds that will grow into strong and productive plants.
Isolate Plants to Prevent Cross-Pollination: Many plants can cross-pollinate with other varieties, leading to undesirable traits in the offspring.
To prevent this, isolate plants by planting them at a distance from other varieties or using physical barriers like row covers.
Harvest Seeds at the Right Time: Timing is crucial when it comes to seed saving.
Allow seeds to fully mature on the plant before harvesting. Seeds should be dry and easy to remove from the plant.
Clean and Dry Seeds Properly: After harvesting, clean seeds thoroughly to remove any plant debris.
Allow seeds to dry completely before storing them. This step is important to prevent mold growth during storage.
Store Seeds in a Cool, Dark, and Dry Place: Seeds should be stored in a cool, dark, and dry environment to maintain their viability.
Use airtight containers and label them with the plant name and date of harvest.
Test Seed Viability Periodically: Over time, seeds can lose their viability.
To ensure that your saved seeds are still viable, test a few seeds periodically by germinating them in a moist paper towel or potting mix.
By following these tips and being mindful of the process, you can successfully save seeds and enjoy the benefits of preserving the genetic diversity of your favorite plants.
Gathering and Drying Flower Seeds:

Let Blooms Mature: Allow your flowers to fully mature and dry on their stalks before you begin harvesting.
This applies particularly to flowers like calendula and sunflowers, where the seeds are large and can be easily removed from the plant.
Protect Blooms: If necessary, protect your favorite blooms from birds by covering them with paper bags as they dry on the plant.
Harvesting Smaller Seeds: For flowers with smaller seeds, such as those that are harder to remove directly from the plant, cut off the flower heads at a junction in the stem.
This can also encourage more blooming on the mother plant.
Separate Seeds: Once you have harvested the flower heads, separate the seeds from the flower heads.
Spread Seeds Out: Spread the seeds out to ensure they are not clumped together.
Ensure Complete Drying: Use a fan or allow the seeds to air-dry for several days.
It’s crucial that the seeds are fully dry before proceeding to the next step.
Remove Husks and Plant Material: After ensuring complete dryness, remove any remaining husks, pods, or other plant material from the seeds.
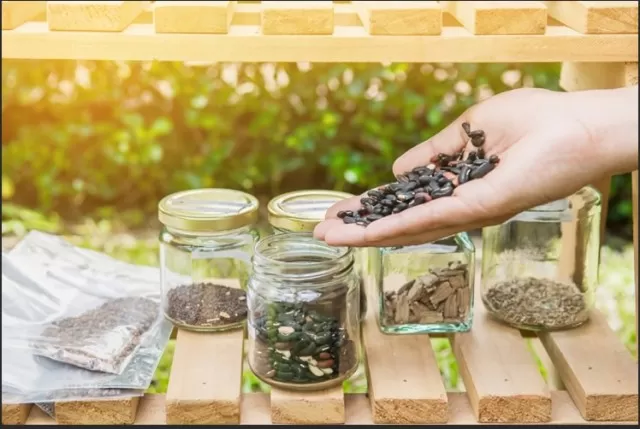
Store Properly: Store the dried flower seeds in a cool, dark, and dry place in airtight containers, and label them with the plant name and date of harvest for future reference.
For additional tips on flower and vegetable seed saving, consider consulting your state or county extension service or refer to crop-specific guides from organizations like Seed Savers Exchange.
Gathering and Drying Vegetable Seeds:.
Observe Plant Characteristics: Different vegetables require specific seed gathering methods.
For example, with loose-leaf lettuce, wait for the plants to bolt and produce feathery white seeds resembling dandelions.
Harvest Lettuce Seeds: Collect lettuce seeds by bending the flower stalk into a paper bag and shaking it.
The seeds will fall into the bag.
Winnowing: Remove seeds from chaff (the non-seed plant material) by shaking them through a screen or manually pulling them out.
Dry Lettuce Seeds: Ensure the lettuce seeds are fully dry before transferring them to storage containers.
Harvest Peas and Beans: Allow peas and beans to remain on the plants until the pods are dry and starting to brown.
Once dry, spread the pods out to air-dry for a few weeks. You can then shell the seeds or store them within the pods until planting in the spring.
Harvest Tomato Seeds: For tomato seeds, let the fruits ripen fully on the vine.
Scoop out the seeds and place them in water for about a week, stirring occasionally to separate them from the gel surrounding them. Pour off the water and floating seeds, repeating the process with fresh water several times.
Finally, pour the mixture through a fine sieve and spread the seeds out to dry completely.
By following these specific guidelines for different vegetables and flowers, you can successfully gather and dry seeds for future planting.
Storing Seeds: Techniques for Long-Term Viability and Creativity
To store seeds for the long term, double-bagging them and placing them in the freezer is an effective approach.
This method not only safeguards the seeds but also extends their lifespan by reducing biological activity within the seed. Seeds are living entities and consume the endosperm, which serves as nourishment for the seedling during germination. Freezing slows down this metabolic activity, preserving the seeds’ viability.
However, if your intention is to plant the seeds within the Next Year or two, you have the opportunity to get more creative with your storage methods.
For instance, at Schaffer’s residence, saved seeds are stored over the winter in a charming metal cupboard—a Garage sale treasure that has found its place in the main living area. Martha, on the other hand, stores her leftover seeds in long wooden file boxes located in her basement, utilizing cardboard dividers to categorize the seed types.
Many seed savers prefer to house their seeds in paper envelopes, either purchased or homemade, and label and group them accordingly.
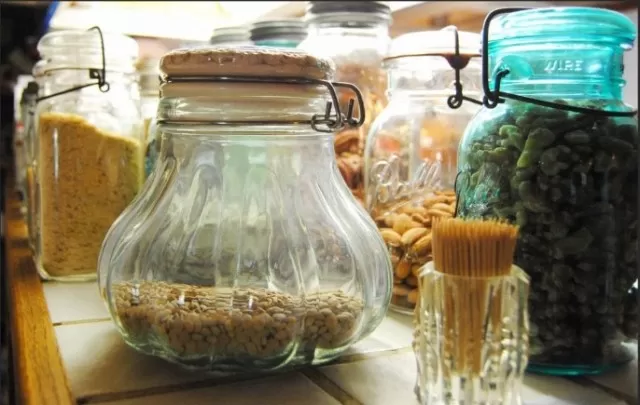
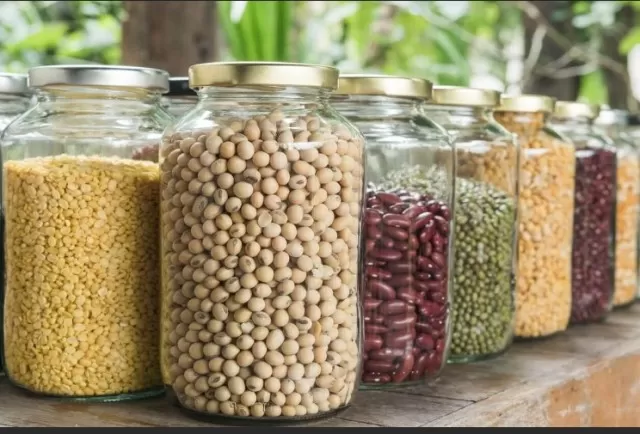
These seed-filled envelopes are then placed within tightly sealed glass jars, which are stored in a cool, dark space such as a basement or garage. To ensure the interior of the jars remains dry, some seed savers also include an envelope of silica gel.
After a week or two, the silica gel envelope is removed, having served its purpose of absorbing excess moisture.
By adopting these storage strategies, you can effectively safeguard your seeds and maintain their viability for future planting endeavors.
Determining the Ideal Time to Plant Your Saved Seeds:

When it comes to planting the seeds you’ve saved, timing is crucial for successful germination and growth.
Here’s how to determine when to plant your saved seeds:.
Consider the Plant’s Growing Window: Each type of plant has a specific growing window, which includes the optimal time for planting, germination, and maturation.
Research the specific requirements for the plants you’re growing.
Know Your Climate: Your local climate plays a significant role in determining when to plant seeds.
Check your region’s average last frost date in spring and the first frost date in fall. These dates will help you plan your planting schedule.
Direct Outdoor Planting: Some seeds, particularly those of hardy annuals and vegetables, can be sown directly in your garden when the soil has warmed up and the risk of frost has passed.
This is typically in late spring.
Indoor Seed Starting: For plants with longer growing seasons or those that require a head start, you can start seeds indoors several weeks before your region’s last frost date.
Indoor seed starting is particularly useful for tender annuals, perennials, and certain vegetables.
Read Seed Packets: Seed packets often include information about when to sow seeds indoors and when to transplant them outdoors.
This guidance is based on the plant’s specific requirements.
Consider Local Conditions: Local microclimates, such as sunny or sheltered areas, can affect planting times.
Adjust your planting schedule based on these conditions if necessary.
Keep a Garden Journal: Maintain a garden journal to track the success of your seed planting over time.
Record the planting date, germination rate, and any other relevant information. This will help you refine your planting schedule in subsequent seasons.
Experiment and Learn: Gardening involves a degree of experimentation, so don’t be afraid to try planting seeds at different times to see what works best in your specific location and conditions.
By considering these factors and conducting research specific to the plants you’re growing, you can determine the ideal timing for planting your saved seeds.
This will give your seeds the best chance to thrive and yield a bountiful harvest.
*The information is for reference only.