Stovetop Cleaning Guide: Step-by-Step Instructions.Don’t fret if weeks of hurried dinner preparations have left your stovetop in disarray. There’s no need to worry, as a combination of readily available pantry items can help you restore the shine to your appliance and bring a sense of order back to your kitchen.
With just a few common ingredients found in your pantry, you can tackle the grime and grease that have accumulated on your stovetop. These simple yet effective solutions will help you regain control over the cleanliness of your kitchen.
By following the tips and tricks provided, you’ll be able to easily remove stubborn stains and residue, leaving your stovetop looking fresh and revitalized. With a little effort and the power of pantry staples, you can restore order and cleanliness to your kitchen space in no time.
Step 1: Prepare for cleaning by removing removable parts.

To begin cleaning your stove, start by taking off any removable parts.
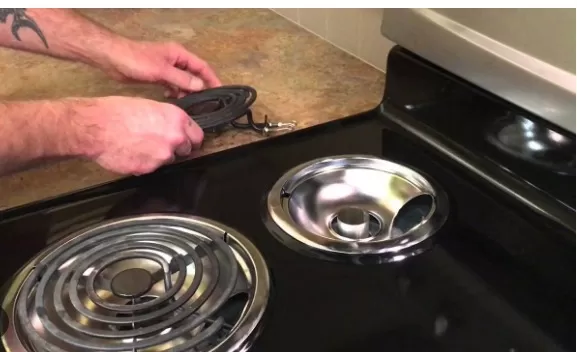
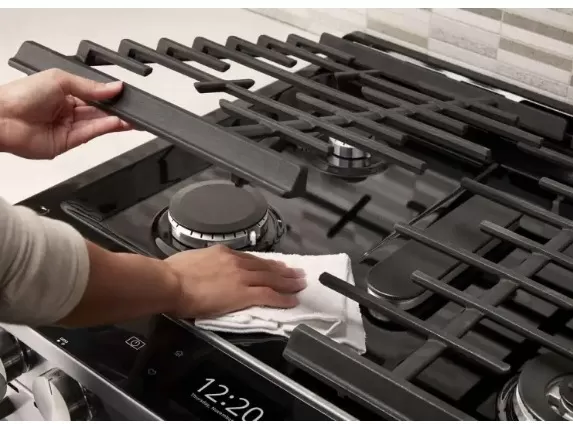
These may include the grates that cover the gas burners or the coils on certain electric stoves (not all models have them). If your appliance has control knobs that can be removed, take them off as well and place them in a bucket or sink filled with hot, Soapy Water.
Along with the grates or coils, they will soak in the soapy water to remove any built-up grease and grime.
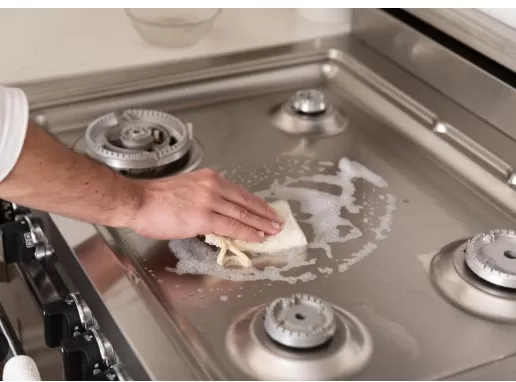
If your control knobs are not easily removable, you can still clean them in place using a soapy sponge.
It’s important to note that while ammonia is often praised for its grease-cutting abilities, using it here may risk erasing the markings on the knobs. Therefore, it’s best to stick to a mild soapy solution for cleaning.
Once you have cleaned the knobs, towel away any soap suds that may be left behind, and make sure to dry them thoroughly.
Before moving on, double-check that all the knobs are set to the off position as a safety precaution.
Step 2: Tackle stubborn spills and stains.

If you prefer to avoid using store-bought cleaners or exposing yourself to toxic chemicals, there’s a natural and cost-effective solution you can make using common pantry items.
Here’s how:.
Create a powerful cleaning paste by combining equal parts water, baking soda, and salt.
This mixture serves as a mild abrasive that can effectively remove caked-on spills and stains on your stovetop. Apply the paste directly to the affected areas and allow it to sit for a few minutes.
During this time, the paste will work to loosen and soften even the most stubborn stains.
After a brief wait, take a sponge or a microfiber cloth and firmly rub the dirty areas, using circular motions.
The abrasive nature of the paste, combined with your manual effort, will help lift the grime and restore the cleanliness of your stovetop. Once you have successfully cleaned the spills and stains, give the stovetop a final buff with a dry cloth to remove any residue and achieve a polished finish.
By using this natural cleaning solution, you can effectively address caked-on spills without the need for store-bought chemicals and with the added benefit of saving money.
Step 3: Clean and reassemble the removable parts

Now that you’ve allowed the removable parts to soak in the soapy water from Step 1, it’s time to revisit them.
You’ll notice that the grime and buildup have loosened up, making it easier to clean. Follow these steps to ensure a thorough cleaning:.
Take each piece out of the soapy water and scrub them using a sponge or, for tougher grime, a stiff-bristled brush.
Make sure to scrub all surfaces of the parts, including the nooks and crannies where dirt tends to accumulate. Once you have thoroughly cleaned each piece, rinse them off with Clean Water to remove any soap residue.
After rinsing, dry the parts completely using a clean towel or allow them to air dry.
Ensuring they are completely dry will prevent any moisture from causing rust or damage when you reassemble them.
Finally, carefully place each cleaned part back in its original position on the stove.
Take your time to ensure they are correctly aligned and properly fitted. By following these steps, you can effectively clean the removable parts and restore them to their rightful places on the stove, contributing to a fresh and functional cooking surface.
ADDITIONAL NOTES
For gas stove owners experiencing decreased performance in one of the burners, it’s possible that a clogged fuel port is causing the issue.
With the grates removed, inspect the burner closely, using a flashlight if needed. If you identify any blockages, gently dislodge them using a bent paper clip. Be careful not to damage the burner while doing so.
To maintain the cleanliness of your stovetop after cleaning, it’s recommended to wipe down the grates/coils and the surface of the appliance after each use.
This simple habit can help prevent the buildup of dirt and grease, making future cleaning easier. Consider adding stovetop clean-up to your post-dinner routine if possible.
Spending just two minutes a day on maintenance will save you time and effort compared to infrequent deep-cleaning sessions.
By following these additional tips, you can ensure the optimal performance of your gas stove and keep your stovetop looking pristine with minimal effort.
*The information is for reference only.