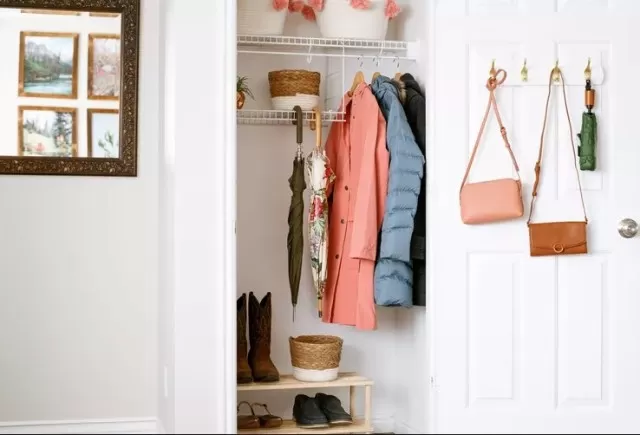
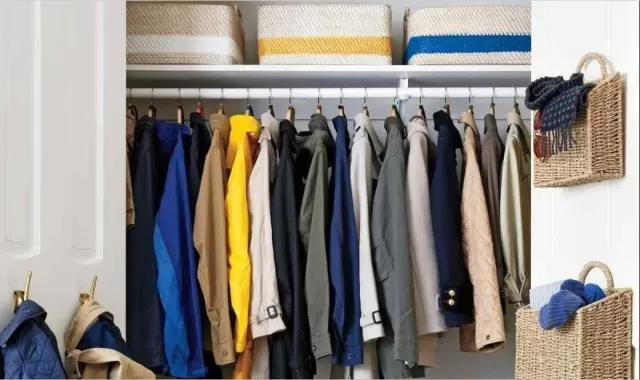
For many individuals, there is no need to cram clothing for all four seasons into a closet, especially when space is limited.
As someone experienced in professional organizing and having lived in a small apartment before, I have developed a reliable system for transitioning a closet between spring/summer and winter/fall seasons.
Over the years, I have refined this process, but the fundamentals are straightforward. Whether you wish to learn how to store winter garments or how to perform a biannual closet switch, follow this guide for easy seasonal storage.
Prepare Your Clothes Thoroughly

To begin, evaluate which clothing items require attention before storage.
Remove any pills from your sweaters using a shaver or stone, mend loose buttons on coats, or replace cracked heel caps on boots. If you’re transitioning from warm to cold weather or vice versa, learn how to unshrink a favorite t-shirt, fix a pair of flip-flops, or locate a missing bathing suit strap from earlier in the summer.
During this process, you may identify additional items in need of care, so try to identify them early to allow time for dry cleaning, tailoring, or shoe repair, if necessary.
Select a Suitable Storage Space

Next, decide on a storage location.
Since the items will only be stored for about six months, areas like the attic or basement can work as long as they don’t become excessively hot or humid. Alternatively, consider utilizing an underutilized Guest Room closet, space Under the Stairs, under the bed, or, if available, a storage unit.
Ideally, choose a spot that is out of the way yet easily accessible.
Gather Necessary Supplies

The final preparation step is to gather the required supplies.
Determining a storage spot and purchasing supplies is a one-time investment as you can reuse them for future closet swaps. Here are the recommended supplies to get started:
For clothing and accessories:
- Medium-sized totes with lids (or long, narrow totes for under the bed)
- Vacuum-seal bags
- Labels
For shoes:.
- Individual shoe bags (or long, narrow organizers with compartments)
- Labels
The quantity of each item will vary based on the volume of your belongings, and you may need to make adjustments through trial and error initially.
Over time, you will become familiar with the required quantities.
Sort and Declutter Seasonal Items

When you’re ready to proceed, set aside a weekend afternoon to complete the task.
If you’re storing winter clothing, remove any items you won’t wear during the spring and summer months. This includes wool or cashmere sweaters, dark-colored blouses, and dresses, as well as beanies, scarves, and gloves.
Categorize and sort them into separate piles, while decluttering along the way. Keep a donation bag nearby for items that no longer fit or suit your style.
During the second swap of the year, set aside cover-ups, shorts, and sundresses.
Although you may want to wear white year-round, it’s unlikely you’ll wear linen garments when it’s below freezing. Sandals, open-toe shoes, and espadrilles can also be stored to free up Closet Space for other shoes.
Store Off-Season Clothing

Once you have the clothes you wish to keep, fold or roll them into vacuum-seal bags to minimize space.
Attempt to place each category of clothing in a separate bag, but combine them if you don’t have enough to fill one bag. After removing the air from the bags using a vacuum, begin placing them in the totes.
Depending on the tote sizes, you should be able to fit two to three bags per tote. If using an under-bed organizer, you can likely fit one large bag or two medium-sized bags side by side.
For shoes, use inexpensive drawstring shoe bags and store them in a tote.
For tall boots, stuff them and lay them across the top of the tote, ensuring there’s enough room to prevent crushing. If you have wide-brim hats for each season, stack them and place them at the top of a clothing bin with extra space.
If you prefer an organizer with predetermined compartments for your shoes, ensure you know how many pairs you need to store to ensure sufficient space.
Once all the clothes and shoes are stored, label the outside of the totes for easy identification.
Swap Clothing Every Six Months

When the weather starts to warm up or cool down for the next season, take solace in the fact that most of the preparation work is already completed.
Simply mend any items required for the upcoming season and retrieve the stored totes. It is highly recommended to wash all the clothing removed from vacuum bags before returning them to the closet.
While the laundry is in progress, take out and sort the clothes to be stored away. Repeat the decluttering and organizing process using the same supplies, adding more or fewer as necessary.
You can either replace the labels or, as a personal preference, turn the totes around and add new labels on the other side for future seasons.
*The information is for reference only.