7 Simple Steps to a Sparkling Bathtub: Cleaning Guide. Indulging in a long, relaxing bath is a wonderful way to unwind and alleviate the burdens of the day. However, the tranquility can be disrupted if the state of your bathtub is causing you additional stress.
Clearing the Path to a Clean Tub

To begin the cleaning process, remove any clutter or items from the bathtub.
Take out products, children’s toys, and anything else that may obstruct your cleaning efforts. You can also take this opportunity to give children’s toys a thorough cleaning by tossing them in the dishwasher.
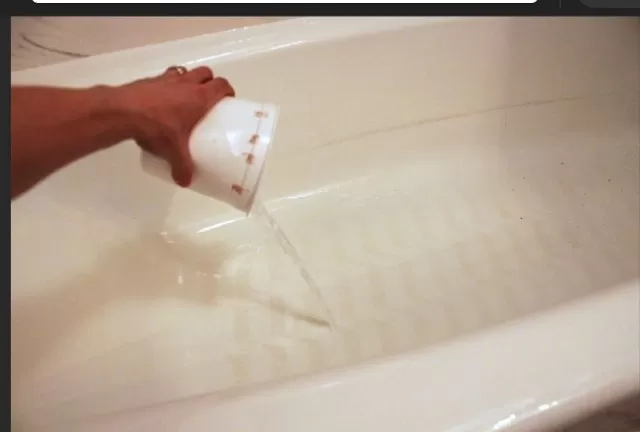
Once the tub is clear, dampen a rag with warm water and wipe down the surfaces of the bathtub.
Focus on removing surface dirt and debris, as tougher stains will be addressed in later steps.
Step 1: Clearing the Path to a Clean Tub

To begin the cleaning process, remove any clutter or items from the bathtub.
Take out products, children’s toys, and anything else that may obstruct your cleaning efforts. You can also take this opportunity to give children’s toys a thorough cleaning by tossing them in the dishwasher.
Once the tub is clear, dampen a rag with warm water and wipe down the surfaces of the bathtub.
Focus on removing surface dirt and debris, as tougher stains will be addressed in later steps.
Step 2: Reviving the Tiles.
Start by cleaning the grout between the tiles, as this area tends to accumulate dirt and grime.
You can create your own grout cleaner by combining 1/2 cup of baking soda, 1/4 cup of hydrogen peroxide, and a teaspoon of liquid Dish Soap. Alternatively, you can use a premade grout cleaner for convenience.
With a grout brush or an old toothbrush, scrub the grout from top to bottom using the cleaning solution.
Rinse away any residual cleaner with warm water and then spray a bathtub cleaner on the surrounding tiles. Let it sit for 15 minutes before rinsing with warm water.
Step 3: Treating the Tub with Care.
Now it’s time to focus on the bathtub itself.
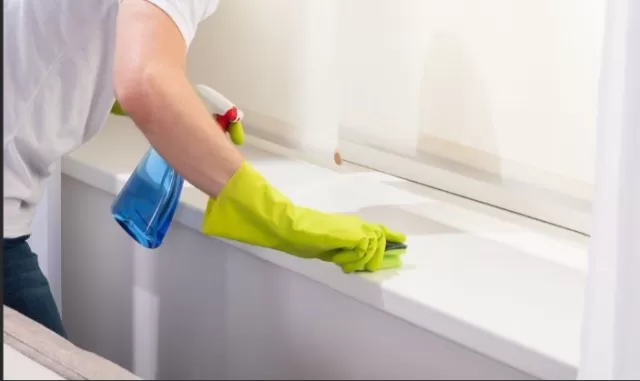
Spray a bathtub cleaner on all surfaces inside and around the tub. Allow the cleaner to sit for at least 15 minutes to break down grime and dirt.
Step 4: Thoroughly Wipe and Rinse.
After the cleaning solution has had time to work, use a scrub brush or sponge to wipe away any remaining dirt.
Apply some extra elbow grease if necessary, but don’t worry if stubborn stains persist; we’ll address them in the following steps. Finally, rinse off the cleaning solution using warm water and a rag or spray bottle.
Step 5: Banishing Soap Scum.
Soap scum can be particularly stubborn to remove, but with the right approach, you can conquer it.
Spray your cleaning solution on the scummy areas, paying special attention to corners, faucet surroundings, and the drain. Let the solution sit for 15 minutes.
Using an old toothbrush or scrub brush, vigorously scrub away the soap scum until it is completely gone.
Rinse the affected areas with warm water to ensure all residue from the cleaner is removed.
Step 6: Conquering Lingering Stains.
If there are still stains present in the tub, sprinkle baking soda on them and then spray a solution of one part vinegar to one part water.
Allow the mixture to bubble for a few minutes and then scrub with a rag or sponge to create a paste. Let the paste sit for 15 minutes before wiping it away.
For any remaining stains, make a paste using one part hydrogen peroxide to two parts baking soda or cream of tartar.
Apply the paste to the stain and let it sit for 30 minutes to one hour. Wipe and rinse, repeating the process if necessary, until the stain disappears.
Step 7: Final Touches for a Spotless Tub.
To complete the cleaning process, wipe down the entire tub with a clean towel or rag soaked in warm water.
This step ensures that any residue from the Cleaning Solutions is removed, leaving your tub sparkling clean and ready for your relaxing soak sessions.
Extra Tip: Dealing with a Clogged Toilet

In case you encounter a clogged toilet, here are a few additional steps to help you unclog it.
First, try pouring a generous amount of dish soap into the toilet bowl and let it sit for 5 to 10 minutes. Then, add hot water (not boiling) to the bowl and allow the soapy mixture to work its magic.
In most cases, the dish soap will lubricate the clog, aiding in its removal.
If the clog persists, you can use a mixture of baking soda and vinegar.
Pour 1 cup of each down the toilet drain and let the natural chemical reaction dissolve the clog. After about 30 minutes, follow up with hot water to see if the clog clears.
Repeat the process if necessary.
If you don’t have a plunger on hand, a toilet brush can serve as a temporary solution.
Angle the bristles down the drain and pump it up and down a few times to loosen the clog.
As a last resort, if you don’t have a drain snake, you can straighten a wire coat hanger and use it to clear the clog.
Wrap a small rag around the hook to protect the porcelain, and gently maneuver the hanger until you locate the clog. Once the water starts to drain, flush the toilet multiple times to ensure complete clearance.
With these comprehensive steps, you can confidently clean your bathtub and tackle any clogging issues that may arise in your toilet.
Enjoy a refreshed and pristine bathing experience!.
*The information is for reference only.