Door Latching Issues Solved: 4 Effective Fixes. If you have doors that won’t latch properly, it can be frustrating and compromise your sense of security and privacy. However, there are steps you can take to repair unreliable doors and restore their functionality. Start by inspecting the door and its components, such as the latch plate, strike plate, and hinges, to identify any misalignments or damage.
Adjust or tighten loose screws, realign misaligned parts, or replace damaged hardware if necessary. Additionally, consider lubricating the hinges and latch mechanism to ensure smooth operation. By addressing these issues, you can regain a sense of security and privacy when closing the doors to your bedroom, bathroom, or home.
How to Fix Sagging Doors: Tightening Hinges and Using Longer Screws

.
Tightening the Hinges:.
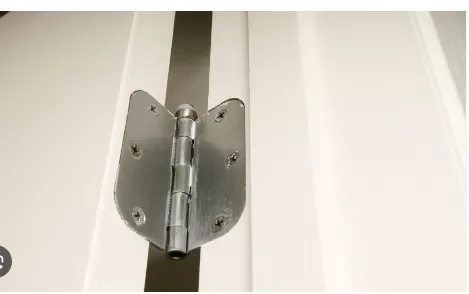
Step 1: Identify the loose hinges.
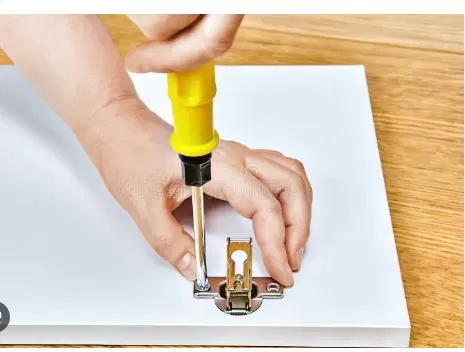
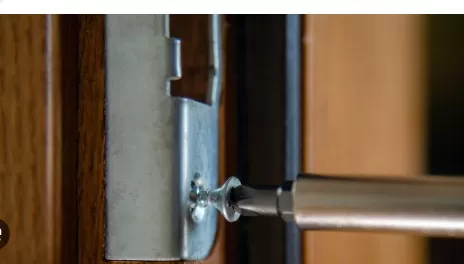
Step 2: Use a screwdriver to tighten the screws on each hinge.
Step 3: Ensure the screws are firmly tightened but avoid over-tightening.
Using Longer Screws for Additional Support:.
Step 1: If tightening the screws didn’t resolve the sagging issue, consider using longer screws.
Step 2: Identify the problem side of the door (top or bottom).
Step 3: Use a 3-inch screw on the door jamb side of the problematic hinge.
Step 4: Driving the screw into the top hinge helps lift the door if the latch contacts below the strike plate hole.
Step 5: Driving the screw into the bottom hole helps pull the door down if the latch contacts above the strike plate hole.
Note: It’s important to ensure the screws are aligned with the wall framing to provide adequate support for the door frame.
Be cautious not to damage the door or hinge while driving the longer screws.
Fixing Misaligned Doors: Shimming or Sanding Hinge Area
Shimming the Hinges:.
Step 1: Remove the hinges from the door frame using a screwdriver.
Step 2: Cut a small piece of cardboard or similar material to fit into the hinge mortise.
Step 3: Insert the cardboard shim into the mortise and reattach the hinge.
Step 4: Check the door alignment to see if it has improved.
Step 5: If necessary, repeat the process with additional shims until the door is properly balanced.
Sanding the Hinge Mortises:.
Step 1: Remove the hinges from the door frame.
Step 2: Use sandpaper or a chisel to carefully sand down the hinge mortises to the correct depth.
Step 3: Smooth the edges of the mortises to ensure a proper fit for the hinges.
Step 4: Reattach the hinges and verify that they sit flush with the door frame.
Step 5: Test the door to ensure it opens, closes, and aligns correctly.
Resolving Misaligned Door Latch and Strike Plate: Enlarging the Strike Plate Hole

Even after adjusting the door and hinges, you may still encounter alignment issues between the door latch and the strike plate hole.
If the latch contacts the strike plate above or below the hole and the misalignment exceeds ⅛ inch, moving the entire strike plate hole may be necessary. However, if the misalignment is minimal, you can try enlarging the hole to achieve a proper fit.
In this guide, we will explain how to enlarge the strike plate hole effectively.
Adjusting Door Alignment: Moving the Strike Plate Position

If your door latch is significantly misaligned with the strike plate hole, even after enlarging it, the next step is to move the strike plate itself.
By repositioning the strike plate, you can ensure proper alignment between the latch and the plate, allowing for a smooth closure. In this guide, we will explain how to move the strike plate to a new position for improved door alignment.
*The information is for reference only.