Stylishly Zoning Any Space: DIY Room Dividers to the Rescue.If you’re someone who appreciates the beauty of a well-crafted decorative screen, you’re not alone. The charm of a chic room divider is hard to resist. For those residing in studio apartments or sharing living spaces with roommates, foldable partitions become invaluable tools for maximizing Small Spaces. Interestingly, screens have been performing this role for over 2,000 years, with their origins dating back to China in 200 BC.
Today, screens continue to serve a vital purpose in interior design. Whether you’re aiming to infuse your bedroom with a touch of Old-World glamour by creating a chic dressing area or simply seeking an elegant solution for storing coats when guests visit, a well-placed screen can work wonders in transforming a room. The best part is that you can take matters into your own hands and craft a DIY room divider that not only serves a practical purpose but also adds a stylish element to your space.
These DIY room dividers not only excel at zoning your room to maximize its functionality but also bring an aesthetic appeal that elevates the overall look and feel of your living area. So, if you’re considering ways to make the most of your space, consider crafting a stylish room divider that combines both form and function, allowing you to enjoy the best of both worlds.
DIY Room Divider Transformed with Wallpaper

Discover how to create an elegant and functional room divider using a pair of robust bifold closet doors as your canvas.
This innovative decorative screen project involves combining these doors with additional hinges, allowing you to craft a unique and personalized design element for your space. To enhance the aesthetics, you can easily cover the unfinished wood with wallpaper, giving your room divider a distinct and stylish look.
Whether you opt for a high-end designer wallpaper or a more budget-friendly option, this project accommodates various tastes and budgets.
For a quicker and hassle-free result, consider using paste-free, peel-and-stick wallpaper, which simplifies the application process.
To add a finishing touch and conceal any raw edges, use hot glue to attach ribbon in a contrasting color, elevating the visual appeal of your custom room divider. This DIY project not only divides your space but also serves as a creative expression of your unique style and preferences.
Create a Stylish Upholstered Gingham Room Divider
Add a touch of fun and vibrancy to your space with this DIY gingham folding panel that not only separates an open room but also introduces a burst of color and texture to an otherwise subdued, monochromatic environment.
Follow these steps to craft your very own upholstered gingham screen:.
Begin by cutting three pieces of plywood, each measuring 2 x 6 1/2 feet.
Prepare for the bifold hinges by creating pilot holes.
Attach the left-hand panel to the center panel using hinges, positioning them 6 inches from the top and bottom, and one-third of the way from the center. Repeat this process to attach the center panel to the right-hand panel.
In step seven, you will reattach the hinges in the same holes. (If you’re using an existing screen, simply remove the hinges.).
Cut six pieces of fabric into dimensions of 2 feet 1 1/2 inches x 6 feet 7 1/2 inches and press them.
Lay one panel flat and place a piece of batting on it.
Stretch a piece of fabric over the panel so that its edges just cover the plywood’s perimeter. Staple the top side, followed by the bottom, and then the sides.
Trim any excess fabric. Repeat this process for the reverse side of the panel and trim again.
Repeat step four to upholster the remaining two panels.
Conceal the staples by attaching ribbon along the edges of each panel using glue.
Reattach the hinges in the same holes as before.
Enhance stability by screwing two stabilizing feet into the bottom edges of each panel.
This DIY project allows you to add a touch of personality to your space while effectively defining different areas in a creative and visually appealing manner.
Floral-Print Screen: A Versatile Decorative Headboard

Transform your bedroom with this charming floral-print screen, which serves as a stylish and adaptable decor piece.
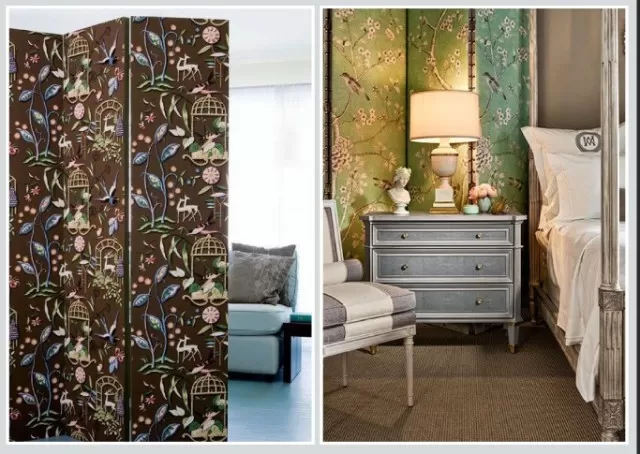
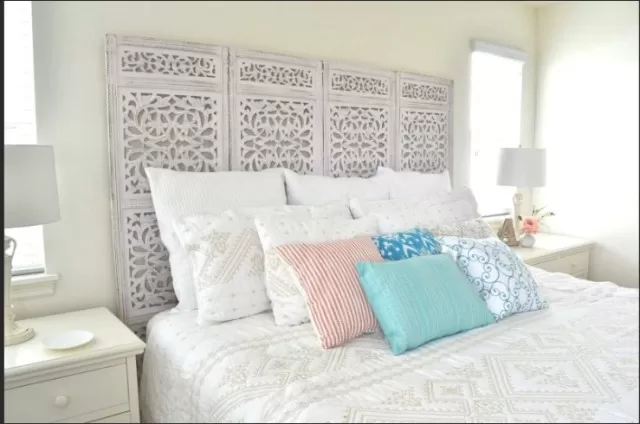
This screen not only excels at dividing a room but also shines when leaned against a wall to function as a decorative headboard. By positioning it behind a simple bed frame, you can effortlessly elevate your bedroom’s ambiance, creating a plush and personalized effect.
To make it even more special, consider repurposing an existing screen with your favorite print.
Once you’ve customized your screen, simply place it in position, and you’re all set to embark on dream-filled nights in a space that reflects your unique style and tastes. This innovative use of a decorative screen adds a touch of elegance and creativity to your bedroom, making it a welcoming and visually appealing sanctuary.
Elegant Stenciled Lace-Print Folding Screen
Crafting a stunning lace-print folding screen is easier than it appears.
In a creative twist on traditional stenciling, this project involves leaving the central motif unpainted while highlighting it with a delicate dappled coat of copper-pink paint over a light-gold paper base. Follow these steps to create your own:.
Start by laying the panels side by side on a protected surface.
Mix your paints in a jar and prepare a palette with some paint, leaving the rest securely covered in the jar. Place your stencil in the upper-right corner of the screen.
Use a sponge to apply paint to the stencil.
Allow it to dry for about three minutes.
Move the stencil to the left, utilizing the transparent pattern on the stencil as A Guide for placement.
Apply the paint as you did in step two.
Below the first painted area, stagger the stencil to the right so that its left edge aligns with the center of the pattern above it.
Apply paint as in step two.
Continue the painting process, alternating placement across and down the screen to create staggered, brick-like rows.
This approach minimizes the waiting time for paint to dry.
Finally, reattach the hinges to complete your stenciled lace-print folding screen, which serves as a beautiful and eye-catching room divider or decorative element.
Multi-Functional Office Space Folding Screen

Are you in search of a practical solution to delineate a dedicated workspace within your home? Look no further than this ingenious DIY room divider.
It not only simplifies the process of crafting a cozy and isolated area for your desk and chair but also enhances your productivity with its integrated features. This versatile folding screen boasts a chalkboard panel for brainstorming and a bulletin board panel for your essential documents and reminders, making it an indispensable part of your Home Office setup.
Whether you need a private corner for work or a hub for organizing your thoughts and tasks, this multi-functional office space folding screen has you covered.
*The information is for reference only.